



Your Media Library, Your Rules
Streaming services have a habit of rotating their catalogs. A show you saved for later disappears without warning, a film you half-watched gets quietly pulled, and the price for the plan that actually lets you download content keeps climbing. Jellyfin solves a different version of this problem – it lets you host your own media server using files you already own, accessible from any device on your network, or remotely over the internet if you set it up that way. No subscription fees. No content licensing decisions made for you.
Jellyfin is a free, open-source media server that organizes your movies, TV shows, music, and photos into a Netflix-style interface. It runs on Linux, Windows, macOS, and inside Docker containers, making it flexible enough to deploy on a spare laptop, a NAS device, or a full home server. Clients exist for Android, iOS, Apple TV, Fire TV, Roku, and all major web browsers, so your library follows you across every screen in the house.
This guide walks through installing Jellyfin via Docker, organizing your media library, and getting remote access working – the three steps that turn a folder of video files into a personal streaming service.
Installing Jellyfin with Docker
Docker is the cleanest way to run Jellyfin because it keeps dependencies isolated and makes updates a single command. Before starting, confirm Docker and Docker Compose are installed on your system. On Ubuntu or Debian, that means running sudo apt install docker.io docker-compose and adding your user to the Docker group with sudo usermod -aG docker $USER. Log out and back in for that group change to take effect.
Create a directory for your Jellyfin setup – something like ~/jellyfin – and inside it create a file named docker-compose.yml. Paste in the following configuration:
- image: jellyfin/jellyfin:latest
- container_name: jellyfin
- ports: “8096:8096” (HTTP) and optionally “8920:8920” (HTTPS)
- volumes: map ./config to /config, ./cache to /cache, and your media folder to /media
- restart: unless-stopped
The full volumes block for a real setup looks like this: – /home/youruser/media:/media. Replace that path with wherever your actual video files live. Once the file is saved, run docker compose up -d from inside the jellyfin directory. Docker pulls the image, starts the container in the background, and Jellyfin becomes accessible at http://localhost:8096 within about thirty seconds. The first time you visit that address, a setup wizard walks you through creating an admin account and pointing Jellyfin at your media folders.
Organizing Your Media Library
Jellyfin relies on file naming conventions to match your content against metadata from databases like The Movie Database (TMDB) and TheTVDB. Getting this right saves a significant amount of manual correction later. Movies should live in their own folder named after the film with the year in parentheses – for example, /media/movies/The Godfather (1972)/The Godfather (1972).mkv. TV shows follow a different pattern: /media/tv/Breaking Bad/Season 01/Breaking Bad S01E01.mkv. Jellyfin is fairly forgiving about minor variations, but sticking to these formats means metadata fetching works automatically on the first scan.

During the initial setup wizard, you add libraries by selecting a content type (Movies, TV Shows, Music, etc.) and pointing it at the corresponding folder inside your container’s /media mount. Jellyfin then scans those folders, pulls in artwork, descriptions, ratings, and cast information, and builds a browsable library that looks substantially like a commercial streaming interface. You can trigger a manual scan at any time from the Dashboard under Scheduled Tasks, or let Jellyfin monitor folders for new files automatically.
Hardware transcoding is worth enabling if your server has a capable GPU or a processor with Quick Sync support (most modern Intel chips include this). Without transcoding, Jellyfin streams files in their original format, which can cause playback issues on devices that don’t support the codec. With transcoding enabled, Jellyfin converts video on the fly to match the client’s capabilities. Enable it from the Dashboard under Playback – select your hardware acceleration type (NVENC for Nvidia, VAAPI for AMD/Intel on Linux, VideoToolbox on Mac) and save. For Docker users, you also need to pass the GPU device into the container by adding a devices section to your compose file pointing at /dev/dri.
Remote Access and Security
Jellyfin works on your local network out of the box, but accessing your library from outside your home takes a few more steps. The most straightforward approach is port forwarding – log into your router, forward external port 8096 to the local IP address of your server on port 8096, and your Jellyfin instance becomes reachable at your public IP address. Most home internet connections have a dynamic IP that changes periodically, so pairing this with a free dynamic DNS service (like DuckDNS) gives you a stable hostname instead of chasing your IP after every router restart.
A more secure option is putting Jellyfin behind a reverse proxy like Nginx Proxy Manager or Caddy. A reverse proxy handles HTTPS certificates automatically through Let’s Encrypt, so traffic between your devices and the server is encrypted. It also means you don’t expose Jellyfin’s port directly to the internet – the proxy sits in front and forwards requests internally. If you’re already running other self-hosted services, this setup will feel familiar. Tools like Beszel can help you monitor your server’s resource usage as Jellyfin’s transcoding load grows, particularly if multiple users stream simultaneously.
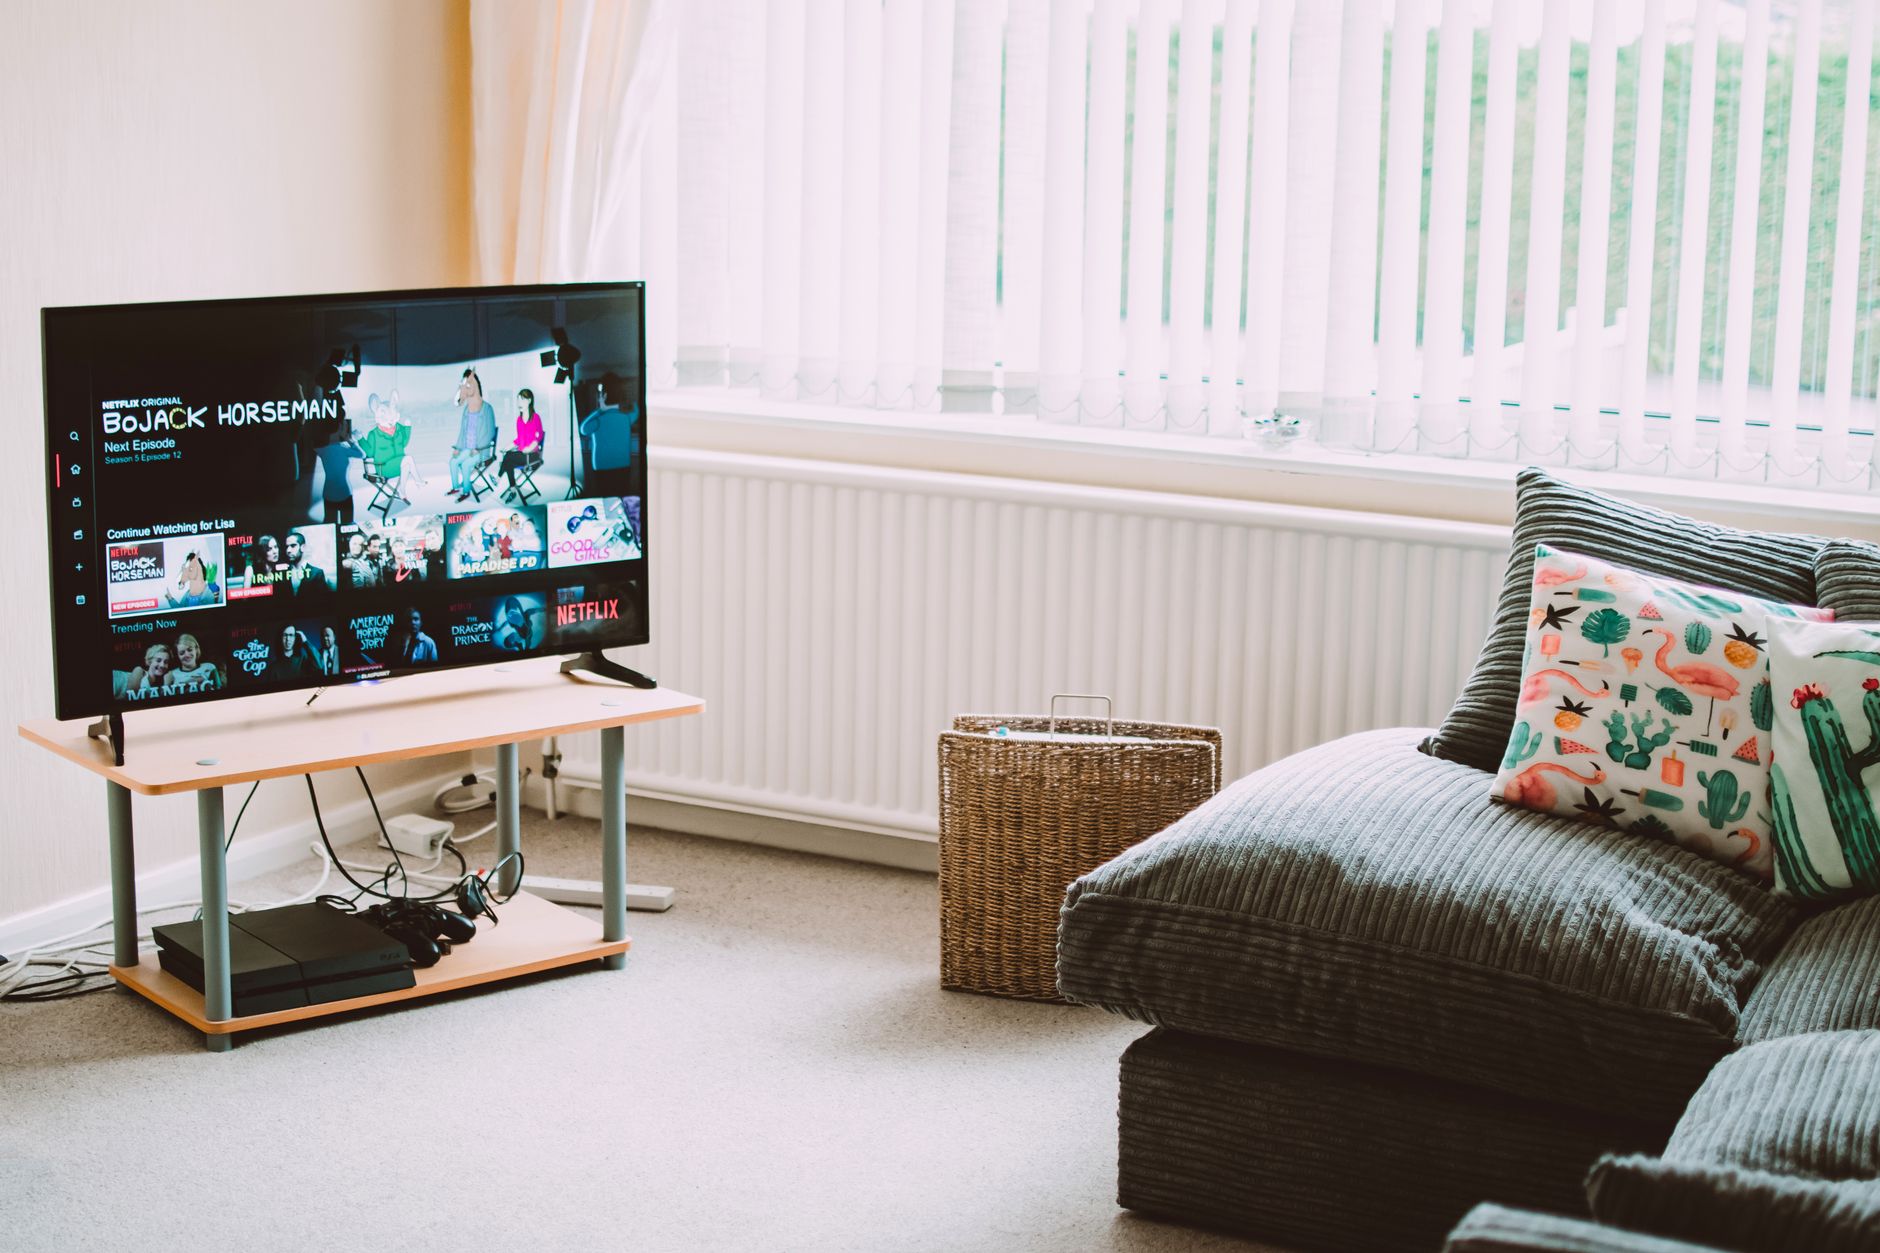
One detail many first-time Jellyfin users overlook: Jellyfin’s built-in user management lets you create separate accounts for family members with individual watch histories, parental controls, and library access restrictions. Each user gets their own “Continue Watching” row, their own ratings, and their own profile. Create these from the Dashboard under Users, and set permissions carefully – you probably don’t want guest accounts triggering full library scans or adjusting server settings. Once users are configured and remote access is stable, the experience on the client apps – especially on Roku, Fire TV, and Android TV – is close enough to a commercial streaming service that most people stop noticing the difference within a few days of regular use.
What You’re Actually Getting
Jellyfin won’t solve the problem of finding new content to watch – that still requires you to acquire media through legal means, whether that’s ripping Blu-rays you own, downloading purchased digital files, or managing a library you’ve built over time. What it solves is everything that happens after: organization, playback, multi-device access, and the permanent availability of content you’ve already paid for. The real question isn’t whether Jellyfin is good enough to replace a streaming subscription – for library management, it’s demonstrably better – it’s whether you have enough content stored locally to make the setup worthwhile. For households sitting on hundreds of ripped discs and downloaded purchases, the answer is obvious. For someone with thirty files and a slow home internet connection doing the serving, the friction of setup may outpace the payoff.



