



Getting Non-Apple Smart Home Devices Into HomeKit
Apple’s HomeKit is a well-designed smart home platform, but it only officially supports devices that have gone through Apple’s certification process. Homebridge changes that equation entirely. It is an open-source Node.js server that runs locally on your network, acting as a bridge between HomeKit and thousands of devices that Apple never certified – from older smart bulbs and robot vacuums to security cameras and third-party thermostats.
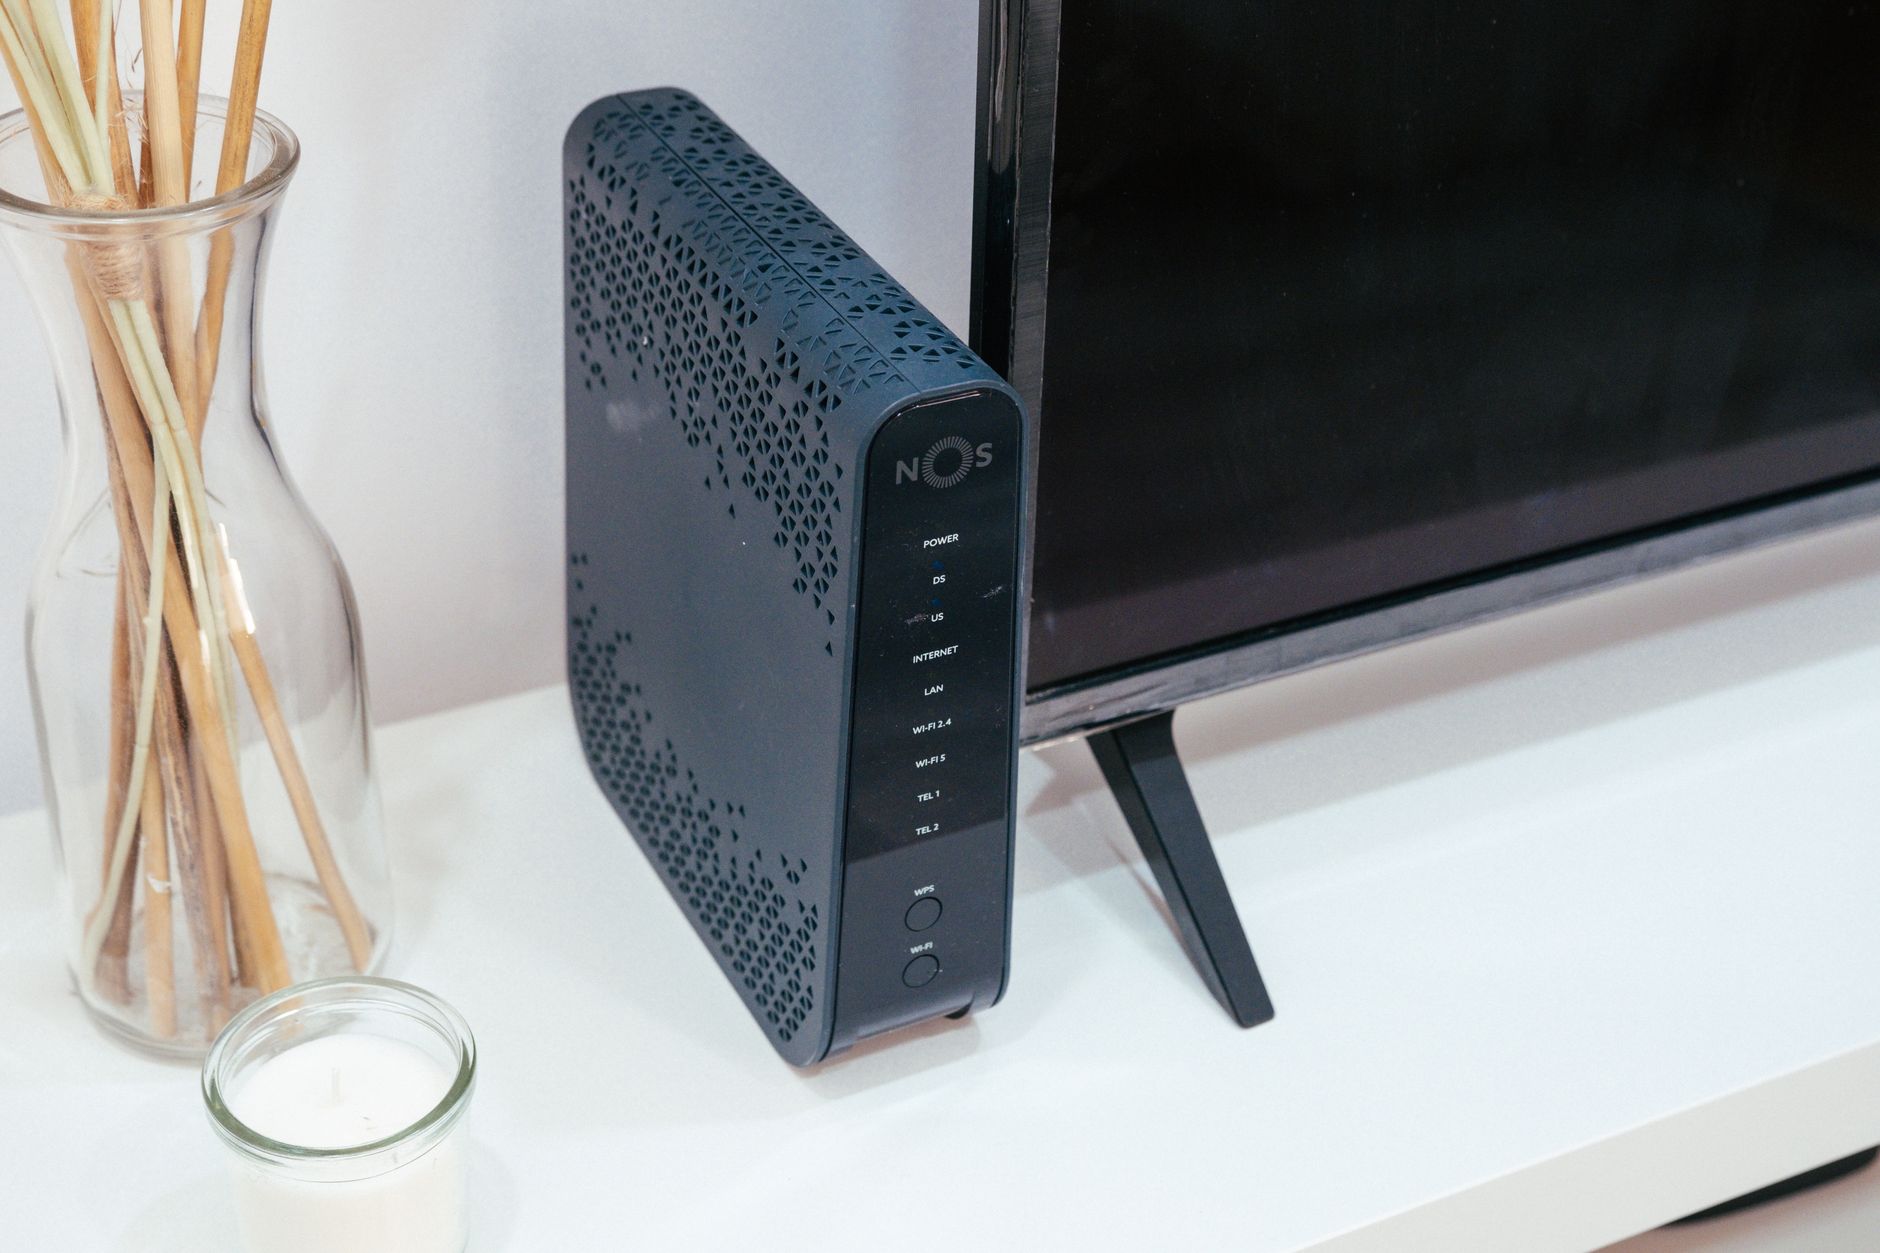
What Homebridge Actually Does and Why It Works
Homebridge runs a local HomeKit accessory server on your machine. When you open the Home app on your iPhone or iPad, it sees Homebridge as if it were a certified HomeKit hub packed with accessories. The actual communication with your non-Apple devices happens through plugins – small Node.js packages written by the community – that translate manufacturer APIs into the HomeKit Accessory Protocol. The translation happens locally, which means your smart home commands are not routed through any cloud service unnecessarily.
The plugin library is genuinely large. There are plugins for Eufy cameras, Xiaomi robot vacuums, Tuya-based smart plugs, Nest thermostats, LIFX bulbs, Broadlink IR blasters, and hundreds of other products. Each plugin is installed and managed through Homebridge’s web interface, so you do not need to touch the command line after the initial setup. Before you start, it helps to search the Homebridge plugin repository to confirm a plugin exists for your specific device model, because coverage varies by product generation.
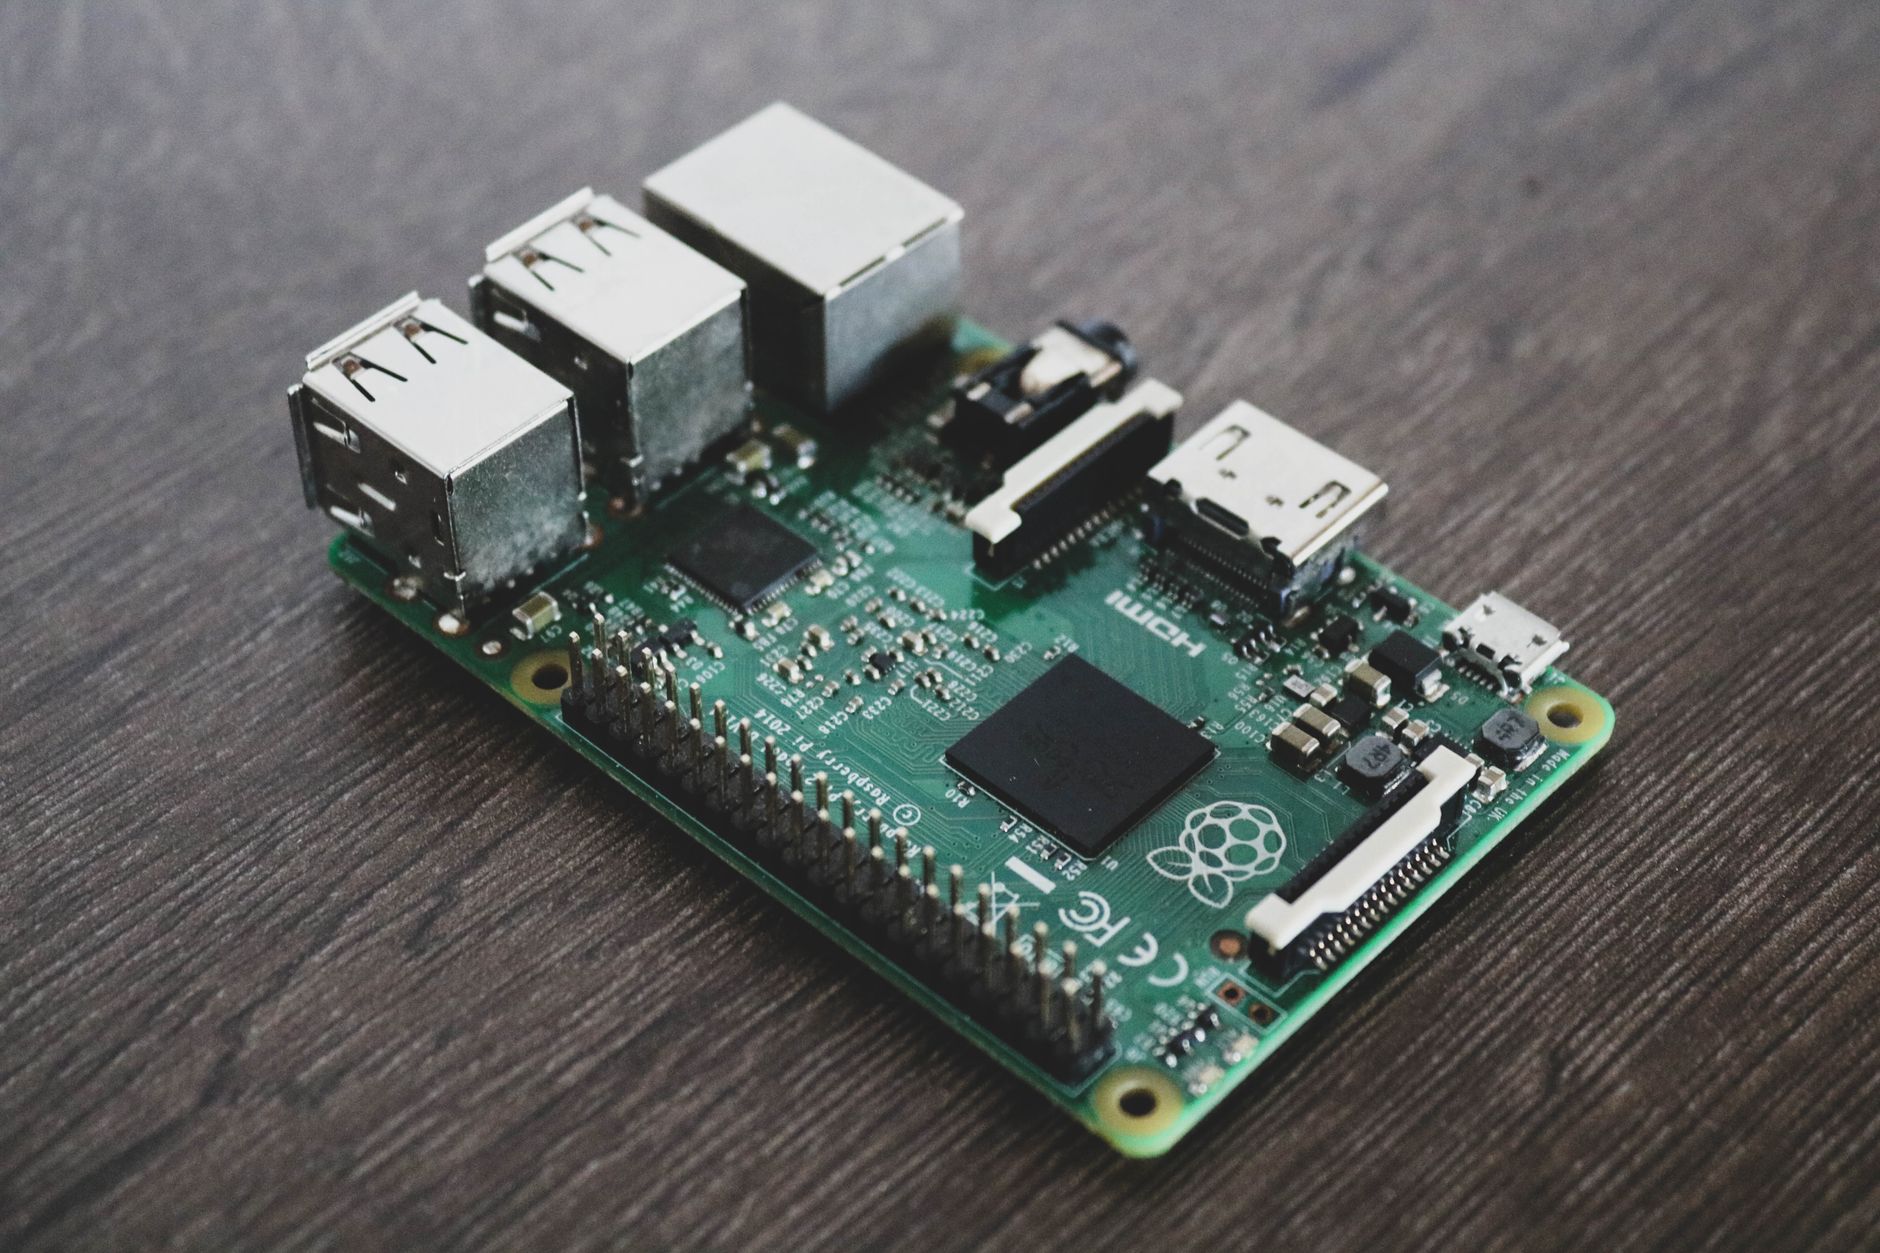
The host machine for Homebridge can be almost anything running Linux, macOS, or Windows. A Raspberry Pi 4 is the most common choice because it draws little power, runs reliably around the clock, and costs relatively little. A spare laptop, a home server, or even a Docker container on a NAS device all work. The only firm requirement is that the machine stays on continuously, since Homebridge must be running for your HomeKit devices to respond.
One thing to understand before installing: Homebridge does not bypass device security or manufacturer restrictions in any illegal sense. It uses the same local or cloud APIs that the manufacturer’s own app uses – it just presents the results to HomeKit in a format Apple understands. This means that if a manufacturer shuts down their cloud service or changes their API, the relevant plugin may stop working until the plugin author updates it. Locally controlled devices, such as those using Zigbee or Z-Wave via a local hub, are generally more stable long-term.
Installing and Configuring Homebridge Step by Step
The cleanest installation method on a Raspberry Pi or Debian-based Linux machine is through the official Homebridge package repository. Open a terminal and run the one-line installer script from the official Homebridge documentation, which handles Node.js, the Homebridge package itself, and the systemd service that keeps it running on boot. On macOS, Homebrew works well as an alternative. Windows users can install Node.js manually and then install Homebridge globally with npm install -g homebridge.
After installation, Homebridge starts a web-based control panel, typically accessible at http://[your-machine-ip]:8581. The first time you open it, you create an admin account. From here, the interface handles nearly everything. The dashboard shows your bridge status, connected accessories, and any error logs. The Plugins tab is where you search for and install community plugins. Type your device brand or product name into the search bar and look for plugins with high download counts and recent update dates – those are generally better maintained.
Once you install a plugin, it usually adds a new section to your config.json file. Homebridge provides a built-in visual config editor so you rarely need to edit raw JSON directly. Each plugin has its own configuration requirements, but most ask for credentials – your device account username and password, or a local IP address and API token. The plugin’s documentation on npm or GitHub describes exactly what fields to fill in. For Tuya-based devices, for example, you need to register a developer account on the Tuya IoT Platform to retrieve an API key, which adds a step but is well-documented by plugin authors.
After saving your configuration, restart the Homebridge service using the button in the web UI. Open your iPhone’s Home app, tap the + icon, and choose Add Accessory. Select I Don’t Have a Code or Cannot Scan, and your Homebridge bridge should appear under Nearby Accessories. Enter the eight-digit HomeKit pairing code shown in the Homebridge dashboard. Within seconds, all the accessories registered through your plugins populate in the Home app, ready to be assigned to rooms and included in automations.
If an accessory does not appear after pairing, the Homebridge log is the first place to check. The log tab in the web UI shows real-time output and usually makes the problem obvious – a wrong password, an unreachable IP address, or a misconfigured field in the plugin settings. Resetting the Homebridge cache, available under the Homebridge Settings menu, fixes a range of pairing and accessory-visibility issues. If a specific plugin repeatedly crashes, check its GitHub repository for open issues, as the problem is often known and a fix may already be in progress.
Running Homebridge Reliably Over Time
Keeping Homebridge stable long-term comes down to three habits: updating plugins regularly, monitoring the log for recurring errors, and avoiding unnecessary restarts of the host machine without checking active automations first. Homebridge itself releases updates through its web UI, and you can enable automatic plugin updates if you prefer a hands-off setup. For anyone already running a home server or self-hosted tools – the kind of setup described in guides like configuring Caddy as a reverse proxy – adding Homebridge to that stack is straightforward, and you can proxy the Homebridge UI behind HTTPS for remote access.
The practical ceiling of Homebridge is mostly determined by your plugin selection. A well-maintained plugin for a locally controlled device can run for years without attention. A plugin tied to a cloud API is always one manufacturer update away from breaking. Choosing devices with open local APIs – or pairing Homebridge with a Zigbee coordinator running something like Zigbee2MQTT – keeps the entire setup under your control and removes the manufacturer from the reliability equation entirely.
Frequently Asked Questions
Does Homebridge require an Apple TV or HomePod hub?
No, Homebridge runs independently on your local network. However, an Apple TV or HomePod is still needed if you want remote access to your HomeKit accessories outside your home.
Is Homebridge safe to use with my smart home devices?
Homebridge runs locally on your network and uses the same APIs as manufacturer apps. It does not send your credentials to third parties, though plugin code is community-written and worth reviewing before use.



