



Why Push Notifications Belong on Your Own Server
Most notification services work by routing your alerts through a third-party cloud platform – meaning every ping about your server going down, your home automation triggering, or your backup completing passes through infrastructure you do not control. For anyone running a self-hosted stack, that creates an odd dependency: the local services are private, but the alerts about them are not. Gotify solves this by giving you a simple, self-hosted notification server that runs entirely within your own network, with no accounts, no external API keys, and no usage limits.
Gotify is a lightweight Go application with a clean web interface, a REST API for sending messages, and a WebSocket connection that powers real-time delivery to its Android app and any compatible client. Setup takes under ten minutes on most Linux machines or inside Docker, and once it is running, virtually any script, cron job, or monitoring tool can send you a push notification with a single HTTP request. This guide walks through the full setup from installation to your first working notification.

Installing Gotify with Docker
Docker is the fastest way to get Gotify running without worrying about Go version compatibility or system dependencies. Create a directory for Gotify’s persistent data first – something like /opt/gotify/data – then pull and run the official image. The command below mounts that directory so your messages, apps, and tokens survive container restarts:
docker run -d –name gotify -p 8080:80 -v /opt/gotify/data:/app/data gotify/server
That single command starts Gotify on port 8080. Open a browser and navigate to http://your-server-ip:8080 and you will land on the login screen. The default credentials are username admin and password admin – change this immediately after your first login by going to Users in the top navigation and editing the admin account. Leaving default credentials on any web-facing service is the fastest route to a bad day.
If you prefer Docker Compose, which is easier to manage long-term, create a docker-compose.yml file with the following content:
- image: gotify/server
- ports: “8080:80”
- volumes: ./data:/app/data
- restart: unless-stopped
Run docker compose up -d in the same directory and Gotify starts with automatic restarts enabled. The restart: unless-stopped directive means Gotify comes back after a reboot without any manual intervention. If you are not using Docker and prefer a bare-metal install, the Gotify GitHub releases page provides pre-compiled binaries for Linux (amd64, arm64, and armv7), which makes it equally straightforward on a Raspberry Pi.

Creating Apps and Generating Tokens
Gotify organizes notifications around “apps” – each app represents a source that sends messages, and each app gets its own API token. This separation means your home automation system, your backup script, and your uptime monitor each get distinct tokens, so you can revoke one without touching the others.
After logging in, click Apps in the sidebar and then Create Application. Give it a name that matches its purpose – “Backup Alerts” or “Server Monitor” works well – and optionally add a description and a custom icon. Once saved, Gotify displays the app’s token. Copy it immediately because this is the only time it appears in full. Store it somewhere safe, like a password manager or a secrets file on the originating server.
Sending Your First Notification
With a token in hand, sending a message requires nothing more than a single curl command. The API endpoint is straightforward: a POST request to /message with your token as a query parameter and a JSON body containing the title, message, and priority.
Here is the basic command structure:
curl -X POST “http://your-server-ip:8080/message?token=YOUR_APP_TOKEN” -H “Content-Type: application/json” -d ‘{“title”:”Test Alert”,”message”:”Gotify is working.”,”priority”:5}’
Priority runs from 1 (low) to 10 (urgent), and the Android app uses this value to determine notification behavior – high priority messages can bypass Do Not Disturb. Drop this curl command into any bash script, cron job, or monitoring tool to start getting real notifications. For something like a nightly backup script, adding this line at the end with a success or failure message means you always know whether the backup actually ran, without checking a log file manually.
Connecting the Android App and Securing Access
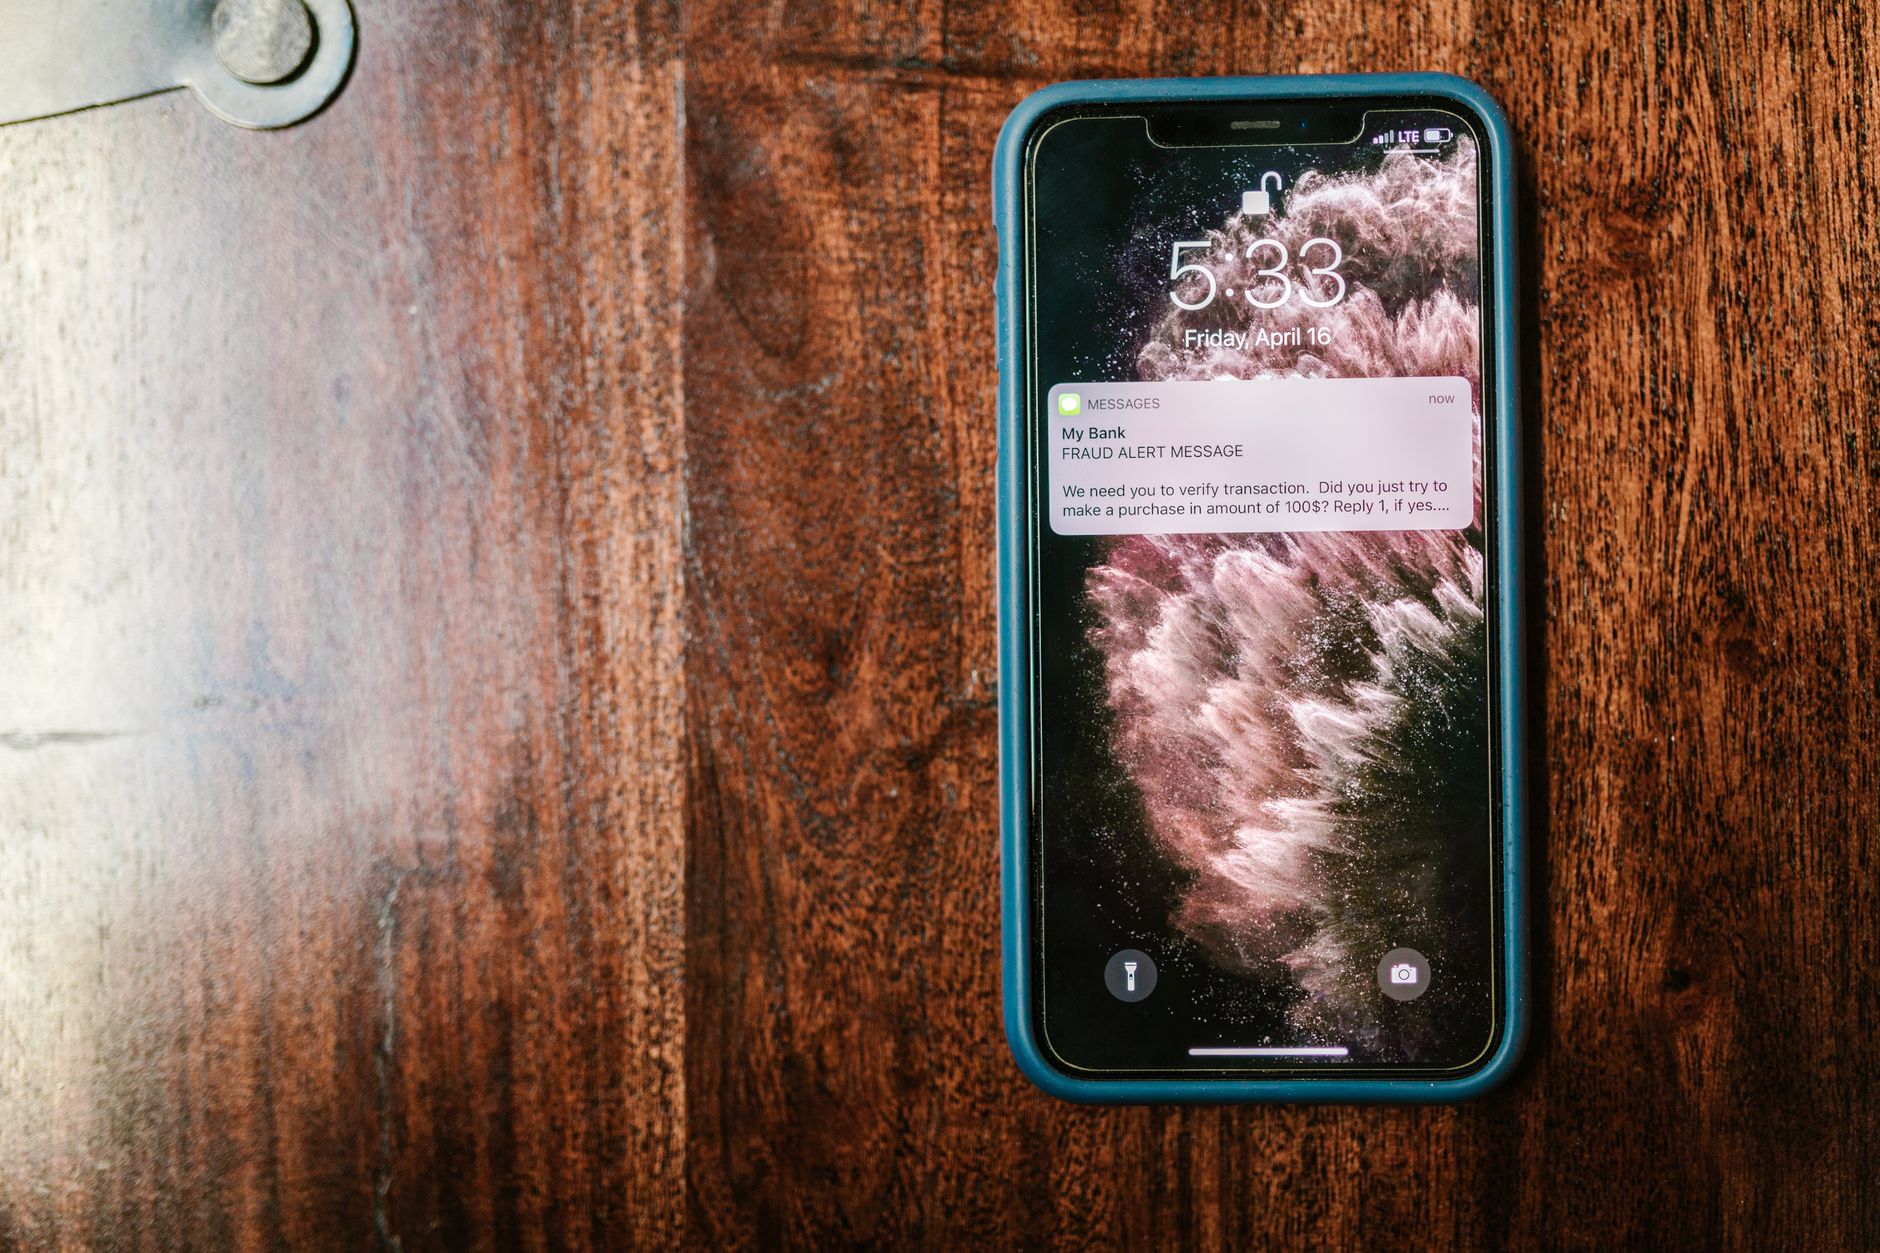
The official Gotify Android app is available on F-Droid and GitHub (it is not on the Google Play Store). After installing it, tap the plus icon to add a server, enter your server’s address and your user credentials, and the app connects over WebSocket to receive messages in real time. Notifications appear like any standard push alert, with title, body, and priority reflected in how the system handles them.
Running Gotify only on your local network is fine for home use, but if you want notifications while away from home, you need to expose it securely. Putting it behind a reverse proxy like Nginx or Caddy with HTTPS is the standard approach – Caddy in particular handles TLS certificate provisioning automatically. If you want to avoid opening any inbound ports at all, a Cloudflare Tunnel routes traffic to Gotify without any firewall changes, keeping the server completely isolated from direct internet exposure. Either way, do not run Gotify over plain HTTP on a public address – the token in every notification request would be visible to anyone watching the traffic.
One detail that catches people off guard: the Android app maintains a persistent WebSocket connection, which means it needs to reach your server continuously. If your server IP changes, or if your reverse proxy restarts without reconnecting properly, the app goes silent until you manually reconnect. Setting up a static local IP for the server – or using a stable domain name rather than a raw IP – prevents most of these interruptions before they start.



