


What You Need to Know
Local AI image generation puts the power of artificial intelligence directly on your computer. Instead of relying on cloud services that charge fees or limit usage, Stable Diffusion lets you create unlimited images using your own hardware. The open-source model runs entirely offline, giving you complete privacy and creative freedom.
Setting up Stable Diffusion locally requires some technical know-how, but the payoff is substantial. You’ll generate high-quality images from text prompts, customize models for specific art styles, and avoid subscription fees. Most importantly, everything runs on your machine – no internet required once installed.
This guide walks through installing Stable Diffusion on Windows using AUTOMATIC1111’s WebUI, the most popular interface for local deployment. The process takes 30-60 minutes depending on your internet speed and hardware.
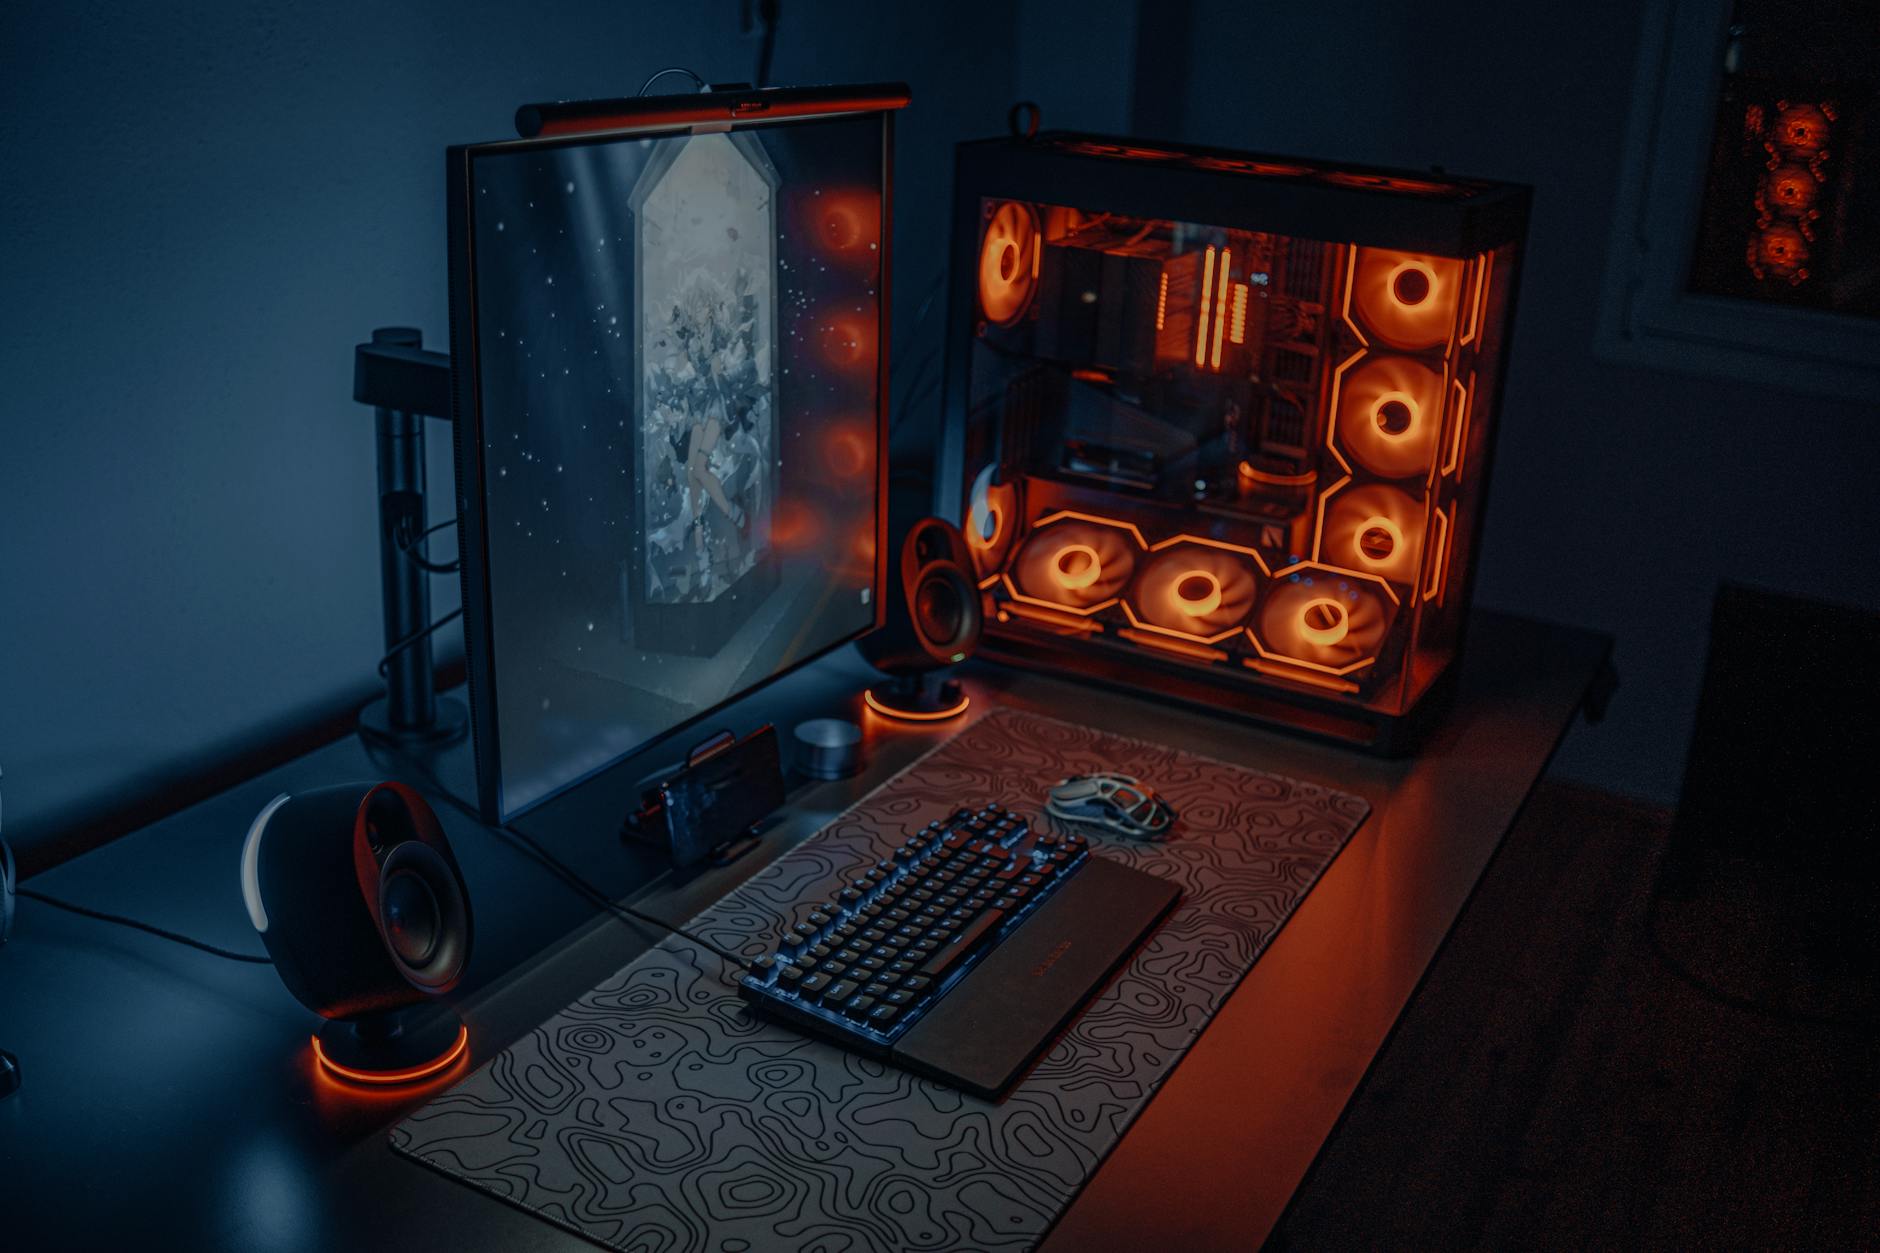
1. Check Your Hardware Requirements
Your graphics card determines image generation speed and quality. NVIDIA GPUs work best due to CUDA support, though AMD cards can run Stable Diffusion with reduced performance.
Minimum requirements include an NVIDIA GTX 1060 6GB or AMD RX 580 8GB. For comfortable usage, aim for RTX 3060 12GB or better. The extra VRAM lets you generate larger images and use advanced features like ControlNet.
System RAM needs vary by model complexity. 16GB handles most tasks, while 32GB provides headroom for larger models and batch processing. Storage requires at least 20GB free space for the base installation, with additional room for custom models.
2. Install Python and Git
Download Python 3.10.x from python.org – newer versions may cause compatibility issues. During installation, check “Add Python to PATH” and “Install for all users” to ensure proper system integration.
Verify the installation by opening Command Prompt and typing “python –version”. You should see Python 3.10.x displayed.
Next, install Git from git-scm.com. This version control system downloads and updates Stable Diffusion files. Use default settings during installation, ensuring Git gets added to your system PATH.
3. Download AUTOMATIC1111 WebUI
Create a new folder called “stable-diffusion” on your C: drive or preferred location. Open Command Prompt, navigate to this folder using “cd C:\stable-diffusion”, then run:
git clone https://github.com/AUTOMATIC1111/stable-diffusion-webui.git
This downloads the WebUI interface, which provides an intuitive browser-based frontend for Stable Diffusion. The download includes example configurations and helper scripts for easy setup.
4. Install Required Dependencies
Navigate into the downloaded folder using “cd stable-diffusion-webui” in Command Prompt. Run the installation script by typing:
webui-user.bat
This script automatically installs PyTorch, xformers, and other required Python packages. The process takes 10-20 minutes depending on your internet connection. Watch for any error messages during installation.

5. Download Your First Model
Stable Diffusion models determine image style and quality. The base model works well for general purposes, while specialized models excel at specific art styles, photography, or anime.
Visit Hugging Face or Civitai to browse available models. Popular choices include Realistic Vision for photorealistic images, DreamShaper for versatile art styles, and Anything v4.5 for anime characters.
Download models as .safetensors files – they’re safer and load faster than .ckpt formats. Place downloaded models in the “stable-diffusion-webui/models/Stable-diffusion” folder.
6. Launch the WebUI Interface
Run “webui-user.bat” again to start the interface. The first launch takes several minutes as the system initializes CUDA drivers and loads the default model.
Once ready, you’ll see a local URL like “http://127.0.0.1:7860” in the Command Prompt. Open this address in your web browser to access the Stable Diffusion interface.
The WebUI loads with text boxes for prompts, generation settings, and a gallery for created images. This browser-based interface runs entirely on your local machine.
7. Generate Your First Image
Start with a simple prompt like “a cat sitting in a garden, photorealistic, detailed”. Keep initial settings at defaults: 512×512 resolution, 20 sampling steps, and CFG scale of 7.
Click “Generate” to create your first image. Generation time varies by hardware – high-end GPUs finish in 5-10 seconds, while older cards may take 30-60 seconds.
Experiment with different prompts, adjusting keywords to refine results. Add style descriptors like “oil painting”, “digital art”, or “photograph” to guide the artistic direction.
8. Optimize Performance Settings
Access advanced settings through the “Settings” tab. Enable “xformers” if available – this optimization reduces VRAM usage and speeds generation on modern NVIDIA cards.
Adjust “Batch size” based on your VRAM capacity. Higher batch sizes generate multiple images simultaneously but require more memory. Start with batch size 1 and increase gradually.
For systems with limited VRAM, enable “–medvram” or “–lowvram” flags by editing “webui-user.bat” and adding these parameters to the COMMANDLINE_ARGS variable.
9. Install Additional Extensions
Extensions add powerful features like ControlNet for precise pose control, Dreambooth for training custom faces, and upscalers for image enhancement.
Access the Extensions tab in WebUI, then browse the “Available” section. Popular extensions include ControlNet for guided generation and Additional Networks for loading LoRA models.
Install extensions by clicking “Install” next to desired options. Restart WebUI after installation to activate new features. Some extensions require additional model downloads.
Key Takeaways
Local Stable Diffusion setup provides unlimited AI image generation without ongoing costs or privacy concerns. The AUTOMATIC1111 WebUI offers a user-friendly interface that makes advanced features accessible to beginners while providing depth for experienced users.
Success depends on having adequate hardware, particularly VRAM for smooth operation. Start with basic models and settings, then gradually explore advanced features like ControlNet and custom training. The community actively develops new models and extensions, expanding creative possibilities.
Similar to setting up private cloud storage, local AI generation requires initial setup effort but delivers long-term benefits in control and cost savings. Once configured, your system becomes a powerful creative tool limited only by your imagination and hardware capabilities.
Frequently Asked Questions
What hardware do I need for local Stable Diffusion?
Minimum NVIDIA GTX 1060 6GB or AMD RX 580 8GB, plus 16GB RAM and 20GB storage space.
How long does Stable Diffusion setup take?
Initial installation takes 30-60 minutes depending on internet speed and system specifications.


