


What You Need to Know
Adobe Premiere Pro’s latest AI-powered features are revolutionizing video editing workflows. The software now includes intelligent auto-editing capabilities that can analyze your footage, create rough cuts, and suggest transitions based on content recognition. These tools don’t replace creative decision-making but significantly speed up the initial editing process, letting you focus on storytelling rather than tedious clip organization.
Setting up these AI features requires proper configuration of Adobe’s cloud services, sufficient system resources, and understanding which tools work best for different project types. The setup process takes about 30 minutes but can save hours on every project thereafter.
Step 1: Update to the Latest Version
Launch Adobe Creative Cloud desktop app and check for Premiere Pro updates. The AI auto-edit features require the most recent version of the software. Click “Update” next to Premiere Pro if available, or install fresh if you’re setting up for the first time.
Verify your subscription includes Adobe’s AI services. Most Creative Cloud plans include Sensei AI features, but some older or basic plans may have limitations. Check your plan details in the Creative Cloud account section.
Restart your computer after installation to ensure all AI components initialize properly. Adobe’s machine learning models need to establish connections with cloud services during first launch.
Step 2: Configure Cloud Services and Storage
Sign into Adobe Creative Cloud within Premiere Pro by going to Help > Sign In. This connection enables cloud-based AI processing that powers the auto-edit features.
Set up Creative Cloud storage for AI analysis. Navigate to Preferences > Media and increase cache database size to at least 50GB if working with 4K footage. The AI needs space to store analysis data and generated proxy files.
Enable auto-sync in Creative Cloud preferences. This allows the AI to access your asset library across devices and learn from your editing patterns over time.
Step 3: Enable Auto Reframe and Scene Detection
Open a new project and import test footage. Go to Window > Essential Graphics to access AI-powered tools. The Auto Reframe feature appears in the Effects panel under Video Effects > Distort.
Apply Auto Reframe to a clip by dragging it from Effects panel. In Effect Controls, select target sequence format – Instagram Stories, YouTube, or custom aspect ratios. The AI analyzes motion and subject positioning to maintain focus during format changes.
Turn on Scene Edit Detection by right-clicking imported footage in Project panel and selecting “Scene Edit Detection.” Premiere Pro analyzes cuts, transitions, and scene changes automatically, adding markers to your timeline.

Step 4: Set Up Text-Based Editing
Access the Text panel by going to Window > Text. This feature transcribes spoken content and lets you edit video by editing the transcript text.
Select your footage in the timeline and click “Transcribe” in the Text panel. Choose your language and speaker count. Processing time varies based on clip length but typically takes 2-3 minutes per hour of footage.
Once transcription completes, you can select text portions and delete corresponding video sections, search for specific spoken words, or generate captions automatically. This streamlines documentary and interview editing significantly.
Step 5: Configure Auto Color and Audio Enhancement
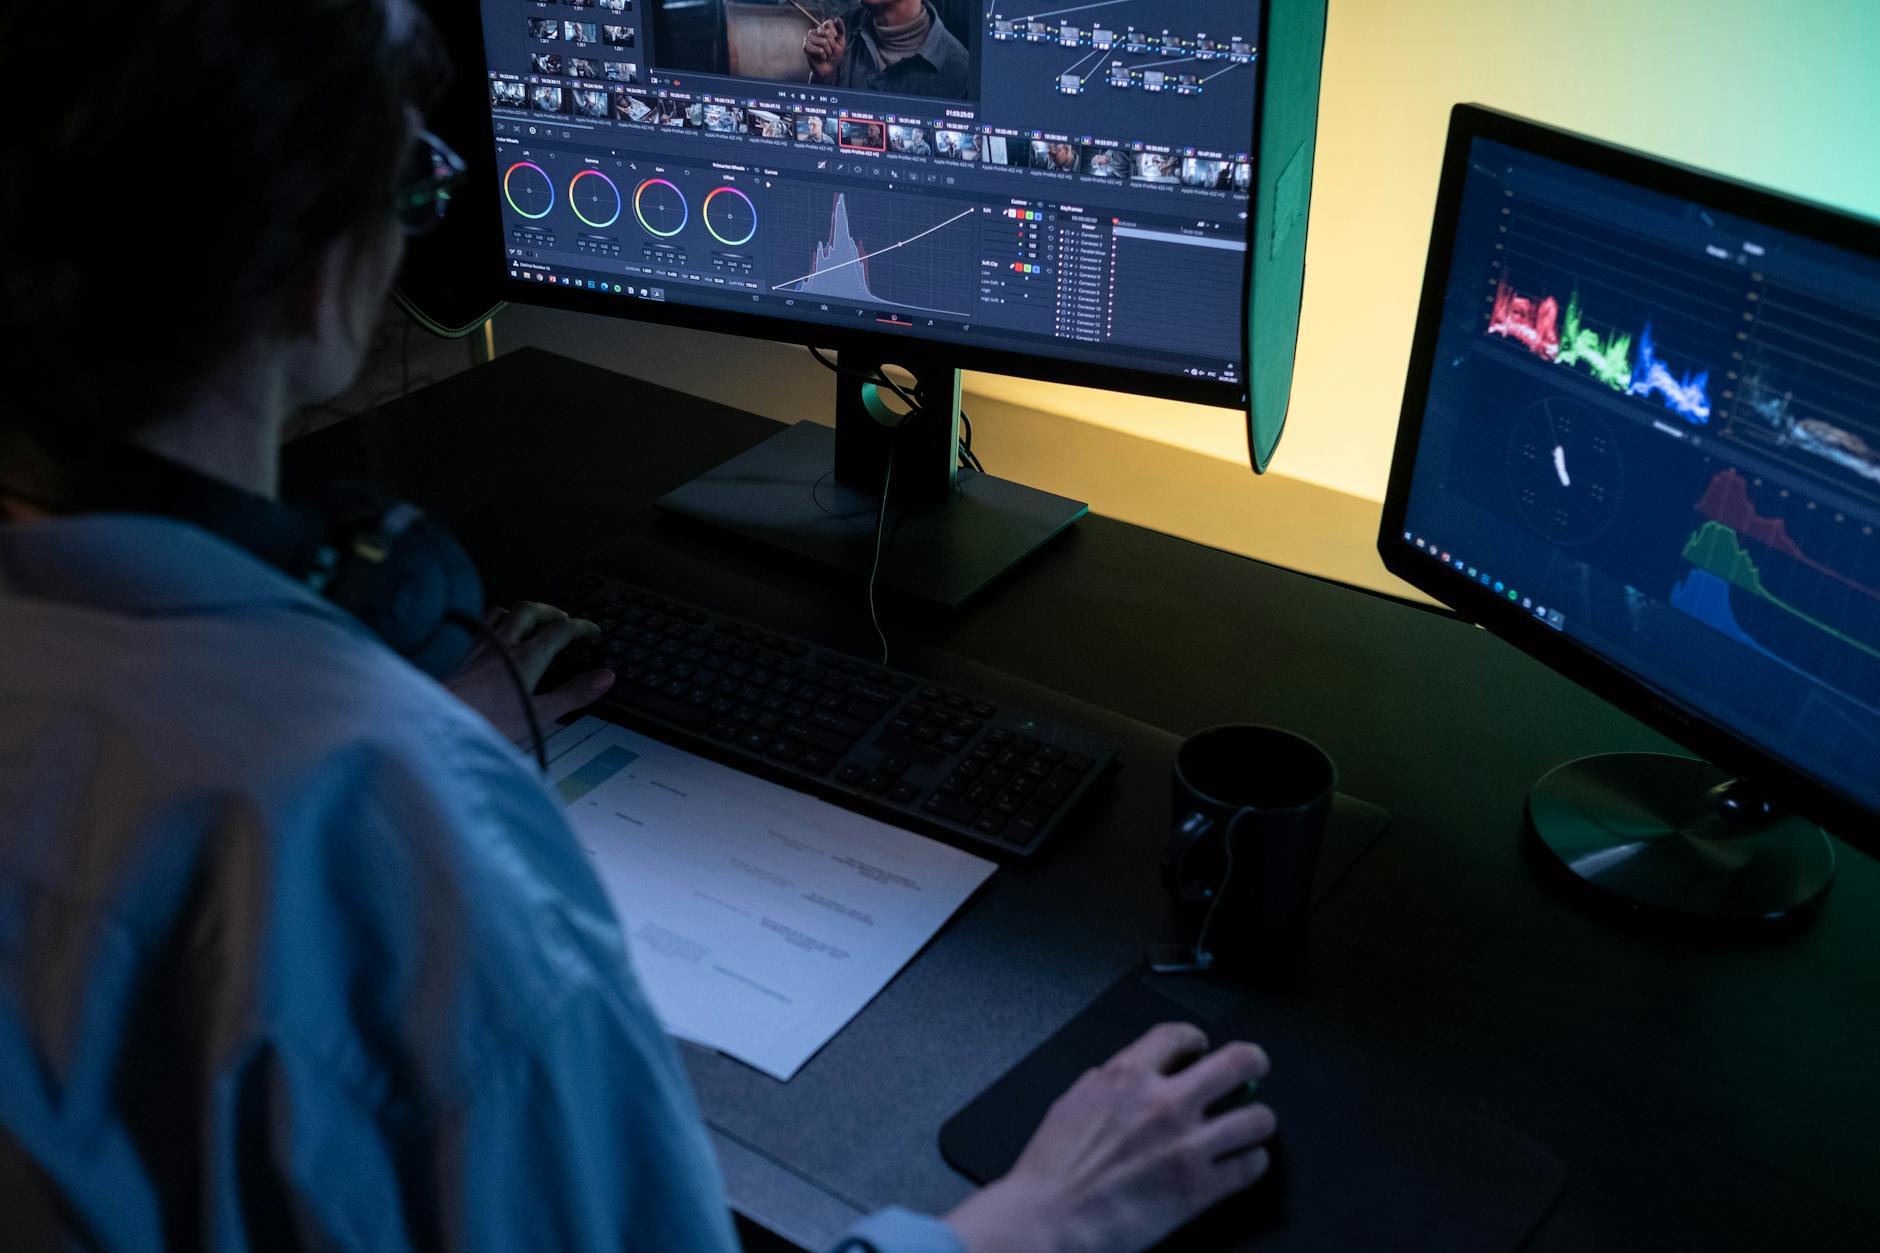
Navigate to the Lumetri Color panel by clicking Window > Lumetri Color. The AI-powered Auto tone feature analyzes exposure, contrast, and color balance across multiple clips simultaneously.
Select multiple clips in your timeline, then click the Auto button in Basic Correction. Premiere Pro’s AI matches color temperature, exposure, and saturation across shots, creating visual consistency without manual adjustment.
Set up Enhanced Speech in the Audio workspace. Go to Window > Workspaces > Audio, then open the Essential Sound panel. Apply the “Dialogue” preset to talking head footage, and enable “Reduce Background Noise” and “DeHum” for automatic audio cleanup.
For users managing multiple workspaces efficiently, consider setting up Windows 11 Virtual Desktop for Enhanced Workflow Organization to separate your editing and review environments.
Step 6: Optimize AI Performance Settings
Access Preferences > Memory to allocate RAM specifically for AI processing. Reserve at least 16GB for other applications if you have 32GB total RAM. More memory improves AI analysis speed and reduces processing time.
Set GPU acceleration in Preferences > Media. Select Metal (Mac) or CUDA (Windows with NVIDIA cards) to enable hardware-accelerated AI processing. This dramatically improves Auto Reframe and color analysis performance.
Configure proxy settings for large projects. Go to Preferences > Media Cache and enable “Automatically save cache files next to originals.” The AI works more efficiently with proxy media for 4K and higher resolution footage.
Step 7: Test and Refine Your Setup
Create a test sequence with varied footage types – talking heads, action shots, landscape scenes. Apply different AI tools to verify they’re working correctly and processing at acceptable speeds.
Monitor CPU and GPU usage during AI processing using Task Manager (Windows) or Activity Monitor (Mac). If usage consistently hits 100%, consider upgrading hardware or reducing simultaneous AI operations.
Save custom workspace layouts that include AI-focused panels. Go to Window > Workspaces > Save as New Workspace after arranging Text, Auto Reframe, and Essential Sound panels for quick access.
Key Takeaways
Adobe Premiere Pro’s AI auto-edit features transform time-consuming editing tasks into automated processes, but proper setup is crucial for optimal performance. The combination of cloud connectivity, adequate system resources, and correct preference settings determines how effectively these tools integrate into your workflow.
Start with simple projects to familiarize yourself with each AI feature’s capabilities and limitations. Text-based editing excels with interview content, while Auto Reframe shines for social media reformatting. Scene detection works best with cleanly shot footage that has natural cut points.
Remember that AI tools augment rather than replace creative decision-making. Use auto-generated cuts and corrections as starting points, then refine based on your artistic vision. The time saved on technical tasks gives you more opportunity to focus on storytelling and creative choices that make your projects stand out.
Frequently Asked Questions
Do I need a special subscription for Premiere Pro AI features?
Most Creative Cloud plans include Sensei AI features, but verify your plan includes cloud services for full functionality.
How much RAM do I need for AI auto-editing?
At least 16GB RAM is recommended, with 32GB preferred for smooth AI processing on complex projects.


