


What You Need to Know
Building a custom Network Attached Storage (NAS) server transforms your home entertainment setup from scattered files across multiple devices into a centralized media powerhouse. TrueNAS, the open-source storage operating system formerly known as FreeNAS, provides enterprise-grade features without the enterprise price tag. Your movies, TV shows, music, and photos become accessible from any device on your network while maintaining data integrity through advanced file systems.
This project requires basic computer assembly skills and network knowledge, but the results deliver professional-grade storage capabilities. You’ll gain redundant data protection, remote access to your media library, and the satisfaction of controlling your own digital ecosystem instead of relying on subscription streaming services.
1. Choose Your Hardware Foundation
Your NAS server needs reliable components that prioritize stability over raw performance. Start with a motherboard that supports ECC (Error-Correcting Code) memory – this prevents data corruption during long-running operations. The ASRock Rack series or Supermicro boards offer excellent options for home builds.
Select a CPU with moderate power consumption since your NAS runs continuously. AMD’s Ryzen 3000 series or Intel’s 10th generation processors provide enough processing power for transcoding multiple video streams while maintaining energy efficiency. Aim for at least 16GB of RAM, with 32GB preferred if you plan extensive media transcoding or virtual machine hosting.
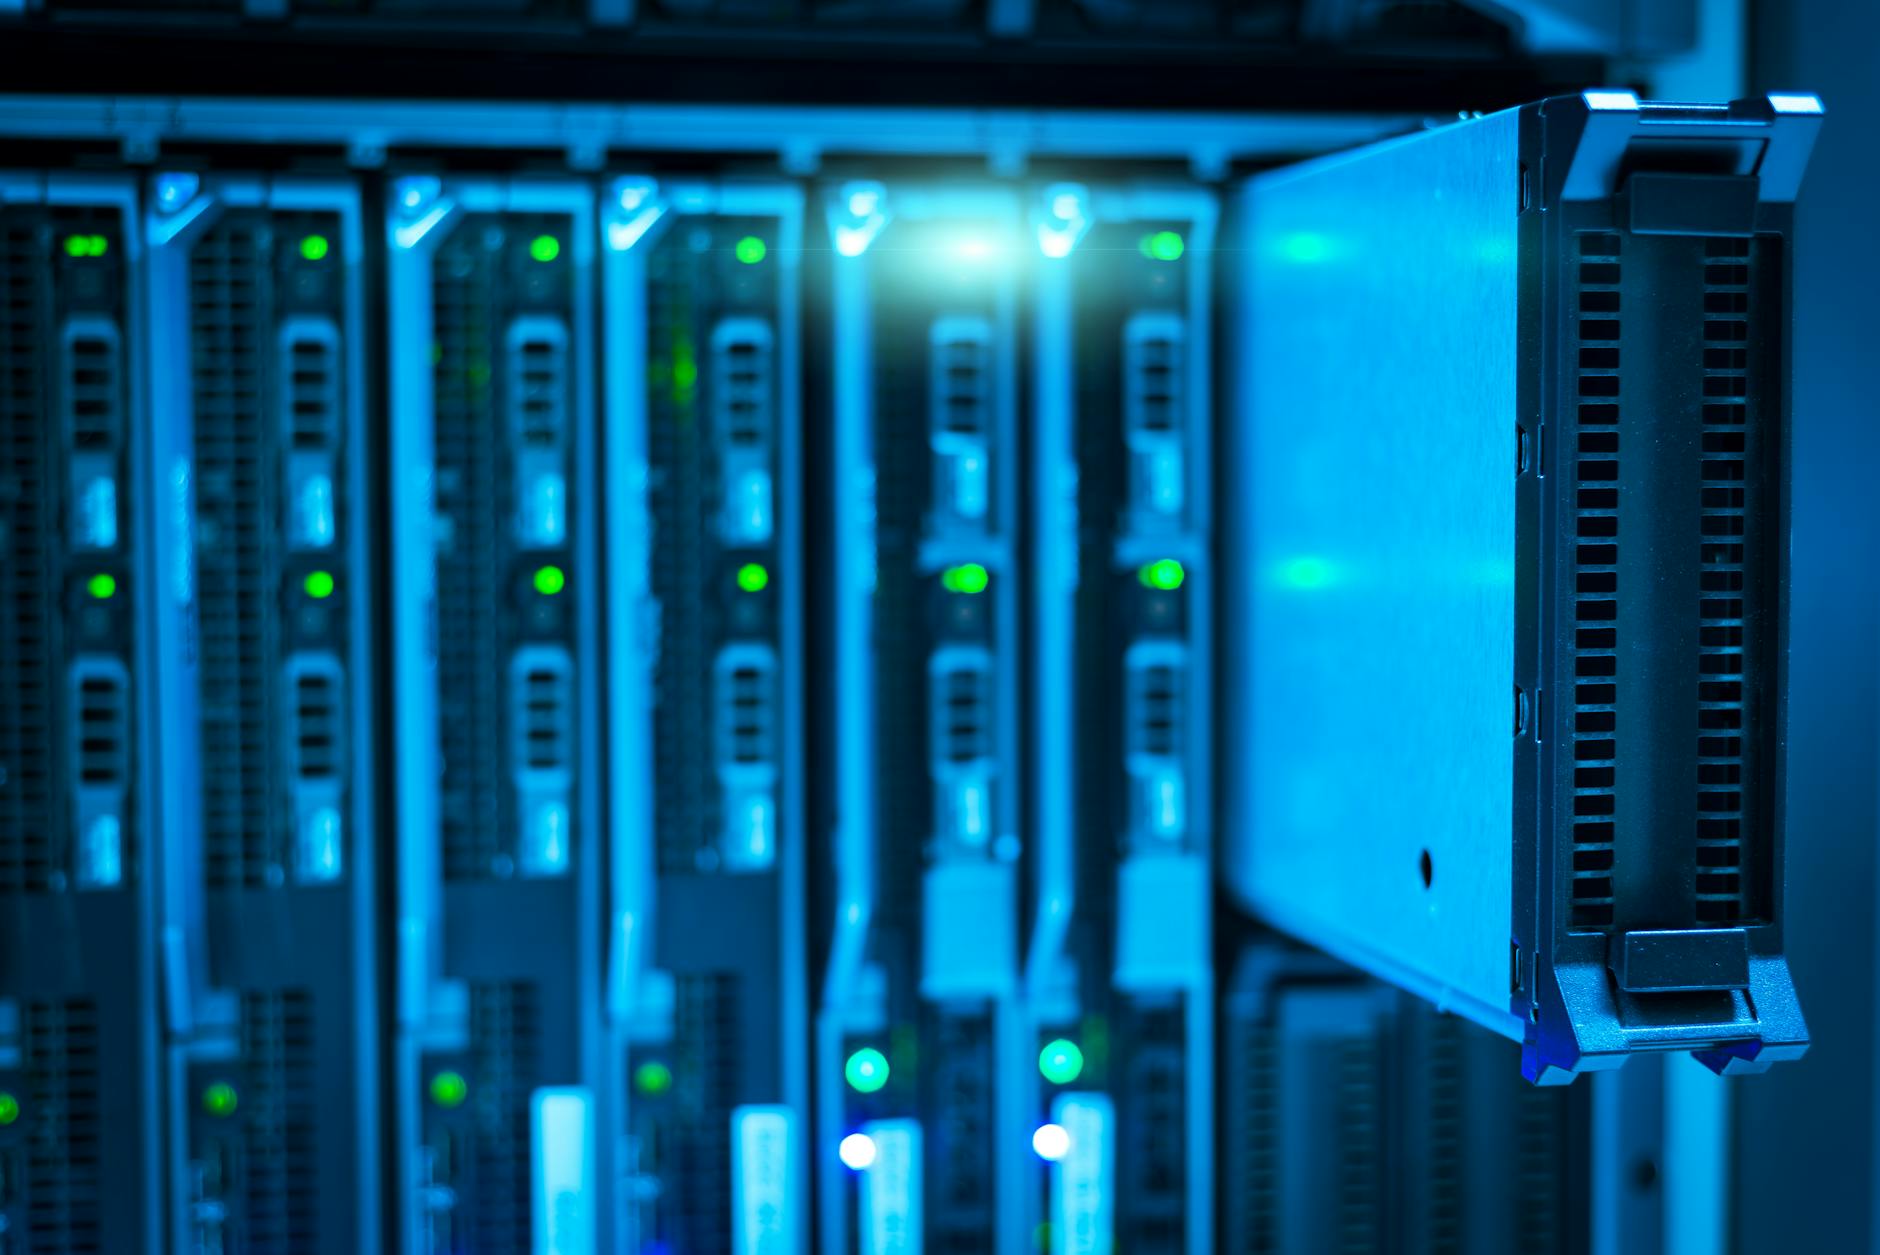
Storage drives form the heart of your system. Purchase identical drives in pairs or sets of four to create redundant arrays. Western Digital Red or Seagate IronWolf drives are specifically designed for NAS applications with enhanced vibration resistance and extended warranties.
2. Plan Your Storage Architecture
TrueNAS uses ZFS (Zettabyte File System), which combines traditional volume management and file system functions into a single, powerful solution. Understanding ZFS concepts before assembly prevents costly mistakes later.
Mirror configurations (RAID 1) provide the highest data protection by duplicating everything across two drives. You lose half your storage capacity but gain complete redundancy – if one drive fails, your data remains intact. For larger capacities, consider RAID-Z2, which tolerates two drive failures in a pool of four or more drives.
Plan for future expansion by selecting a case with extra drive bays. The Fractal Design Node 804 or Silverstone CS380 offer excellent airflow and drive mounting systems specifically designed for storage applications.
3. Install TrueNAS Operating System
Download TrueNAS CORE from the official website and create a bootable USB installer using Rufus on Windows or dd on Linux systems. Install TrueNAS on a separate drive from your storage pool – a small SSD works perfectly and improves boot times.
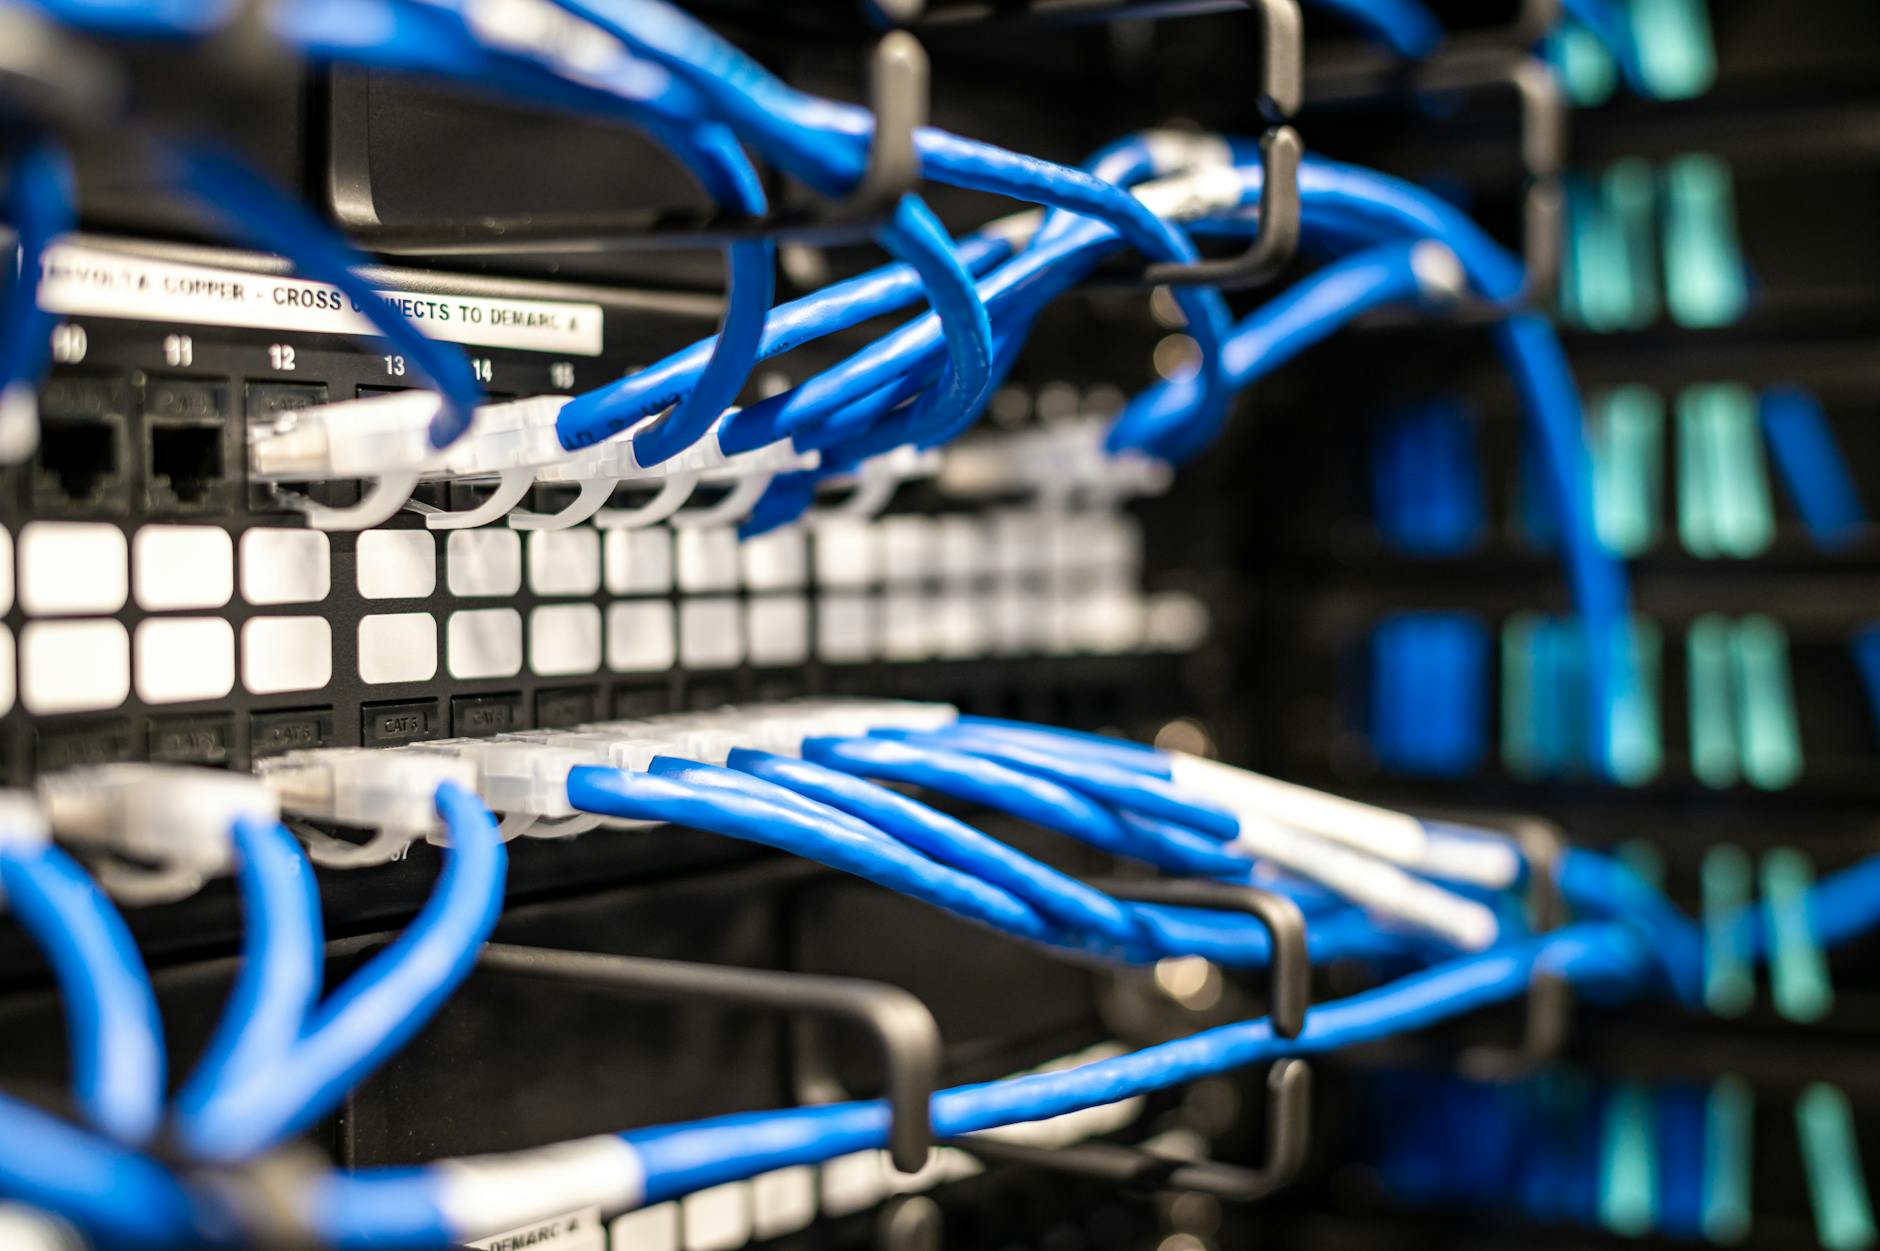
During installation, TrueNAS automatically configures basic networking settings. Connect your server directly to your router via ethernet cable for the most stable connection. The installation process takes approximately 15 minutes and requires minimal user interaction.
After installation, access the web interface by typing your server’s IP address into any web browser on your network. The clean, intuitive interface guides you through initial configuration without requiring command-line expertise.
4. Configure Storage Pools and Datasets
Navigate to Storage > Pools in the TrueNAS web interface to create your first storage pool. Select your drives and choose your redundancy level based on your earlier planning. The interface clearly shows available space after redundancy calculations.
Create separate datasets for different media types – one for movies, another for TV shows, and a third for music. This organization simplifies permission management and allows targeted backup strategies. Set appropriate compression settings for each dataset; movies benefit less from compression than documents or photos.
Enable snapshots for automatic point-in-time recovery. Configure hourly snapshots for frequently changing data and daily snapshots for media libraries. These snapshots consume minimal space initially and provide insurance against accidental deletions or corruptions.
5. Set Up Network Sharing Protocols
Configure SMB shares for Windows devices, NFS for Linux systems, and AFP for macOS compatibility. TrueNAS supports all major sharing protocols simultaneously, allowing mixed-device environments to access the same data.
Create user accounts with appropriate permissions for family members or roommates. Separate read-only accounts prevent accidental deletions while full-access accounts enable content management. Consider creating a guest account for temporary access needs.
Enable the media server functionality through the built-in Plex plugin or install Jellyfin for completely open-source media streaming. These applications automatically scan your media libraries, download metadata, and provide Netflix-like interfaces for content browsing.
6. Optimize for Media Streaming Performance
Configure your network interface for jumbo frames if your router supports them – this reduces CPU overhead during large file transfers. Enable write caching for improved small-file performance, common when browsing media libraries with many thumbnail images.
Install additional plugins through the TrueNAS interface to expand functionality. The Nextcloud plugin transforms your NAS into a private cloud service, while the Transmission plugin enables automated torrent downloading for legally obtained content.
Set up regular scrubs to verify data integrity across your storage pools. Monthly scrubs catch silent data corruption before it spreads, maintaining the reliability that makes NAS systems superior to simple external drives.
7. Implement Remote Access and Security
Configure dynamic DNS through your router or a service like DuckDNS to access your media library from outside your home network. This enables streaming your personal content while traveling or sharing specific folders with family members in different locations.
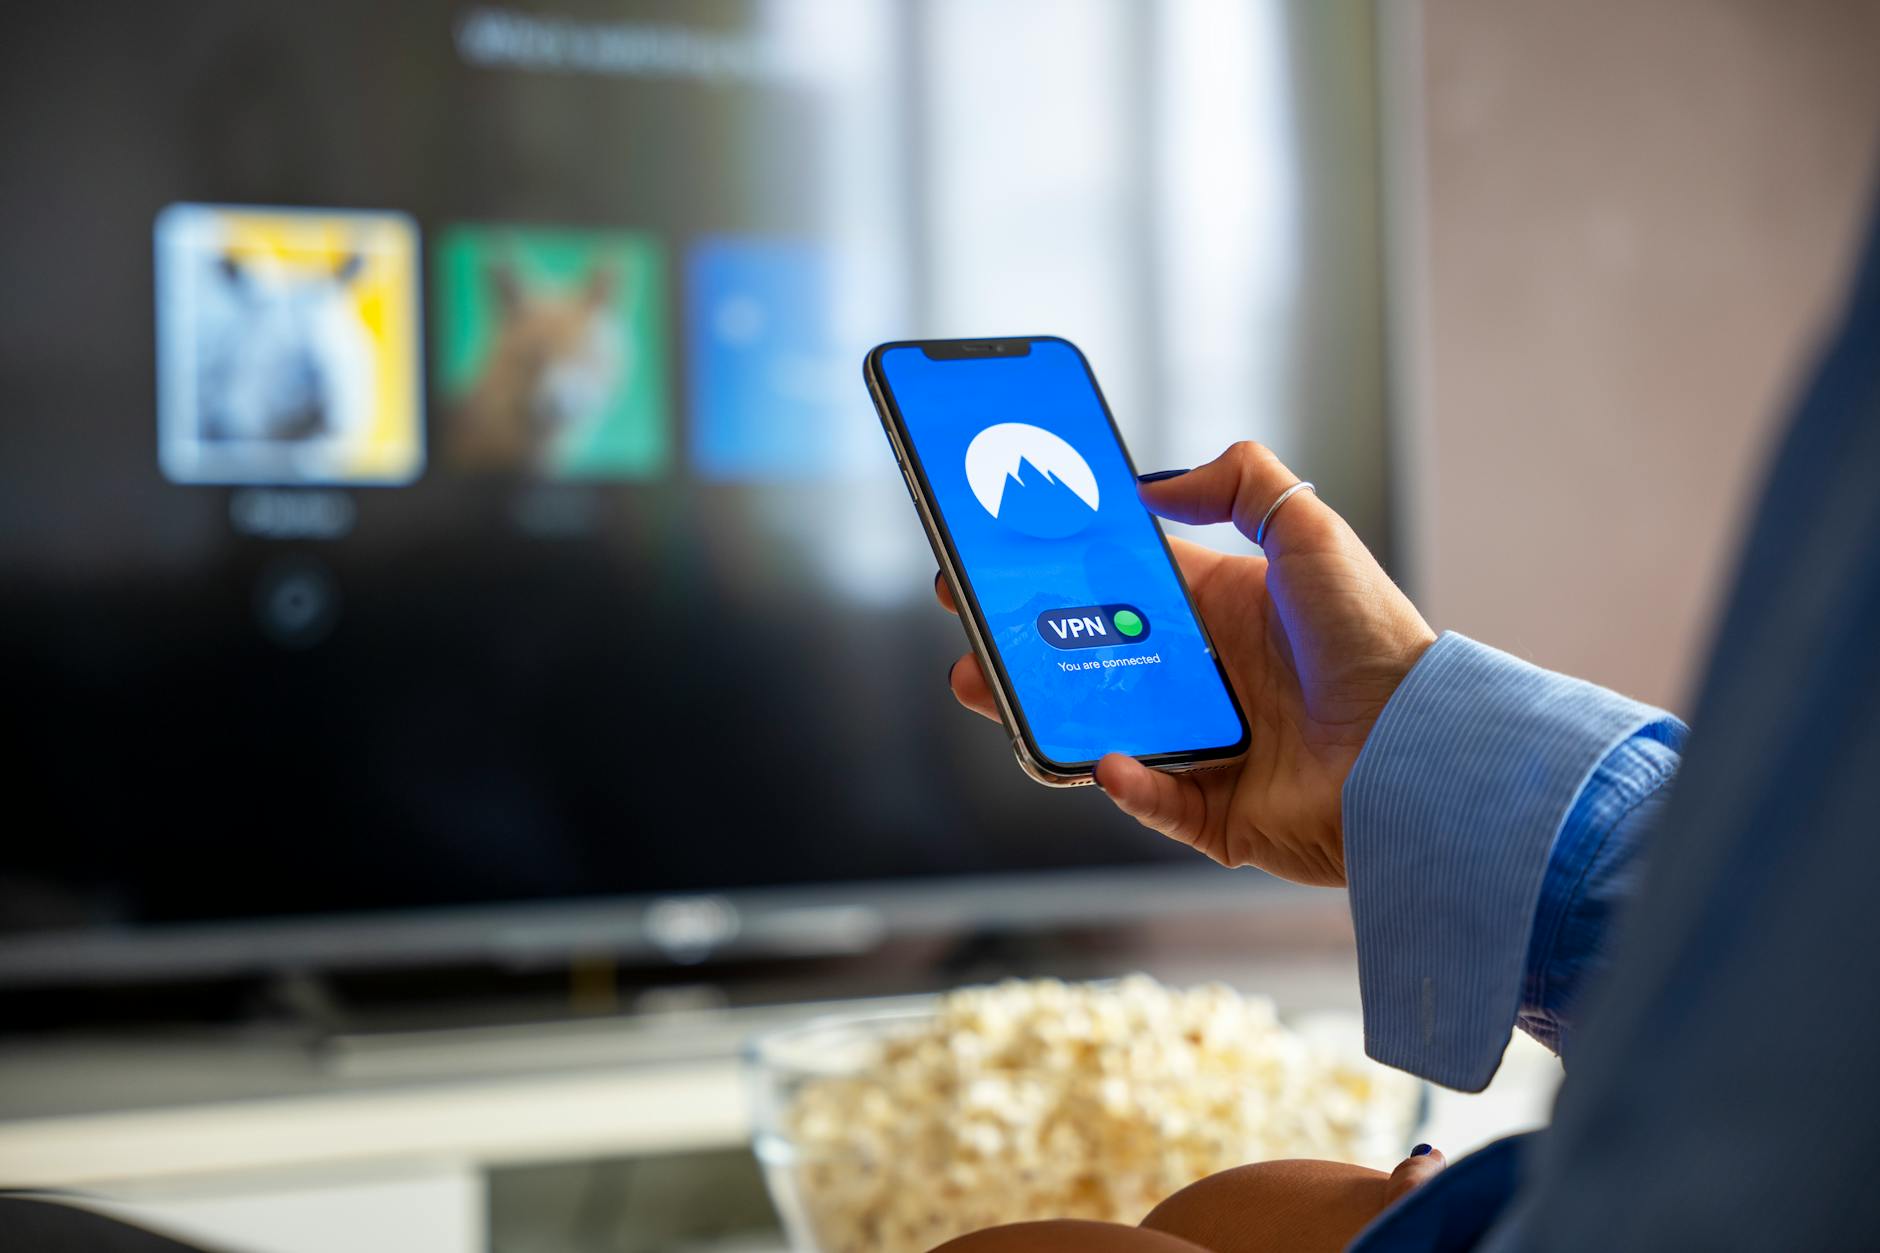
Enable two-factor authentication for administrator accounts and consider VPN access for enhanced security. Just as you might set up secure remote desktop access for work, your personal media server deserves similar protection against unauthorized access.
Regular security updates keep your system protected against emerging threats. TrueNAS provides automated update notifications and simple one-click upgrade processes that maintain system stability while incorporating security patches.
Key Takeaways
Building a custom TrueNAS server provides complete control over your digital media library while delivering enterprise-grade reliability at consumer prices. The initial investment in quality hardware pays dividends through years of stable operation and expandable storage capacity.
Your completed system streams content to any device on your network, provides automated backup capabilities, and eliminates monthly subscription fees for cloud storage services. The web-based management interface makes ongoing maintenance accessible to users comfortable with basic computer tasks.
Most importantly, you own your data completely. Unlike streaming services that remove content based on licensing agreements, your personal library remains available indefinitely. Combined with proper backup strategies, this approach provides the ultimate in media independence and digital preservation.
Frequently Asked Questions
What hardware do I need for a TrueNAS media server?
You need a motherboard with ECC RAM support, at least 16GB RAM, multiple identical drives for redundancy, and a case with good airflow.
Can TrueNAS stream to different devices simultaneously?
Yes, TrueNAS supports multiple streaming protocols and can serve content to various devices including phones, tablets, smart TVs, and computers.


