


What You Need to Know
DaVinci Resolve stands as the film industry’s premier post-production software, offering professional-grade color grading tools alongside comprehensive audio editing capabilities. While Adobe Premiere Pro and Final Cut Pro dominate mainstream video editing, Resolve’s strength lies in its advanced color science and integrated Fairlight audio suite, making it the preferred choice for Hollywood colorists and sound engineers.
The software operates on a node-based system that might seem intimidating at first, but this approach provides unmatched precision for color manipulation. Unlike layer-based editors that stack effects linearly, nodes allow for complex branching workflows where different corrections can be isolated, combined, or bypassed without affecting the entire grade. This flexibility becomes essential when working with high-end footage that demands meticulous attention to color accuracy and creative expression.
DaVinci Resolve’s free version includes nearly all professional features, with the Studio version adding advanced noise reduction, stereoscopic 3D tools, and additional OpenFX plugins. Most professionals work comfortably within the free tier’s capabilities, making it accessible for both independent creators and established post-production houses.
1. Setting Up Your Workspace for Professional Workflow
Launch DaVinci Resolve and create a new project with settings that match your source footage. The project settings dialog determines your timeline resolution, frame rate, and color space – decisions that affect every subsequent operation. For standard broadcast work, Rec. 709 color space suffices, but high-end productions often utilize DCI-P3 or Rec. 2020 for expanded color gamuts.
Navigate to the Color page where the node editor occupies the bottom portion of the interface. Each clip starts with a single serial node – think of this as your primary correction layer. Right-click in the node area to add additional nodes using “Add Node – Serial” for sequential corrections or “Add Node – Parallel” when you need to blend multiple looks. Serial nodes process corrections in order from left to right, while parallel nodes combine their outputs mathematically.
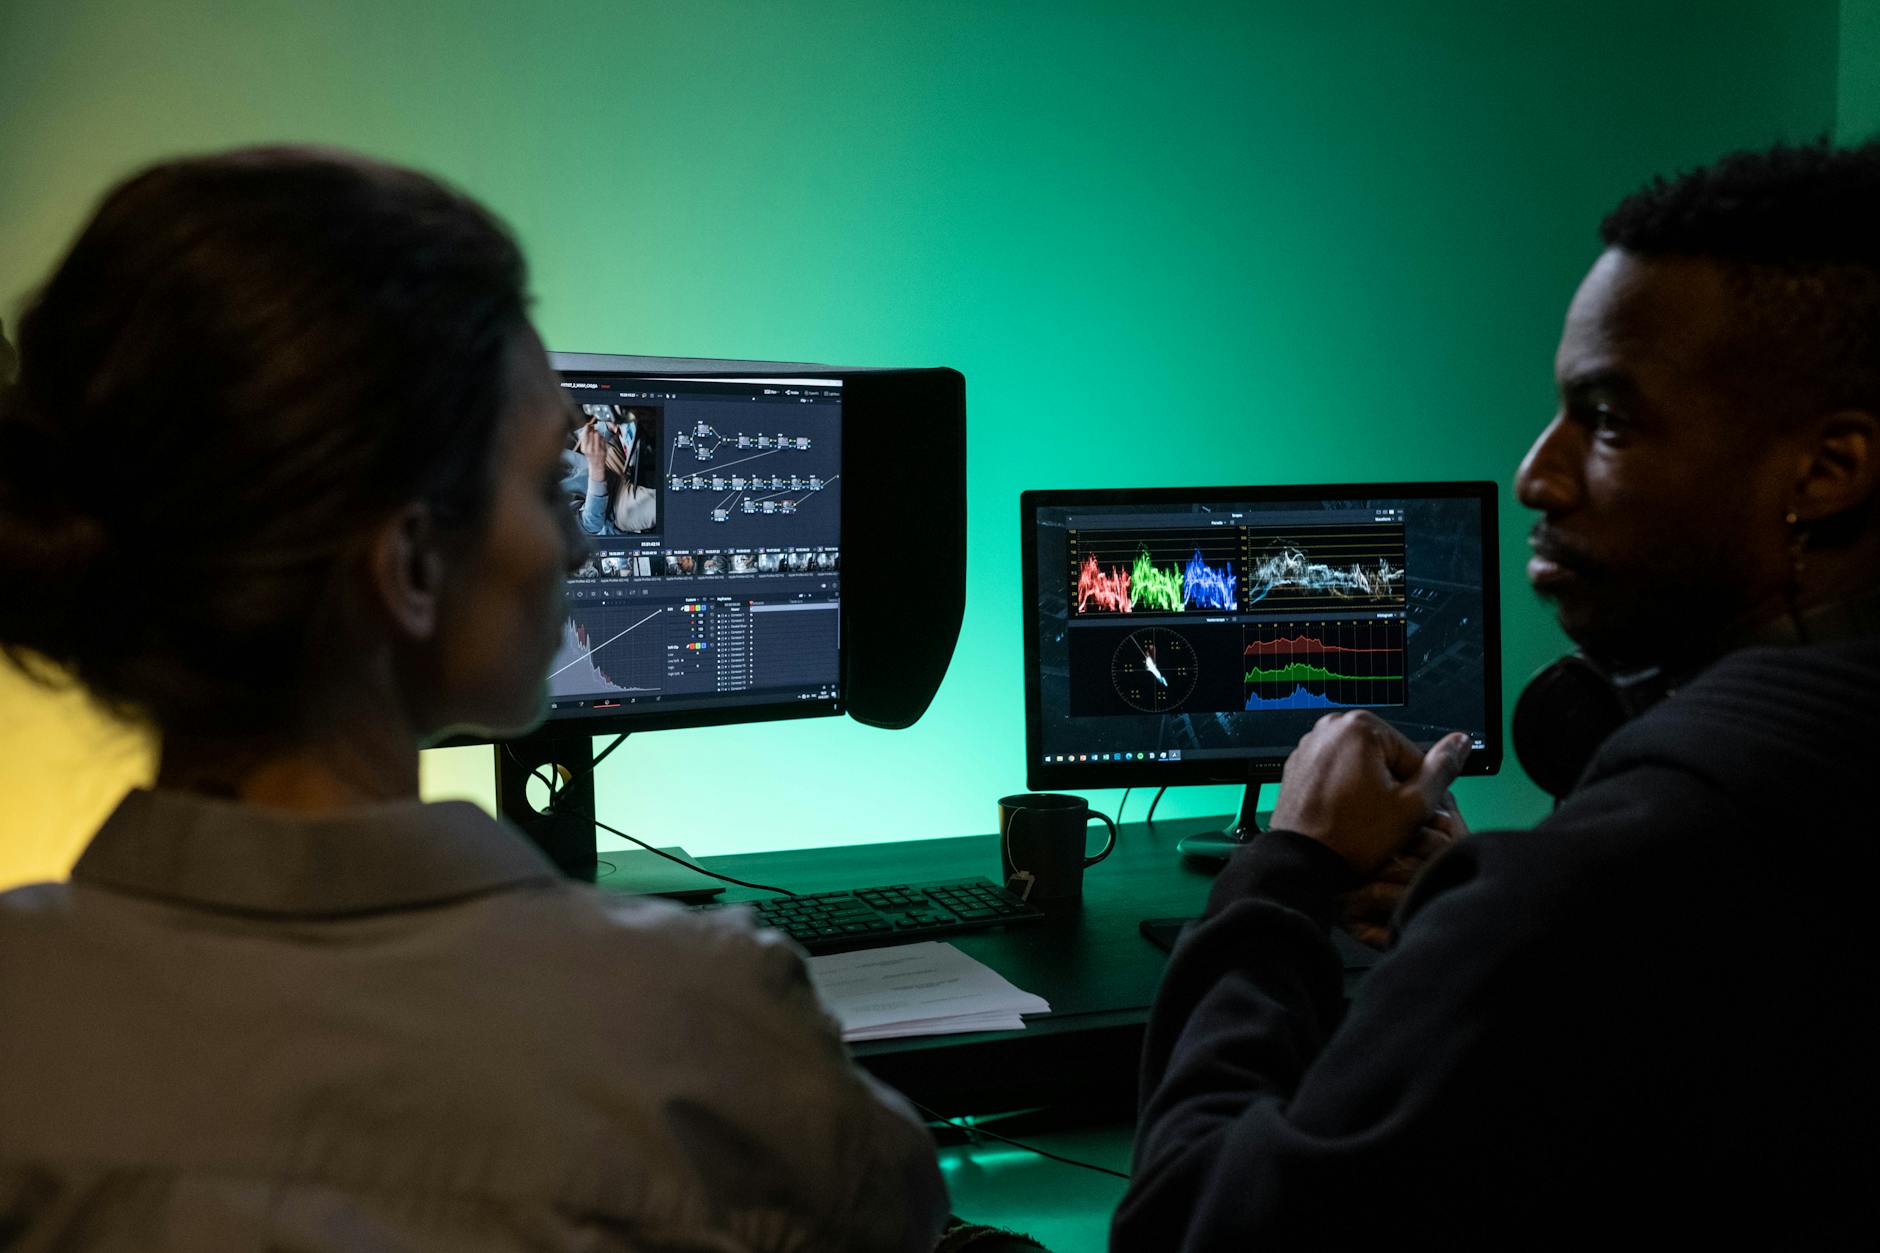
Customize your workspace by adjusting panel layouts in the workspace menu. Many colorists prefer expanding the scopes panel to monitor waveforms, vectorscopes, and histograms simultaneously. These tools provide objective measurements of your image’s luminance and chrominance values, preventing technical errors that might not be visible on consumer monitors.
2. Primary Color Correction Fundamentals
Primary correction addresses the overall image balance before applying creative grades. Begin with the lift, gamma, and gain controls in the primary color wheels panel. Lift adjusts shadows, gamma controls midtones, and gain affects highlights – this three-way color correction forms the foundation of professional grading.
Use the waveform scope to ensure proper exposure levels. Video signals should generally fall between 0 and 100 IRE units, with skin tones typically residing around 70 IRE for Caucasian subjects and 45-50 IRE for darker complexions. The vectorscope displays color information, with skin tones falling along a specific vector line regardless of ethnicity.
Temperature and tint sliders provide white balance correction when automatic camera settings failed. Moving temperature toward orange warms the image, while blue cools it. Tint shifts between green and magenta to counteract color casts from fluorescent or LED lighting. These adjustments should precede any creative color work to establish a neutral baseline.
3. Advanced Secondary Color Grading Techniques
Secondary corrections target specific elements within your image using qualifiers – tools that isolate colors, luminance ranges, or spatial areas. Click the eyedropper icon next to any color wheel to activate qualification mode. Sample the area you want to adjust, then refine the selection using the highlight and shadow sliders to expand or contract the qualified range.
The qualifier’s softness parameter feathers the selection edges to prevent harsh transitions between graded and ungraded areas. High softness values create gradual blends but may affect nearby colors, while low values maintain precise selections at the risk of visible edges. Power windows offer an alternative approach, using geometric shapes or hand-drawn masks to isolate specific regions.
Layer multiple secondary corrections by adding serial nodes dedicated to specific elements. One node might enhance sky blues while another warms skin tones, and a third boosts the saturation of clothing. This modular approach allows fine-tuning individual elements without compromising the overall image balance.

4. Professional Audio Post-Production in Fairlight
Switch to the Fairlight page for audio post-production work. The mixer panel displays individual track channels with standard controls including faders, EQ, and dynamics processing. Unlike video tracks that play sequentially, audio tracks layer simultaneously, requiring careful level management to prevent distortion and ensure clarity across all elements.
Use the built-in EQ to shape frequency response for different audio sources. Roll off low frequencies below 80Hz on dialogue tracks to eliminate rumble and air conditioning noise. Boost presence frequencies around 2-5kHz to improve speech intelligibility, but avoid excessive high-frequency enhancement that creates harshness.
The dynamics panel provides compression, limiting, and gating tools. Apply gentle compression (3:1 ratio) to dialogue tracks for consistent levels, but avoid over-compression that removes natural speech dynamics. Use gates to eliminate background noise between spoken words, setting the threshold just above the noise floor while adjusting hold and release times to prevent choppy cutoffs.
5. Advanced Node Structures and Workflow Optimization
Complex projects benefit from organized node structures that separate different types of corrections. Create a standardized node tree with dedicated nodes for primary correction, secondary adjustments, and creative looks. Label each node clearly using right-click rename options – “Primary Balance,” “Sky Enhancement,” “Film Emulation” provide immediate context when revisiting projects.
Parallel nodes enable sophisticated blending techniques. Add a parallel node and apply heavy contrast to create a dramatic look, then use the node’s mix slider to blend it subtly with the original image. This approach maintains smooth gradations while adding visual impact selectively.
Save frequently used node structures as PowerGrades for consistent application across multiple clips. Right-click any node and select “Grab Still” to save the current grade, then apply it to other clips using “Apply Grade.” This workflow accelerates projects with similar lighting conditions or desired aesthetics.
6. Audio Mixing and Final Output Preparation
Balance your final audio mix using reference monitors or calibrated headphones. Dialogue should sit prominently in the center channel around -12dB to -6dB on the meters, with music and effects filling the soundscape without masking speech frequencies. Use the mixer’s solo and mute functions to isolate individual elements during fine-tuning.
Apply master bus processing carefully – a gentle compressor with slow attack and release times can glue the entire mix together, but excessive processing destroys dynamics and creates fatigue. Set the compressor for 2-3dB of gain reduction at most, with makeup gain compensating for the level reduction.
Render your final output from the Deliver page, selecting appropriate codecs and quality settings for your intended distribution platform. For broadcast delivery, use DNxHD or ProRes formats with embedded audio. Online platforms often accept H.264 with AAC audio, but always check specific requirements for frame rates, bitrates, and color space specifications.

Key Takeaways
DaVinci Resolve’s node-based architecture provides unmatched flexibility for both color grading and audio post-production. Primary corrections establish proper exposure and color balance before applying creative secondaries that enhance specific image elements. The integrated Fairlight audio suite handles everything from basic level adjustments to complex mixing scenarios.
Professional workflow depends on organized node structures, proper scopes monitoring, and standardized grading approaches that can be replicated across projects. The software’s free tier offers nearly complete functionality, making high-end post-production accessible to creators at any budget level.
Success with Resolve requires understanding both the technical foundations of color science and audio engineering alongside the creative aspects of visual storytelling. The learning curve feels steep initially, but the precision and control available reward the investment with results that match Hollywood production standards.


