



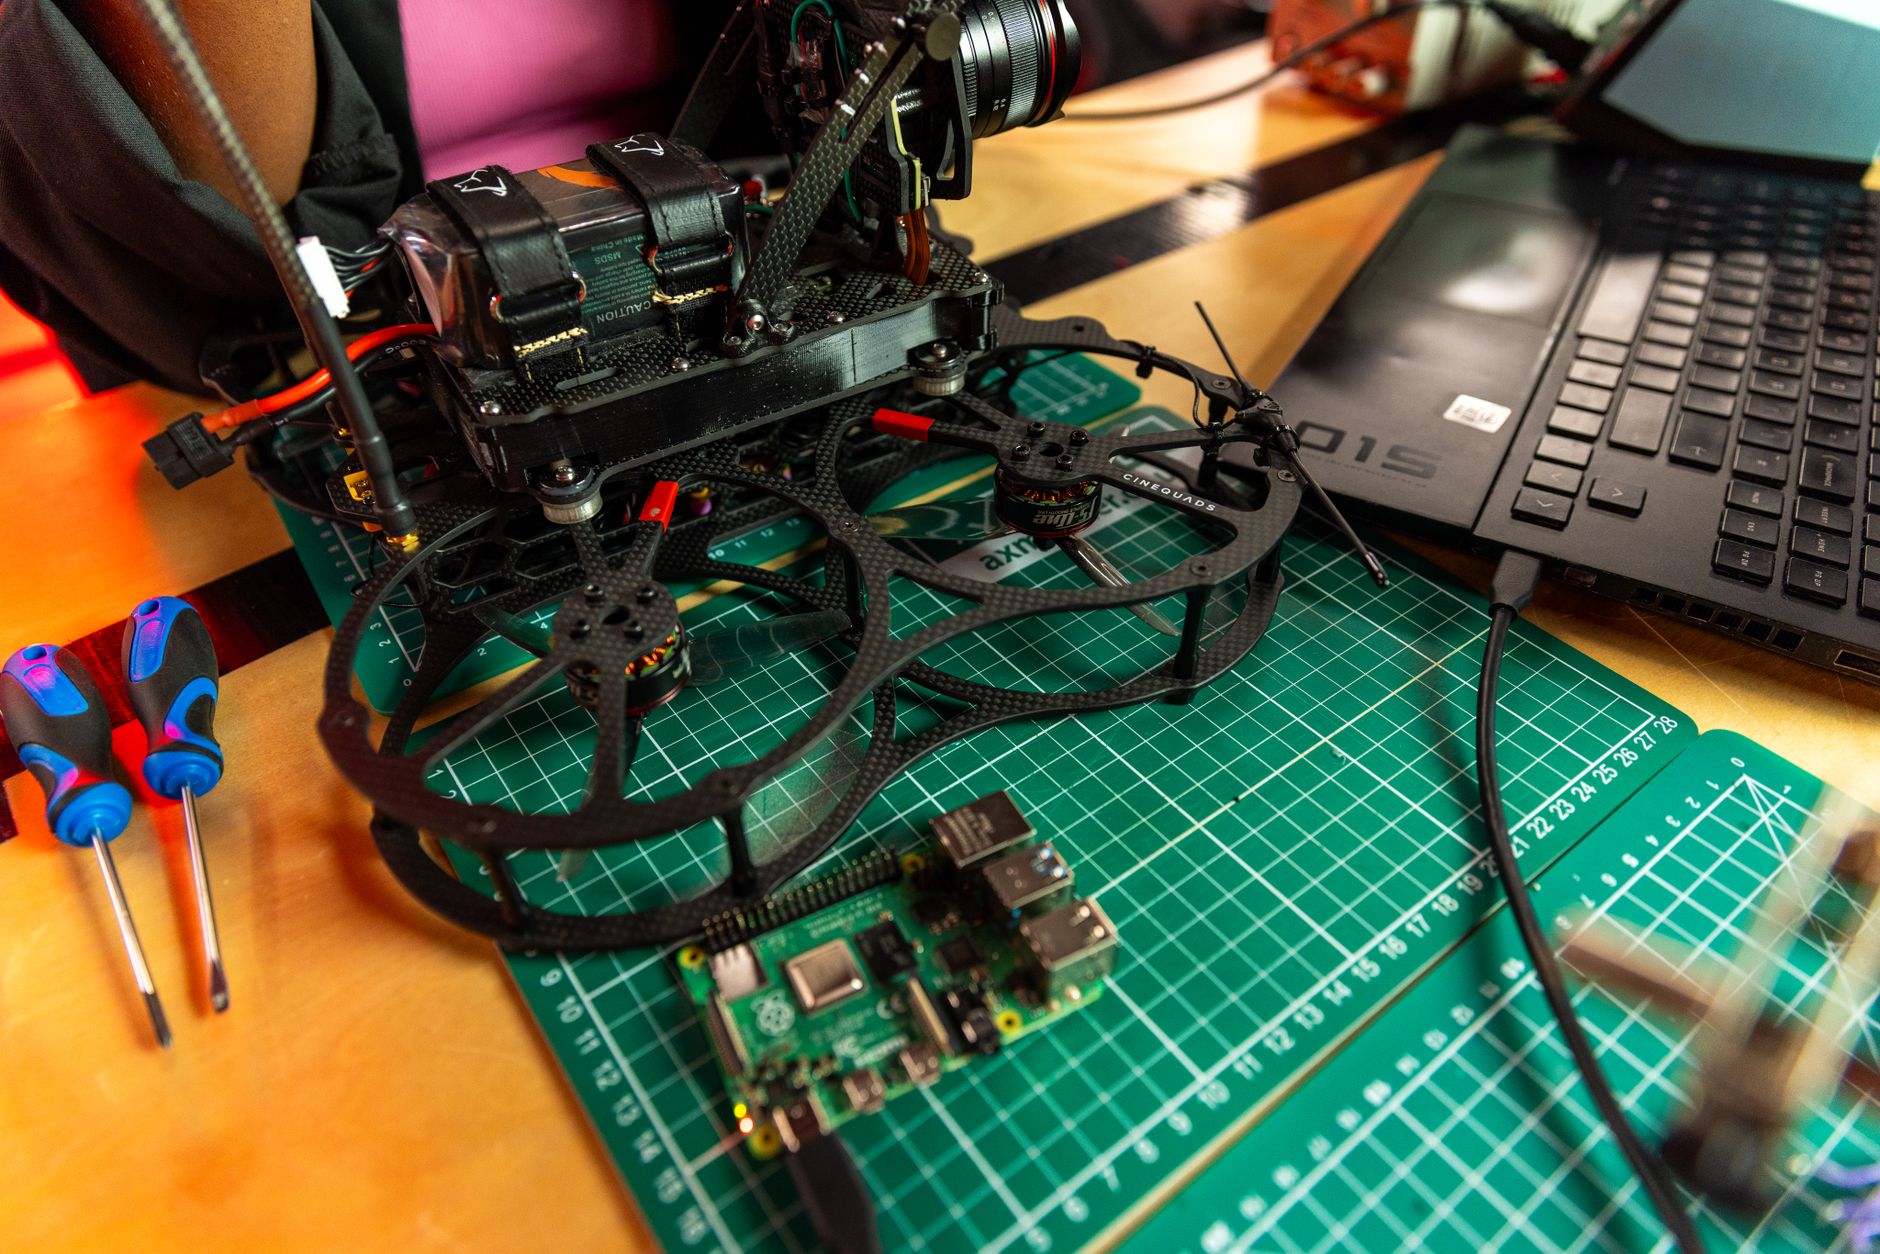
A Raspberry Pi gathering dust in a drawer can do something your router probably can’t: make every device in your home reachable from anywhere, including the ones that will never run Tailscale.
Why a Subnet Router Beats Installing Tailscale Everywhere
Tailscale builds a private mesh network on top of WireGuard, and in its basic form every device on that network runs the Tailscale client. That works well for laptops, phones, and servers. It falls apart for the printer in the hallway, the network storage box with a locked-down firmware, the IP cameras, and the smart plugs, none of which let you install anything.
A subnet router solves this by acting as a gateway. One machine on your home network joins the tailnet and announces, “I can reach everything in 192.168.1.0/24.” Any other device on your tailnet then sends traffic for that range through the gateway, which forwards it onto the local network.
A Raspberry Pi suits the job because the work is light. It isn’t transcoding video or running databases, only passing packets between two interfaces, so a Pi 3 or Pi 4 handles typical home traffic without strain, and it sips a few watts while doing it. Use wired Ethernet if you can. Wi-Fi works, but it adds latency and one more thing that can drop at the worst moment.
Before you start, gather a few things:
- A free Tailscale account with at least one other device already signed in, such as your phone or laptop
- A Raspberry Pi running Raspberry Pi OS Lite, reachable over SSH
- A DHCP reservation for the Pi in your router, so its address never changes
- Your home subnet, which you can find by running ip route on the Pi and looking for a line such as 192.168.1.0/24
Installing and Configuring the Pi
Start with a clean update by running sudo apt update && sudo apt full-upgrade -y, then reboot. Tailscale publishes an install script that detects your distribution and adds the right package repository. Run curl -fsSL https://tailscale.com/install.sh | sh and it will install the client and register the background service.
Next comes the step that people skip and then spend an evening debugging: IP forwarding. By default, Linux refuses to pass packets between interfaces, which is exactly what a router must do. Run these two commands to make the setting permanent:
- echo ‘net.ipv4.ip_forward = 1’ | sudo tee -a /etc/sysctl.d/99-tailscale.conf
- echo ‘net.ipv6.conf.all.forwarding = 1’ | sudo tee -a /etc/sysctl.d/99-tailscale.conf
- sudo sysctl -p /etc/sysctl.d/99-tailscale.conf
Now bring the Pi onto your tailnet and tell it which range to advertise. Run sudo tailscale up –advertise-routes=192.168.1.0/24, swapping in your own subnet. The command prints a login URL; open it in a browser on any device, sign in, and the Pi appears in your list of machines. If you have more than one local range, separate them with commas.
Advertising a route is only half the handshake. Open the Machines page in the Tailscale admin console, find the Pi, open its menu, choose the option to edit route settings, and approve the subnet you advertised. While you are in that menu, disable key expiry for the Pi. Otherwise its authentication will lapse after a set period, and your gateway will quietly vanish just when you are away from home and need it.
Testing takes about a minute. Switch your phone off Wi-Fi so it is on cellular data, make sure the Tailscale app is connected, and try opening your router’s admin page or pinging a printer’s local address. Windows, macOS, iOS, and Android clients accept advertised routes automatically, so nothing more is needed there. Linux clients are the exception: they need sudo tailscale up –accept-routes before they will send traffic to the Pi. If the ping fails, check the forwarding setting first, then confirm the route shows as approved, because those two causes account for most failed setups.
Gotchas Worth Fixing Early
The most common long-term problem is address overlap. Many home routers hand out 192.168.1.x or 192.168.0.x, and so do hotels, cafes, and relatives’ houses. If you connect from a network that uses the same range as your home, your device cannot tell which 192.168.1.20 you mean, and the local one wins. The clean fix is to renumber your home network to something less common, such as 10.42.0.0/24, before you rely on the setup.

Performance is worth a look if transfers feel slower than your connection should allow. On newer Linux kernels, a subnet router can forward UDP traffic more efficiently when generic receive offload is configured for forwarding, which you can try with sudo ethtool -K eth0 rx-udp-gro-forwarding on rx-gro-list off. Whether it applies depends on the Pi’s network driver, and the setting does not survive a reboot unless you script it, so test it before you bother making it permanent.
Frequently Asked Questions
Can any Raspberry Pi work as a Tailscale subnet router?
Most models that run Raspberry Pi OS will work, and a Pi 3 or Pi 4 handles typical home traffic comfortably. Wired Ethernet is recommended for stability.
Why can’t I reach my home devices after running the advertise-routes command?
The usual causes are that IP forwarding is not enabled on the Pi or the advertised route has not been approved in the Tailscale admin console. Linux clients also need the accept-routes flag.
Is a subnet router the same as an exit node?
No. A subnet router gives access to specific local network ranges, while an exit node sends all of a device’s internet traffic through it.
What happens if my home network uses the same subnet as the network I’m visiting?
Traffic for that range stays on the local network instead of going through Tailscale. Renumbering your home network to a less common range avoids the conflict.