Why Unraid Beats Traditional NAS Software for Home Use
Unraid is a Linux-based operating system built specifically for home servers and NAS builds, and it takes a fundamentally different approach to storage than most alternatives. Where systems like FreeNAS or even Windows Storage Spaces require drives of identical size or strict RAID configurations, Unraid lets you mix and match drives of any capacity in a single array. A 2TB drive, a 4TB drive, and an 8TB drive can all coexist in the same parity-protected pool. That flexibility alone makes it the go-to choice for anyone building a home media server incrementally, adding drives as budget allows rather than buying a matched set upfront.
The software also runs Docker containers and virtual machines natively through its web UI, which means you can host Plex, Jellyfin, or a stack of other self-hosted apps on the same machine without touching a command line. The trial version is free for 30 days, and a basic license starts at $49 – a one-time payment that covers the life of the USB boot drive. If you have an old PC with a few spare drives sitting around, the cost to get a full media server running is relatively low.
Hardware Requirements and What to Expect
Unraid runs from a USB flash drive, not from your storage drives, which means the OS itself never touches the array. The minimum hardware bar is low: any 64-bit CPU, at least 2GB of RAM, and a USB drive of 2GB or more. In practice, if you plan to run Docker containers and transcode video, you will want at least 8GB of RAM and a CPU with some transcoding capability. An Intel processor with Quick Sync or an Nvidia GPU passed through to a container can offload Plex or Jellyfin transcoding and dramatically reduce CPU load during playback.
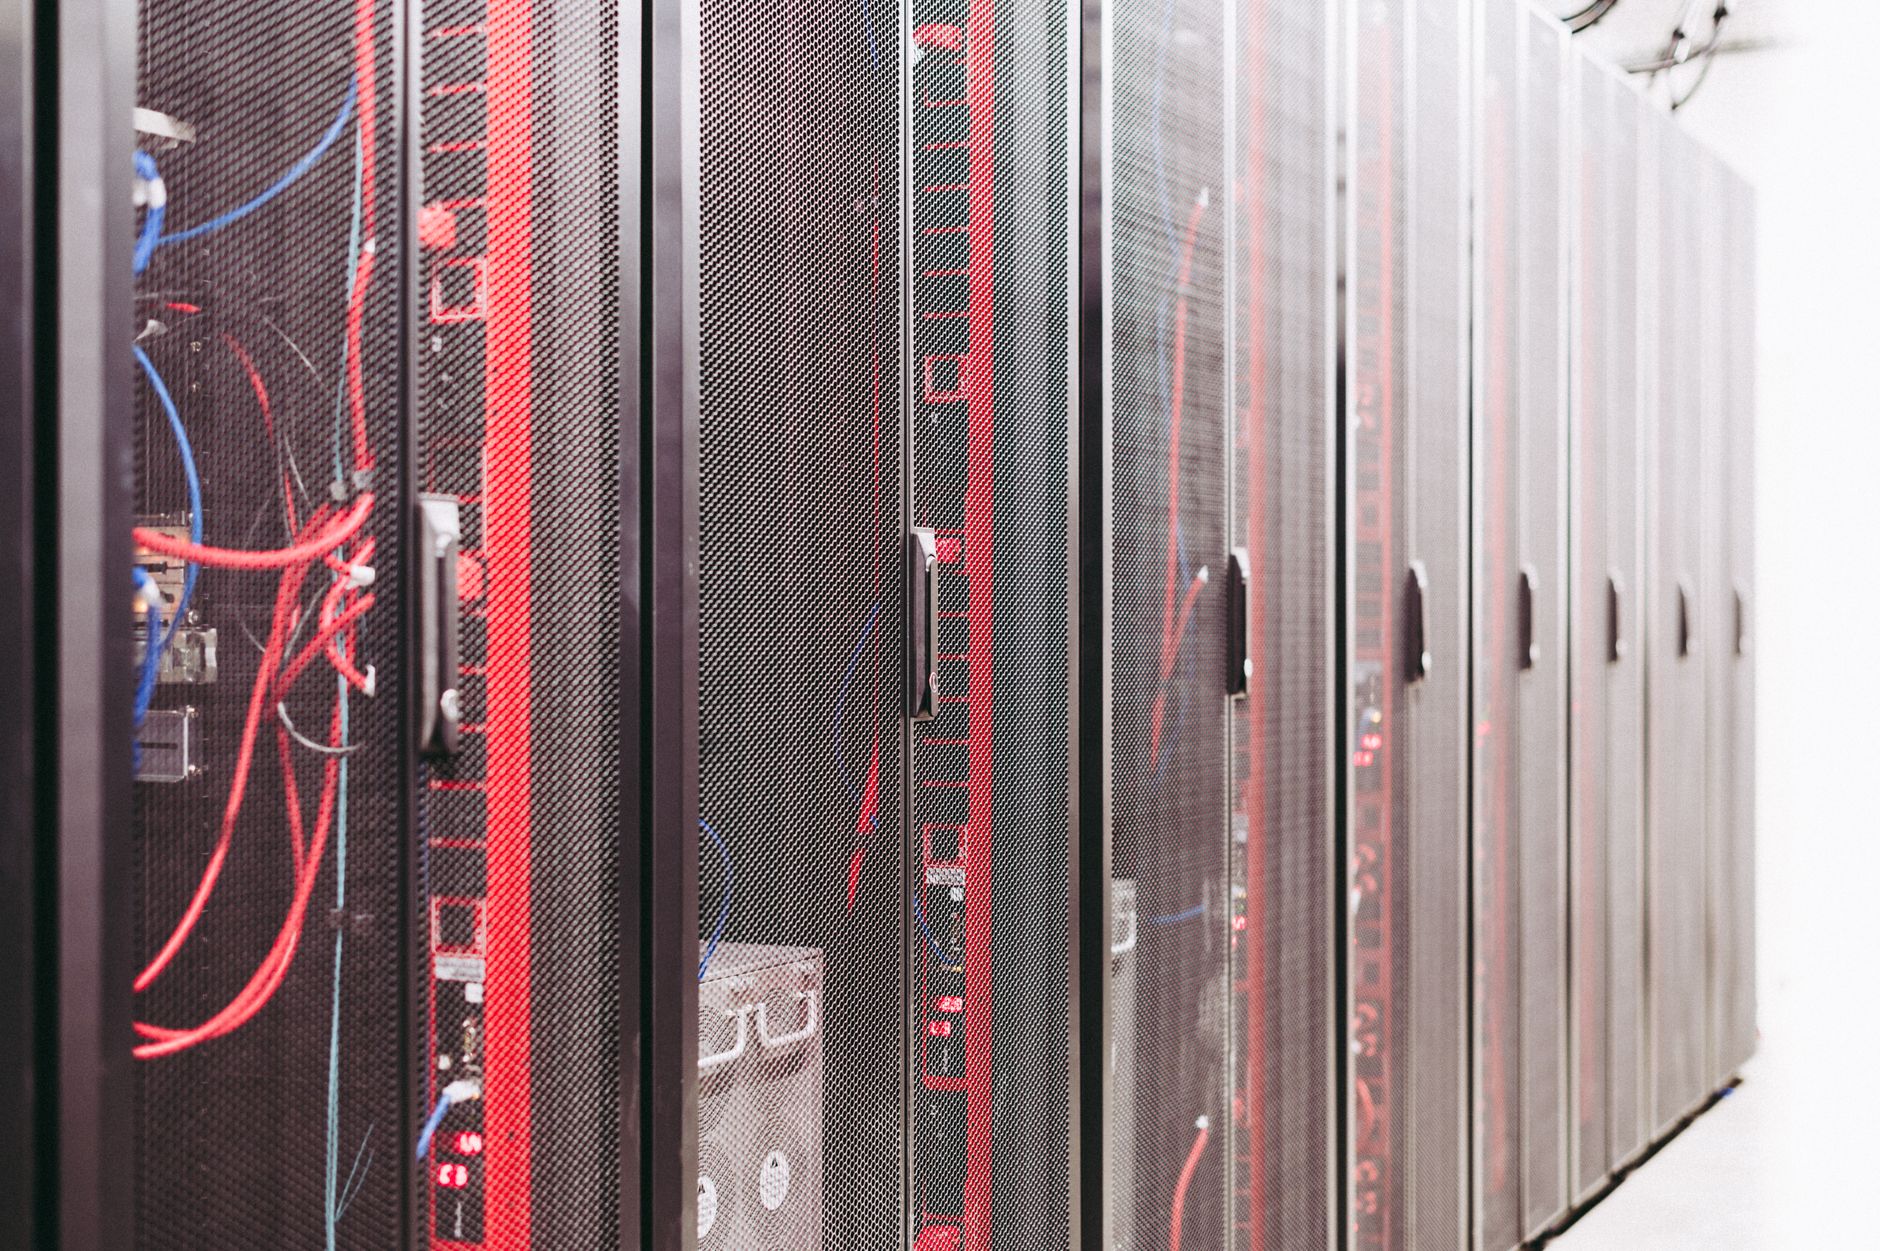
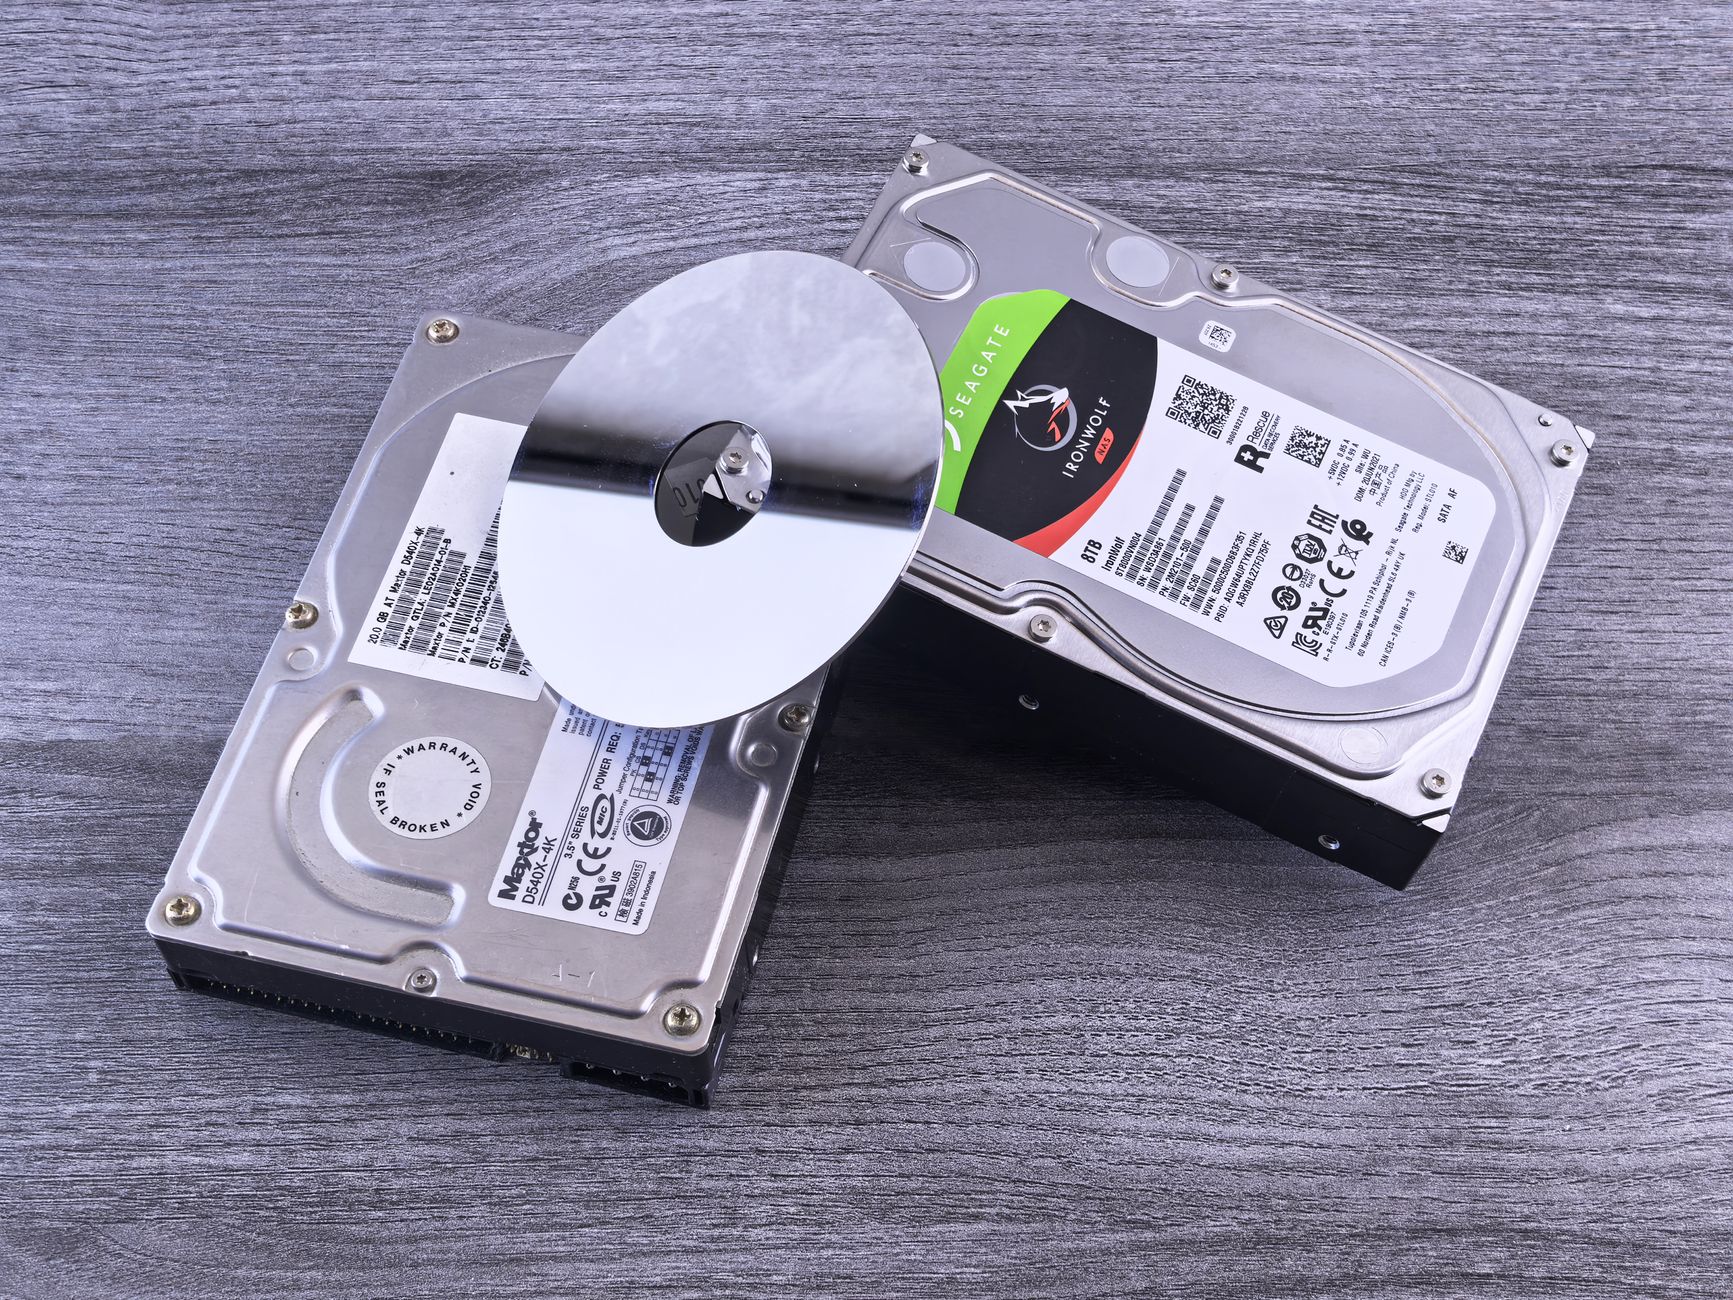
Drive selection matters more than people expect. Unraid uses one or two parity drives to protect the array, and each parity drive must be at least as large as the biggest data drive. If you add a 10TB data drive, your parity drive needs to be 10TB or larger. The system is not a traditional RAID and does not stripe data across drives – each file lives entirely on a single disk. That design makes individual drive recovery straightforward, but it also means read speeds are limited to what a single drive can deliver.
Cache drives are a separate consideration. Unraid supports a cache pool – typically SSDs – that stores newly written files temporarily before moving them to the array during off-peak hours. Without a cache drive, writes go directly to spinning disks, which keeps the array spinning and increases wear. A single 250GB or 500GB SSD as a cache is enough for most home setups and noticeably improves day-to-day write performance.
Initial Setup: From Boot Drive to Working Array
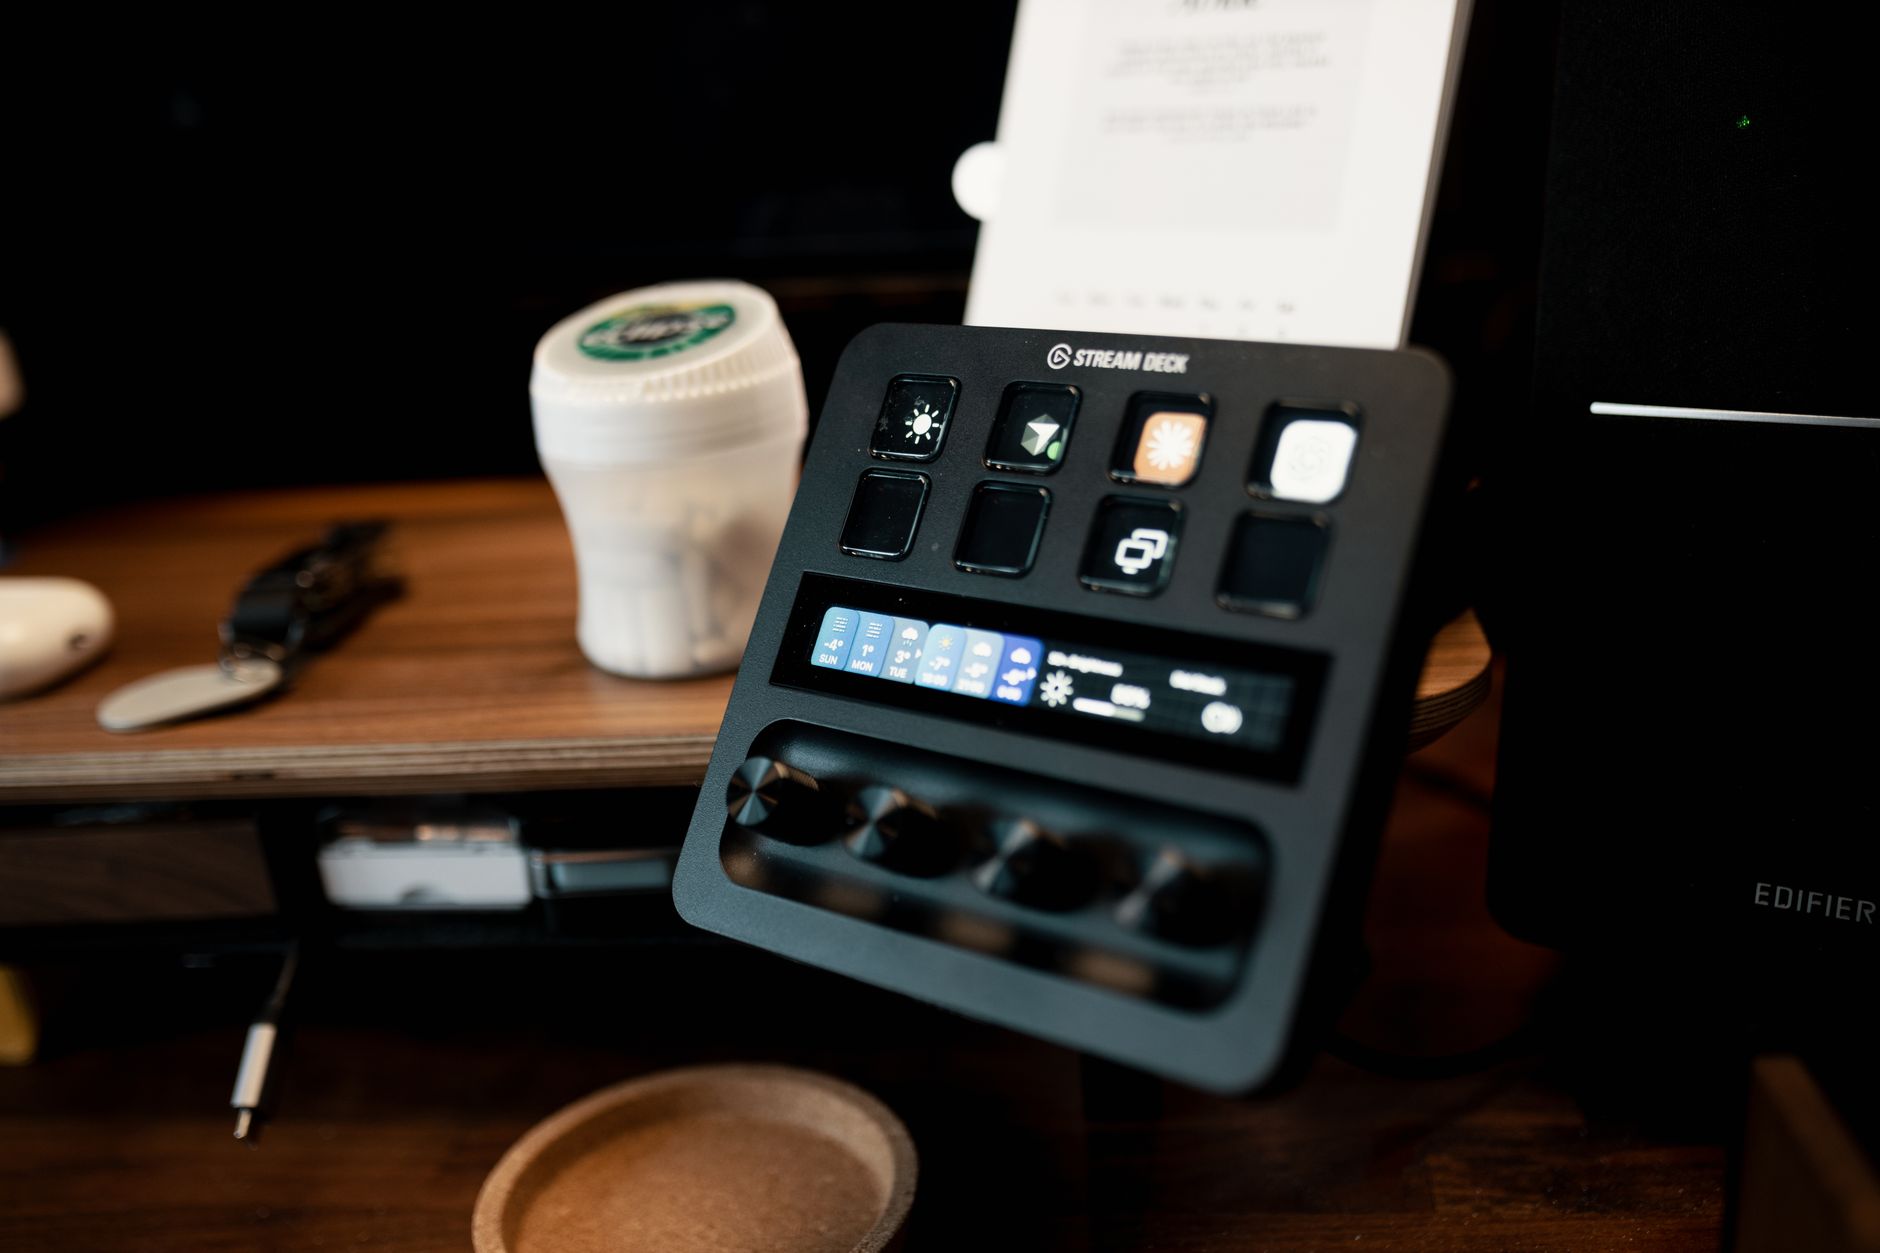
Start by downloading the Unraid OS from the official Lime Technology website and running their USB Flash Creator tool on Windows or Mac. The tool formats the drive and writes the OS image in one step. Plug the USB drive into your server, set the BIOS to boot from USB, and Unraid will start its first boot. On a connected monitor you will see the server’s local IP address, and from that point all configuration happens through a browser at that IP on port 80.
Once you are in the web UI, navigate to the Main tab to assign your drives. Unraid color-codes everything: green for data disks, yellow or orange for parity, and blue for cache. Assign your largest drive as parity first. Then add your data drives. Do not start the array yet – go through each drive assignment carefully because Unraid will format the drives during the first parity build, erasing everything on them. If you have existing data on a drive you want to preserve, there are community guides for adding pre-cleared drives, but the safest approach for a fresh setup is to start with empty drives.
Click Start to begin the initial parity build. Depending on drive sizes, this process can take anywhere from a few hours to over a day. The array is usable during the build, but write performance will be slower. After the build completes, Unraid creates default shares accessible over your network via SMB. You can immediately start copying files from other machines, and the shares will appear in Windows Explorer or Mac Finder without any additional configuration.
Share configuration is worth spending time on. Unraid shares have settings for minimum free space, included and excluded disks, and cache use policy. Setting a share to use cache in “Yes” mode means new files land on the SSD first and move to spinning drives later via the Mover, which runs on a cron schedule. “Only” mode keeps files on the cache permanently and never moves them to the array – useful for app data or databases that need fast access. Getting these settings right before you start filling the server saves a lot of reorganization later.
Running Plex and Jellyfin as Docker Containers
The Community Applications plugin – installed from the Apps tab in Unraid – gives you a searchable marketplace of pre-built Docker container templates. Search for Plex or Jellyfin, click Install, and the template fills in most of the configuration automatically. The two paths you must set correctly are the config path (where the app stores its database and settings, ideally on the cache drive) and the media path (pointing to your Unraid share where video files live). Map those correctly and the container will start and be accessible on its default port within a minute or two.
Plex requires a Plex Pass subscription for hardware transcoding, while Jellyfin offers hardware transcoding for free but requires passing your GPU or Intel Quick Sync device through to the container. In the Jellyfin Docker template within Unraid, this means adding a device path like /dev/dri under the Extra Parameters or Device section. Once that is mapped, Jellyfin’s dashboard allows you to enable hardware-accelerated transcoding under the Playback settings. The difference in CPU usage during 4K playback with transcoding enabled versus software-only is significant enough that hardware passthrough is worth configuring even if it takes an extra 30 minutes to get right.
Both apps scan your media library automatically once pointed at the correct folder. Naming conventions matter a great deal – Plex and Jellyfin both use The Movie Database and TheTVDB for metadata, and they match based on file and folder names. The standard format is Movie Title (Year)/Movie Title (Year).mkv for films and Show Name/Season 01/Show Name – S01E01.mkv for series. Files named outside this convention often fail to match or match incorrectly, leaving your library full of unidentified titles. Running a bulk rename tool like FileBot before importing a large collection saves considerable cleanup time.
If you plan to access your media server from outside your home network, Unraid itself does not handle reverse proxying or authentication. A common approach is running an Nginx Proxy Manager container alongside your media apps to handle SSL termination and subdomain routing. For more advanced setups involving single sign-on across multiple self-hosted services, pairing Unraid with a solution like Authentik for self-hosted SSO lets you gate access to Jellyfin, and any other containers, behind a single login. The question of whether to expose your media server to the internet at all – versus using a VPN to access it remotely – comes down to your tolerance for managing certificates and the security implications of opening ports on your home router.