

A Pocket-Sized File Server That Actually Works
The Raspberry Pi 5 is not your average single-board computer. With a quad-core Arm Cortex-A76 processor, PCIe 2.0 support, and up to 8GB of RAM, it has the raw capability to run a fully functional network-attached storage system from a device smaller than a deck of cards. That combination – real processing power in a portable form factor – makes it a serious option for anyone who wants personal cloud storage without a monthly subscription or a full tower sitting in the corner.
What makes this build particularly useful is portability. A traditional NAS enclosure is designed to sit on a shelf and stay there. A Pi 5-based setup can move with you – to a co-working space, a client’s office, or a remote cabin with Wi-Fi. With the right configuration, you get file sharing over SMB, optional remote access, and drive-level redundancy if you want it, all drawing under 15 watts of power.
What You Need Before You Start
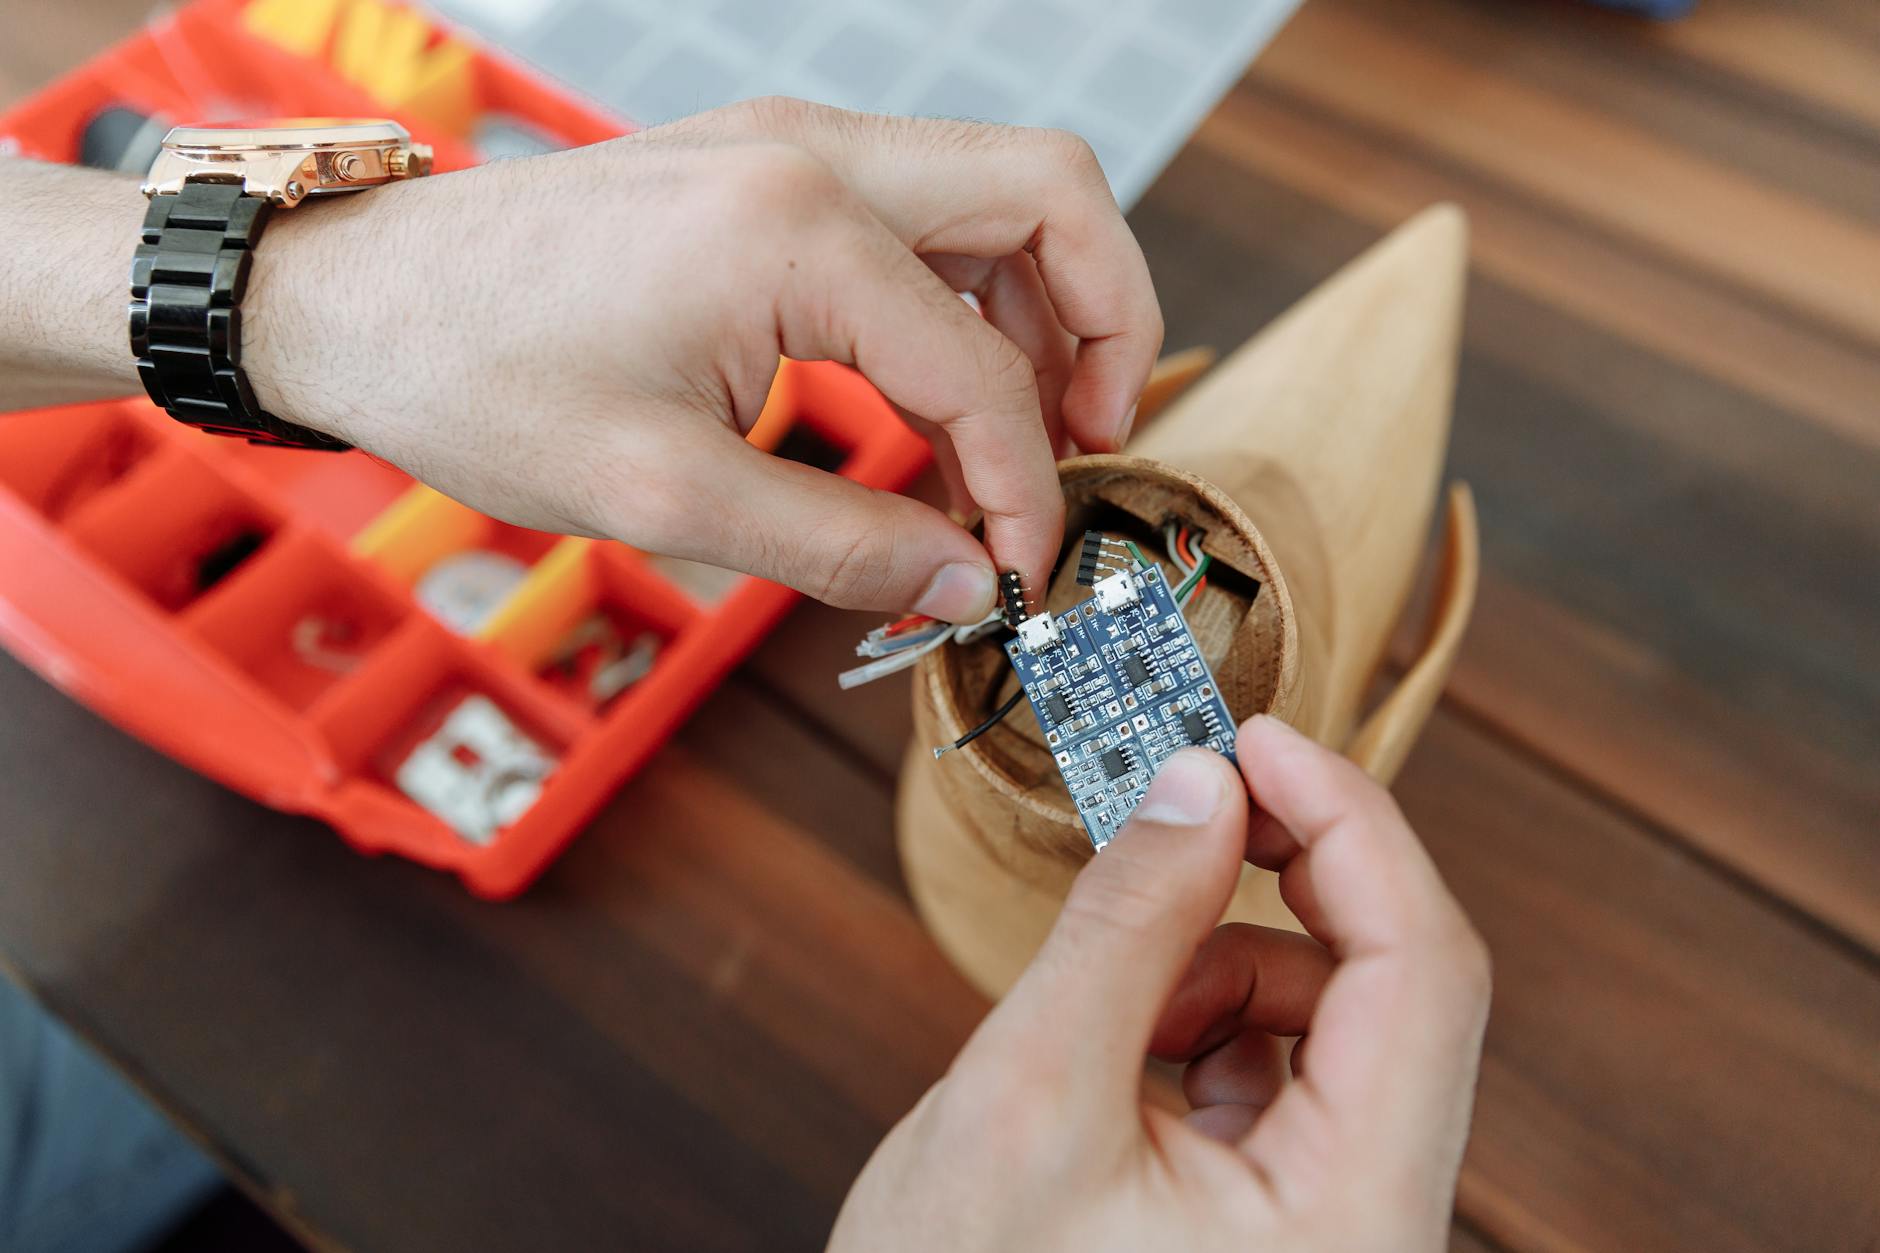
Hardware requirements for this build are straightforward. You need a Raspberry Pi 5 (the 4GB or 8GB model is recommended), a quality microSD card for the OS – 32GB minimum – and at least one USB 3.0 external drive for storage. For a portable build, a bus-powered USB SSD is ideal because it draws power directly from the Pi and eliminates the need for a separate power brick for the drive. If you plan to use two drives for mirroring, a powered USB hub rated for at least 2.5A per port will prevent voltage drops that can corrupt data mid-transfer.
On the software side, this guide uses Raspberry Pi OS Lite (64-bit), OpenMediaVault 7, and assumes basic comfort with SSH. You do not need a monitor or keyboard attached once the initial setup is done – everything runs headless from that point forward.
Installing the OS and Getting OpenMediaVault Running
Start by flashing Raspberry Pi OS Lite to your microSD using Raspberry Pi Imager. Before writing the image, open the advanced options panel (the gear icon) and enable SSH, set a username and password, and configure your Wi-Fi credentials if you are not using ethernet. This step means the Pi boots into a network-accessible state without needing a screen.
Once the card is flashed and the Pi boots, find its IP address through your router’s admin panel or by running arp -a from another machine on the same network. SSH in using ssh yourusername@[pi-ip-address], then run a full system update: sudo apt update && sudo apt full-upgrade -y. This can take a few minutes on a fresh install.
With the OS current, install OpenMediaVault using the official script. Run the following single command:
wget -O – https://github.com/OpenMediaVault-Plugin-Developers/installScript/raw/master/install | sudo bash
The script handles all dependencies and service configuration automatically. When it finishes, the Pi will reboot. After it comes back online, open a browser on any device connected to the same network and navigate to http://[pi-ip-address]. The OpenMediaVault web interface will load. Default credentials are admin for the username and openmediavault for the password – change both immediately from the User Management panel.

Configuring Storage and File Sharing
Plug in your external drive and head to Storage > Disks in the OMV dashboard to confirm it is detected. Navigate to Storage > File Systems, click Create, select your drive, and format it as ext4. Once formatted, mount it from the same panel. OMV will assign it a mount point automatically.
To enable network file sharing, go to Services > SMB/CIFS, enable the service, then move to the Shares tab and create a new share pointing to your mounted drive. Set permissions according to your needs – a home or small-team setup typically works fine with a single read/write user. Save changes and apply the pending configuration using the yellow notification bar at the top of the interface. The share will be visible from Windows via File Explorer under Network, or from macOS using Finder > Go > Connect to Server > smb://[pi-ip-address].
Making It Truly Portable
A portable NAS is only useful if it reconnects cleanly to new networks. The challenge is that the Pi’s IP address will change depending on which router it joins. Two practical solutions exist: assign a static IP on your home router using MAC address reservation (which only works on familiar networks), or set up a mDNS hostname so you can always reach the device using raspberrypi.local instead of a raw IP. The latter works across most networks without configuration.
For access outside your local network, Tailscale is the cleanest option available. Install it on the Pi with curl -fsSL https://tailscale.com/install.sh | sh, then run sudo tailscale up and authenticate via the link it generates. Install the Tailscale client on your laptop or phone, and your NAS will appear in your private network regardless of physical location. No port forwarding, no dynamic DNS configuration, no exposed public IP. If you are building a setup meant for team use rather than personal storage, the concepts in this guide on NAS for remote team file sharing cover multi-user permission structures worth reviewing.
Power is the final variable. The Pi 5 requires a 5V/5A USB-C supply, and bus-powered drives add to that demand. A quality 65W USB-C power bank with PD output can run the entire setup for several hours, making the “portable” description genuinely accurate rather than theoretical. Test your specific power bank before relying on it – some limit sustained output below what the spec sheet claims, which causes the Pi to throttle or drop connected drives under heavy transfer loads.
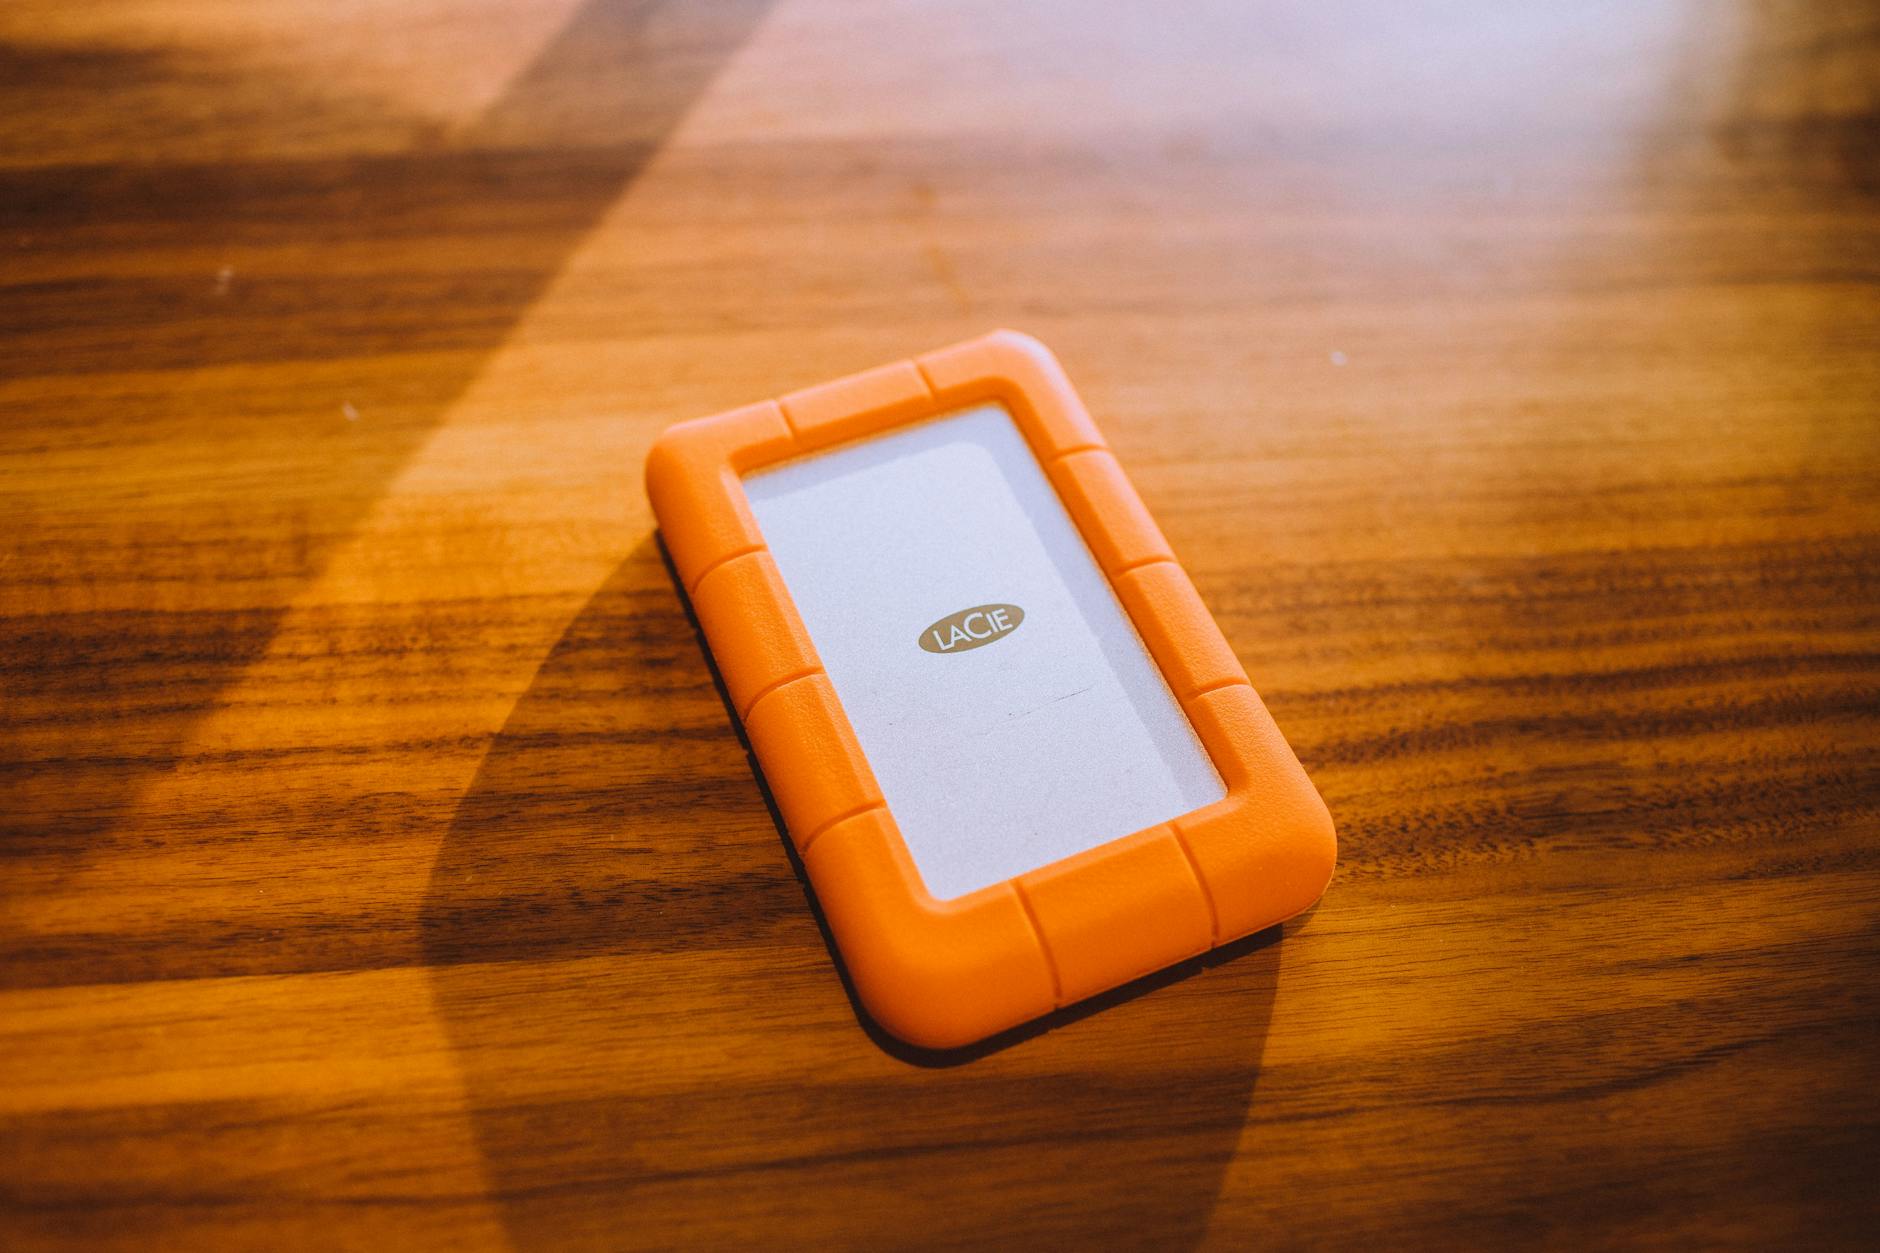
One detail worth getting right early: enable scheduled SMART monitoring inside OMV under Storage > S.M.A.R.T. and configure email alerts if your drive starts reporting errors. A portable drive gets moved, bumped, and unplugged more than a stationary one, and catching early signs of failure before data loss happens is far easier than recovering after the fact.