



Taking Back Control of Your Kitchen
Most grocery apps hand your shopping habits to a server you don’t control, building profiles from what you buy, when you run out, and how often you restock. Grocy offers a different approach: a fully self-hosted household management platform that runs on your own hardware, keeps your data local, and does far more than track a shopping list. It manages stock levels, expiration dates, meal planning, chores, and equipment – all from a single web interface you access through your browser.
The setup is straightforward if you’re comfortable with Docker, and the payoff is a system that genuinely replaces the scattered combination of notes apps, fridge magnets, and forgotten shopping lists most households rely on. This guide walks through the complete installation, core configuration, and the features worth enabling first.
What You Need Before Starting
Grocy runs on any machine capable of running Docker – a Raspberry Pi 4, an old laptop repurposed as a home server, or a proper NAS with Docker support all work well. You’ll need Docker and Docker Compose installed, a static local IP assigned to the host machine, and basic familiarity with editing YAML files. Grocy’s Docker image is maintained by the LinuxServer.io team, which means it follows a consistent environment variable pattern and updates reliably.
Before writing your compose file, decide where Grocy will store its data. The application uses a SQLite database by default, which is lightweight and more than sufficient for household use. Choose a host directory path you back up regularly – losing your Grocy database means rebuilding your entire product catalog and stock history from scratch, which is a genuinely annoying afternoon of work.

Installing Grocy with Docker Compose
Create a new directory for the project – something like /opt/grocy or ~/docker/grocy – and inside it create a file named docker-compose.yml. The core compose configuration looks like this:
- Image: lscr.io/linuxserver/grocy:latest
- Container name: grocy
- Environment variables: PUID and PGID (match your host user), TZ set to your timezone (e.g., America/New_York), and GROCY_CURRENCY set to your local currency code
- Volumes: map a local config path to /config inside the container
- Ports: expose port 9283 on the host (or any unused port you prefer)
- Restart policy: unless-stopped
Run docker compose up -d from that directory. Docker pulls the image, sets up the container, and within about thirty seconds Grocy is accessible at http://your-server-ip:9283. The default login is admin / admin – change this immediately under Settings > Manage Users. You don’t need a reverse proxy to start using Grocy on your local network, though adding one with HTTPS is worth doing before accessing it remotely.
The first meaningful configuration step is setting up your currency, date format, and energy units under Settings > User Settings. These are cosmetic but affect every label and display throughout the interface. Set your week start day, your preferred date format, and whether you want to track calories. Grocy supports multiple users with separate settings, so if others in your household will use it, create their accounts now and have them configure their own preferences independently.
Product catalog setup is where most of the initial time investment goes. Grocy uses a concept called “products” with defined package sizes, locations, quantity units, and minimum stock levels. You can build this catalog manually or use the barcode scanning feature to speed it up significantly. The Grocy companion app for Android and iOS – called Grocy for Android or using the official PWA – lets you scan barcodes with your phone camera. When a barcode isn’t recognized, Grocy prompts you to create a new product entry. Over a few shopping trips, your catalog fills in naturally without requiring a dedicated data-entry session.
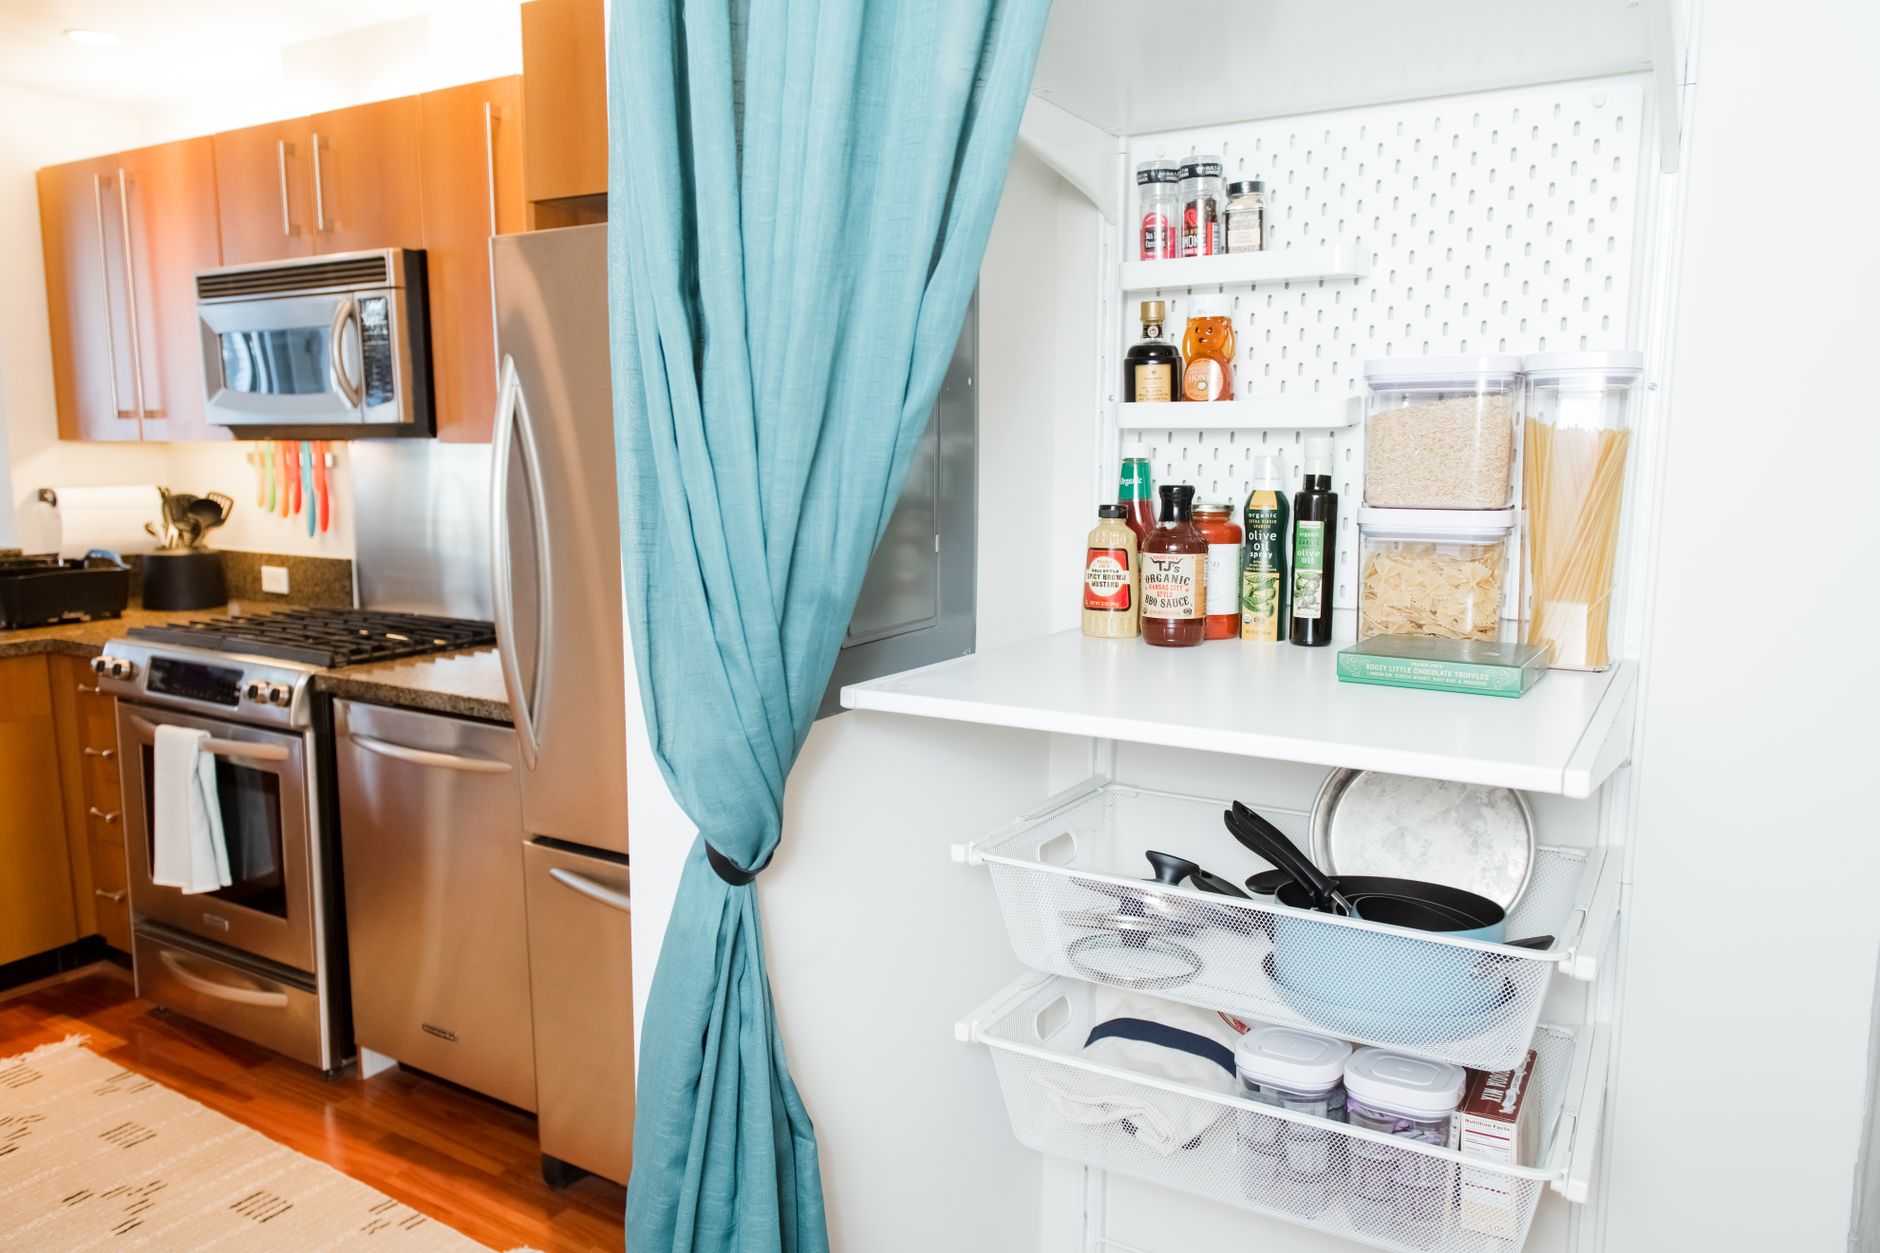
Locations matter more than they seem at first. Grocy lets you define storage locations – pantry, fridge, freezer, garage shelf – and assign each product a default location. When you enter stock, the location is pre-filled. When you’re looking for something, you can filter by location. This becomes genuinely useful in larger households where items get stored across multiple areas, and it makes the “where is the extra pasta?” question answerable from your phone in about five seconds.
Stock Tracking, Shopping Lists, and What’s Actually Useful
Grocy’s stock tracking works on a consume-and-purchase cycle. When you buy something, you log it as purchased with a quantity and optionally an expiration date. When you use it, you mark it as consumed. This sounds like overhead, but the barcode scanner on your phone makes both actions fast enough that the habit sticks. The real return comes from the minimum stock feature: set a minimum quantity for any product and Grocy automatically adds it to your shopping list when stock drops below that threshold. You stop running out of things you use regularly without having to remember to check.
Expiration tracking is the other feature worth enabling properly. When you enter a product with an expiration date, Grocy surfaces it in the “due soon” dashboard widget with configurable lead time – set it to five days, for example, and you’ll see expiring items before they become food waste. This pairs well with the meal planning module: if eggs are expiring in three days, you can pull up recipes that use eggs and add missing ingredients to the shopping list directly from that view. The integration between modules is where Grocy starts to feel like a coherent system rather than a collection of lists.
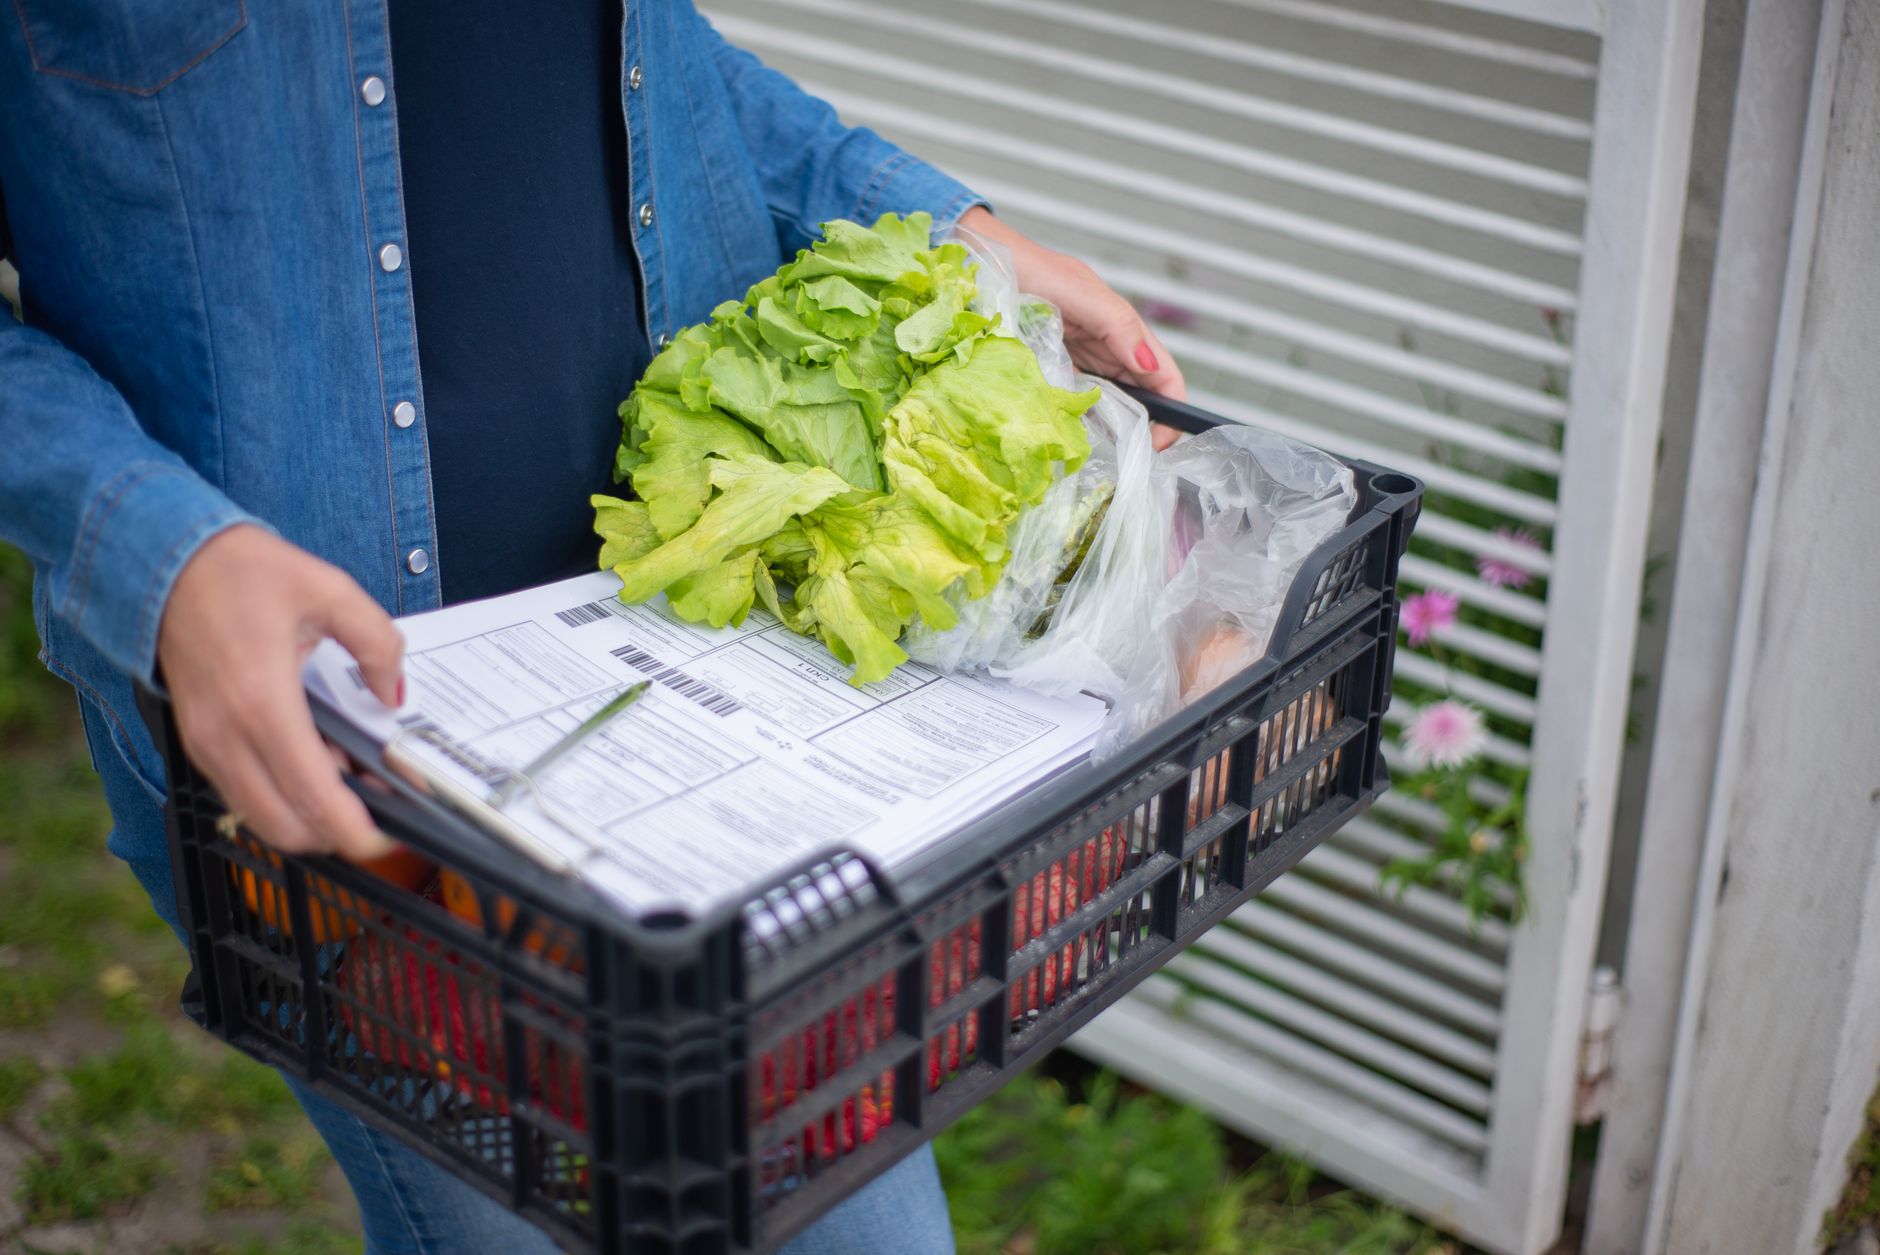
The shopping list itself supports multiple lists – useful if you shop at different stores or want a separate list for a specific event. Items added automatically from minimum stock calculations appear with a flag indicating they’re auto-generated, so you can easily distinguish them from manually added items. When you return from shopping, Grocy has a dedicated “add to stock from shopping list” workflow that checks off each item as you scan or manually confirm it, updating stock levels and setting purchase dates in one pass.
If you’re already running other self-hosted tools at home – a document management setup, home automation, or a local server stack – Grocy fits into that environment without requiring much extra infrastructure. It exposes a REST API documented at /api on your instance, which means you can connect it to Home Assistant, trigger stock updates from NFC tags on your pantry shelves, or pull shopping list data into other apps. The API is well-structured and the auto-generated documentation at the endpoint is readable enough to work from directly without hunting for third-party guides.
One underused feature is the recipe module. You can define recipes with ingredient quantities linked to your product catalog, and Grocy will calculate whether you have enough stock to make a given meal or what’s missing. The math isn’t always perfect when package sizes don’t divide evenly, and the recipe editor is functional rather than polished – but for households trying to reduce mid-week grocery runs, having your ten most-cooked meals mapped out with live stock checks is worth the setup time. The question is whether your household will maintain the discipline to keep stock entries accurate enough for the feature to stay reliable after the first month.



