



What Pi-hole Actually Does – and Why It Works
Pi-hole is a DNS-level ad blocker that runs on your local network and intercepts ad requests before they ever reach your browser. Instead of relying on a browser extension that only covers one device, Pi-hole sits between your router and the internet, acting as a DNS sinkhole. When any device on your network – a phone, a smart TV, a laptop – tries to resolve a domain flagged as an ad server or tracker, Pi-hole returns a null response. The request dies there. No ad loads, no tracker fires.
The practical effect is network-wide ad blocking without installing anything on individual devices. Your smart TV stops phoning home to ad networks. Your phone blocks ads inside apps, not just in browsers. Guests on your Wi-Fi get the same protection automatically. Pi-hole also doubles as a local DNS server with a dashboard that shows exactly which domains are being queried and blocked across your entire network, which makes it surprisingly useful as a diagnostic tool beyond just ad blocking.
What You Need Before You Start
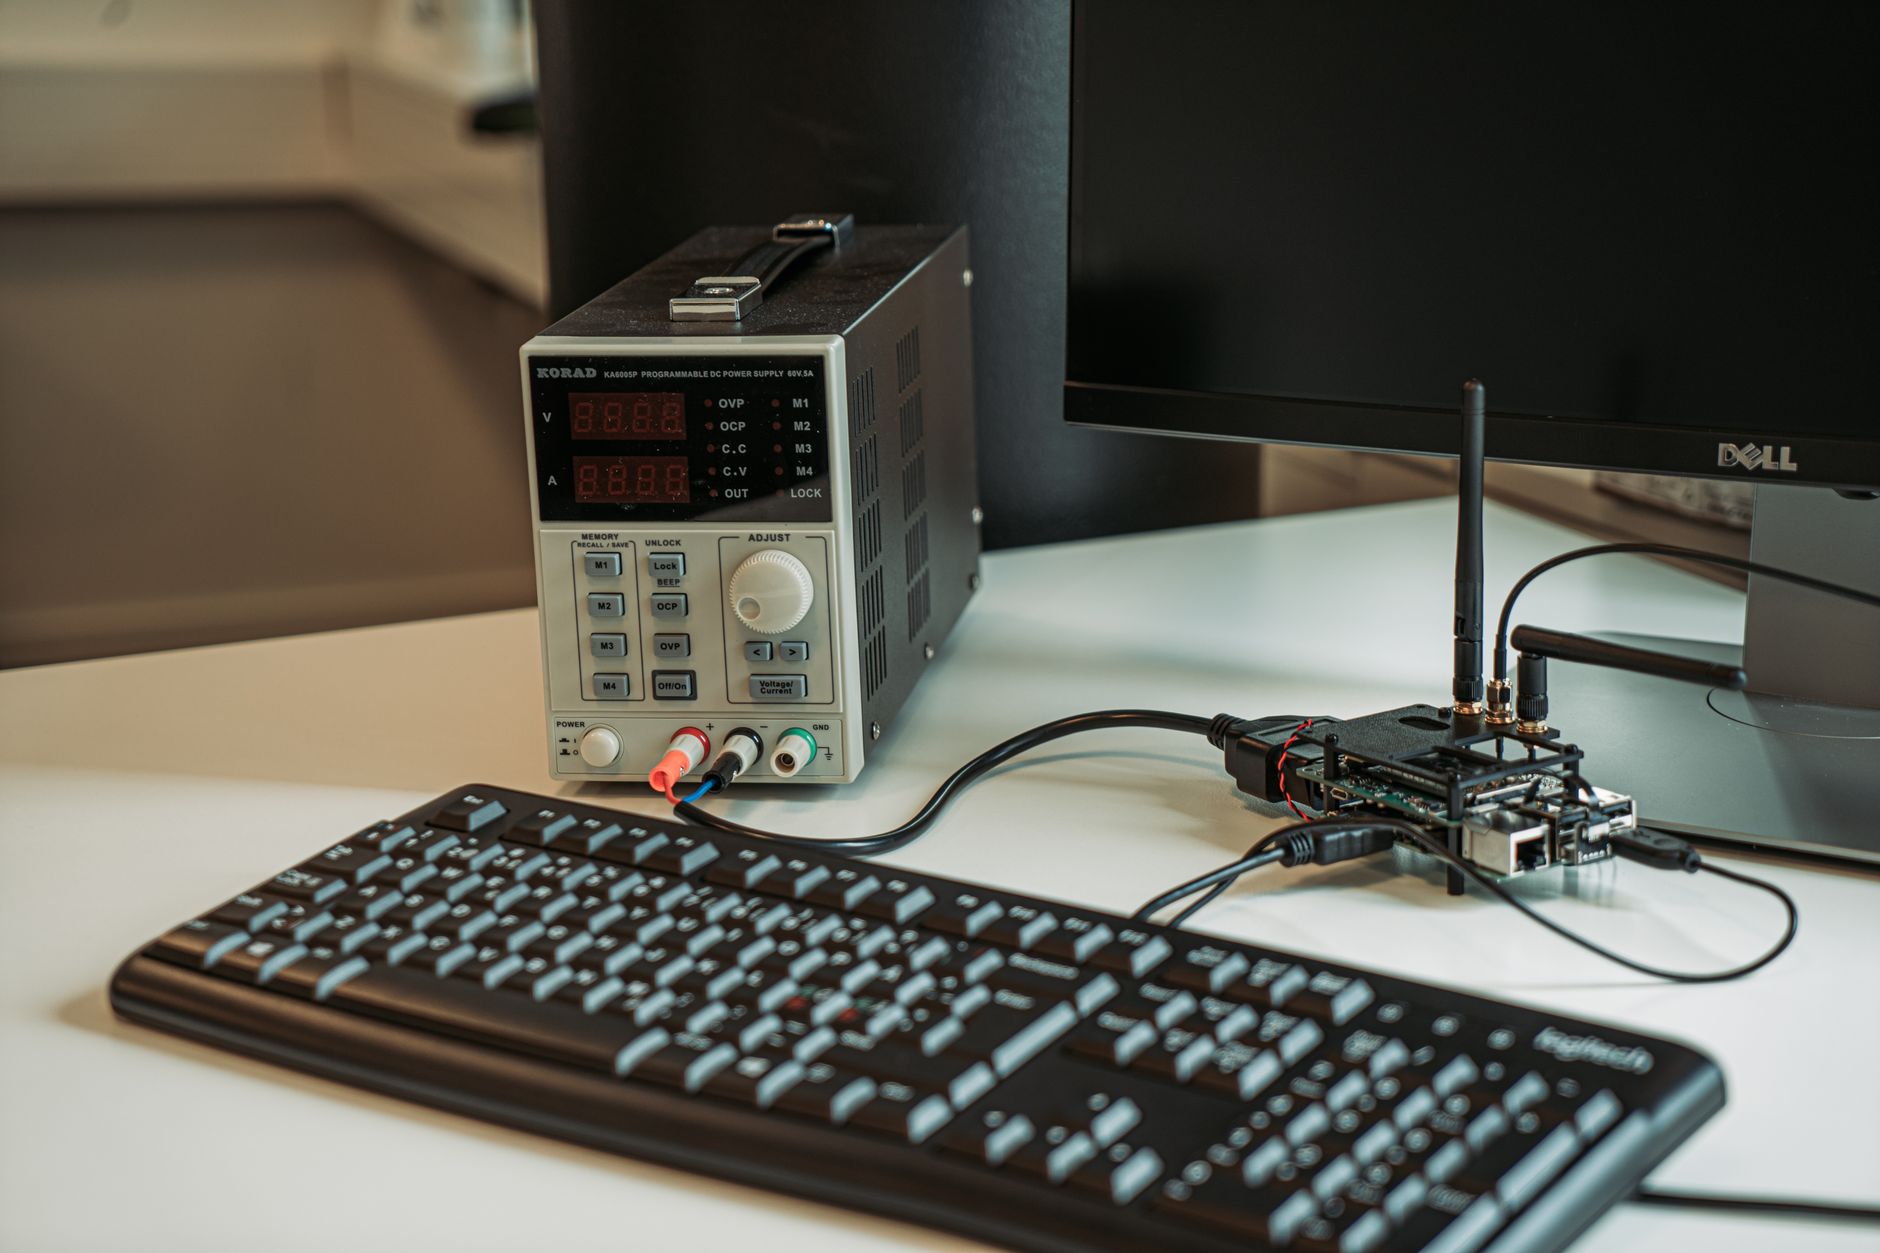
Pi-hole runs on any Linux-based system, but the most common setup is a Raspberry Pi – specifically a Raspberry Pi Zero 2 W, Pi 3, or Pi 4 running Raspberry Pi OS Lite. The hardware requirements are minimal: Pi-hole itself uses under 100MB of RAM and very little CPU. A Pi Zero 2 W handles a busy home network without strain. That said, Pi-hole also runs on a plain Ubuntu or Debian server, a virtual machine, or inside a Docker container if you want to keep it alongside other services. If you are already running a home server and want to monitor it, tools like Beszel pair well with that kind of setup.
Before installing, assign your Pi-hole machine a static IP address. This is non-negotiable. If the IP changes, your network loses DNS and everything stops working. You can set a static IP either through your router’s DHCP reservation feature – which ties a fixed IP to the device’s MAC address – or by configuring a static IP directly in the operating system. The router method is simpler and does not require touching network configuration files. Log into your router admin panel, find the connected device list, and reserve an IP for the Pi-hole machine. Write it down.
You will also need SSH access to the machine if you are running it headless, which is the standard approach for a Pi running Lite. Enable SSH before you boot by placing an empty file named ssh in the boot partition of the SD card. On Raspberry Pi OS, you can also use the Raspberry Pi Imager to pre-configure SSH credentials and Wi-Fi settings before flashing. Once the device boots and connects to the network, you can run the entire Pi-hole installation from your main computer without ever connecting a monitor or keyboard to the Pi.
Check that your Pi is reachable by pinging its IP address from another device on the network. If it responds, you are ready to install. The only other requirement is an active internet connection on the Pi itself – Pi-hole needs to reach upstream DNS servers and download its initial blocklists during setup.
Installing Pi-hole
The official installation method is a single curl command. SSH into your Pi-hole machine and run:
curl -sSL https://install.pi-hole.net | bash
The installer walks you through a series of prompts in a text-based interface. You will choose an upstream DNS provider – Cloudflare (1.1.1.1) and Google (8.8.8.8) are the most common choices – select which blocklists to start with, and confirm your static IP. The installer also asks whether to install the web admin interface, which you should accept. That interface is where you will manage everything going forward. At the end of the process, the installer displays a randomly generated admin password. Copy it immediately.
Pointing Your Network at Pi-hole
Installation alone does nothing until you tell your network to use Pi-hole as its DNS server. The cleanest approach is to change the DNS settings on your router. Log into your router’s admin panel and find the DHCP settings. There will be a field for primary DNS server – change that to your Pi-hole’s static IP address. Clear the secondary DNS field or set it to the same Pi-hole IP. If you leave a secondary DNS pointing to an external server like 8.8.8.8, devices will bypass Pi-hole whenever it is unreachable, which defeats the purpose.
Save the settings and either reboot your router or wait for DHCP leases to renew. On most home networks, connected devices pick up new DNS settings within a few minutes. You can force it immediately by disconnecting and reconnecting to Wi-Fi on a phone or running ipconfig /release followed by ipconfig /renew on a Windows machine. Once devices are using Pi-hole as DNS, open the admin dashboard by navigating to http://[pi-hole-ip]/admin in a browser. After logging in, you should see query activity appearing in real time as devices on the network make DNS requests.
If your router does not allow custom DNS settings – some ISP-provided routers lock this down – you have a few alternatives. You can configure DNS manually on each device you want to cover, or bridge your ISP router and use a second router that you control for DNS settings. Neither option is as clean as router-level configuration, but both work.

Tuning Pi-hole After Setup
The default blocklist that ships with Pi-hole is solid, but the community maintains a large library of curated lists for different use cases – lists targeting malware domains, tracking scripts, telemetry from smart TVs, and more. The dashboard’s Adlists section under Group Management is where you add them. After adding any new list, run pihole -g from the command line, or use the dashboard’s Update Gravity button, to download and compile the new entries. A well-configured Pi-hole with a few additional lists can block significantly more traffic than the default configuration.
Expect some false positives, especially in the first week. Certain legitimate services share infrastructure with ad networks or use domain patterns that blocklists flag incorrectly. When something breaks – a login page that won’t load, a service that returns errors – check the query log in the dashboard and look for recently blocked domains. The whitelist function is right there; adding a false positive takes ten seconds. Over time your whitelist will reflect your household’s actual usage, and breakage becomes increasingly rare.
The admin dashboard also shows per-client statistics, meaning you can see which devices are generating the most queries and what percentage of their traffic Pi-hole is blocking. Smart TVs routinely show blocking rates that are noticeably higher than other devices – they are among the most aggressive data senders on a typical home network, and Pi-hole makes that visible in a way nothing else on a basic home setup does.



