


Take Control of Your Meal Planning Without Handing Your Data to a Subscription App
Meal planning apps have multiplied over the past few years, and most of them follow the same playbook: free tier with limited recipes, a premium subscription for full access, and your personal data sitting on someone else’s server. Mealie breaks that model entirely. It is an open-source, self-hosted recipe manager and meal planner that runs on your own hardware, costs nothing beyond your server’s electricity, and puts you in complete control of your recipe library, meal schedules, and shopping lists.
Mealie is built with a Python backend and a Vue.js frontend, and it ships as a Docker container, which makes deployment straightforward even if you are not a seasoned server administrator. It supports recipe importing directly from URLs, manual entry, and even OCR-based scanning in some configurations. The meal planner ties into a built-in shopping list generator, so a week’s worth of dinners can produce a consolidated grocery list in seconds.
This guide walks you through a complete Mealie setup using Docker Compose on a Linux server or home lab machine.

Prerequisites and Server Requirements
Mealie is lightweight by self-hosted standards. A Raspberry Pi 4 with 4GB of RAM runs it without complaint, and any x86 machine with 2GB of RAM and a dual-core processor will handle multiple simultaneous users without strain. You need Docker and Docker Compose installed before starting. On Ubuntu or Debian, that means running sudo apt update && sudo apt install docker.io docker-compose -y and then adding your user to the Docker group with sudo usermod -aG docker $USER. Log out and back in for that group change to take effect.
You also need a directory on your server where Mealie will store its data. Create one now: mkdir -p ~/mealie/data. This folder will hold your database file, uploaded images, and any backups Mealie generates automatically. If you plan to run Mealie long-term, consider pointing this directory at a location on a drive with regular backups, not just the system root. Losing your recipe library because a system drive failed is the kind of preventable disaster worth spending five minutes to avoid.
Port planning matters too. Mealie defaults to port 9000 internally, and you will map that to whatever external port suits your network. If you are running other services on the same machine, check for conflicts before writing the compose file. Port 9000 is commonly used by other applications including Portainer, so pick a free port you will remember.
Writing the Docker Compose File
Create a file called docker-compose.yml inside your mealie directory. Open it with any text editor and paste in the following configuration:
version: “3.7”
Under services, define the mealie container. Set the image to hkotel/mealie:latest for the stable release, or hkotel/mealie:nightly if you want features ahead of the stable branch. Map the port as 9000:9000 (or substitute your chosen external port on the left side). Under volumes, map ./data:/app/data so the container writes to your local directory. Set the restart policy to unless-stopped so Mealie comes back automatically after a reboot.
Environment variables control key behavior. Set PUID and PGID to match your local user’s ID (run id in your terminal to find these values) so file permissions inside the container match your host system. Set TZ to your timezone in standard format, for example America/New_York. For production use, also set DEFAULT_EMAIL and DEFAULT_PASSWORD – these become your initial admin credentials. Change the password immediately after first login. The full environment block in your compose file should look clean and explicit, with no ambiguity about which values are placeholders versus real credentials.

Starting Mealie and Completing Initial Setup
With the compose file saved, start the container by running docker-compose up -d from inside your mealie directory. Docker will pull the image on first run, which takes a minute or two depending on your connection speed. Once the pull completes, the container starts and Mealie initializes its database automatically. Run docker-compose logs -f to watch the startup output – you are looking for a line confirming the application is running on port 9000.
Open a browser and navigate to http://your-server-ip:9000. The login screen appears immediately. Sign in with the default email and password you set in the environment variables. The first thing to do after login is change the admin password under your account settings. After that, explore the admin panel briefly – it lets you configure email notifications, manage users, set the base URL (important if you plan to access Mealie from outside your local network), and enable or disable public access to your recipe library.
Recipe importing is where Mealie earns its reputation. Paste any recipe URL from a major cooking website into the import field and Mealie scrapes the structured recipe data – ingredients, steps, prep time, servings, and images – and saves it as a clean entry in your library. The success rate varies by website depending on how the source site structures its data, but popular recipe sites with proper schema markup import without errors. For sites that do not play well with the scraper, manual entry takes less than two minutes per recipe.
Setting Up Reverse Proxy Access
Running Mealie only on your local network is fine for personal use, but if you want to reach it from outside your home or share it with family members, you need a reverse proxy with HTTPS. Nginx Proxy Manager handles this with a web interface that requires no manual Nginx configuration. Alternatively, Caddy works well and handles SSL certificate renewal automatically through Let’s Encrypt. Either option requires a domain name or subdomain pointed at your server’s public IP, and port 80 and 443 forwarded through your router to the proxy machine.
Once your reverse proxy is configured, update Mealie’s BASE_URL environment variable to your full domain address, for example https://meals.yourdomain.com. Restart the container with docker-compose restart for the change to take effect. This setting affects how Mealie generates share links and handles redirects, so skipping it produces broken links when you try to share a recipe with someone who is not on your local network.
Mealie also supports OIDC-based single sign-on if you are running an identity provider like Authentik or Keycloak in your home lab. For households using Mealie as a shared family tool, this is worth the setup time – it means everyone uses the same login system across multiple self-hosted services rather than managing separate credentials for each app. For a broader look at recipe and meal planning features within Mealie, the full Mealie recipe and meal planner guide covers the planning workflow in detail.
Backups and Long-Term Maintenance
Mealie includes a built-in backup system under the admin panel that exports your entire database and uploaded images as a compressed archive. Schedule these backups to run automatically by setting the interval in the admin settings, and configure an export path that your host system’s backup routine can pick up. If you run a tool like Duplicati or Restic for server-wide backups, point it at your ~/mealie/data directory directly and you do not need to rely on Mealie’s internal backup at all.
Updating Mealie is a two-command process: docker-compose pull fetches the latest image, and docker-compose up -d restarts the container with the new version. The data directory persists across updates because it lives on the host system, not inside the container. Check the Mealie GitHub release notes before major version updates – occasionally database migrations run automatically on startup, and knowing what to expect prevents unnecessary alarm when the first boot after an update takes longer than usual.
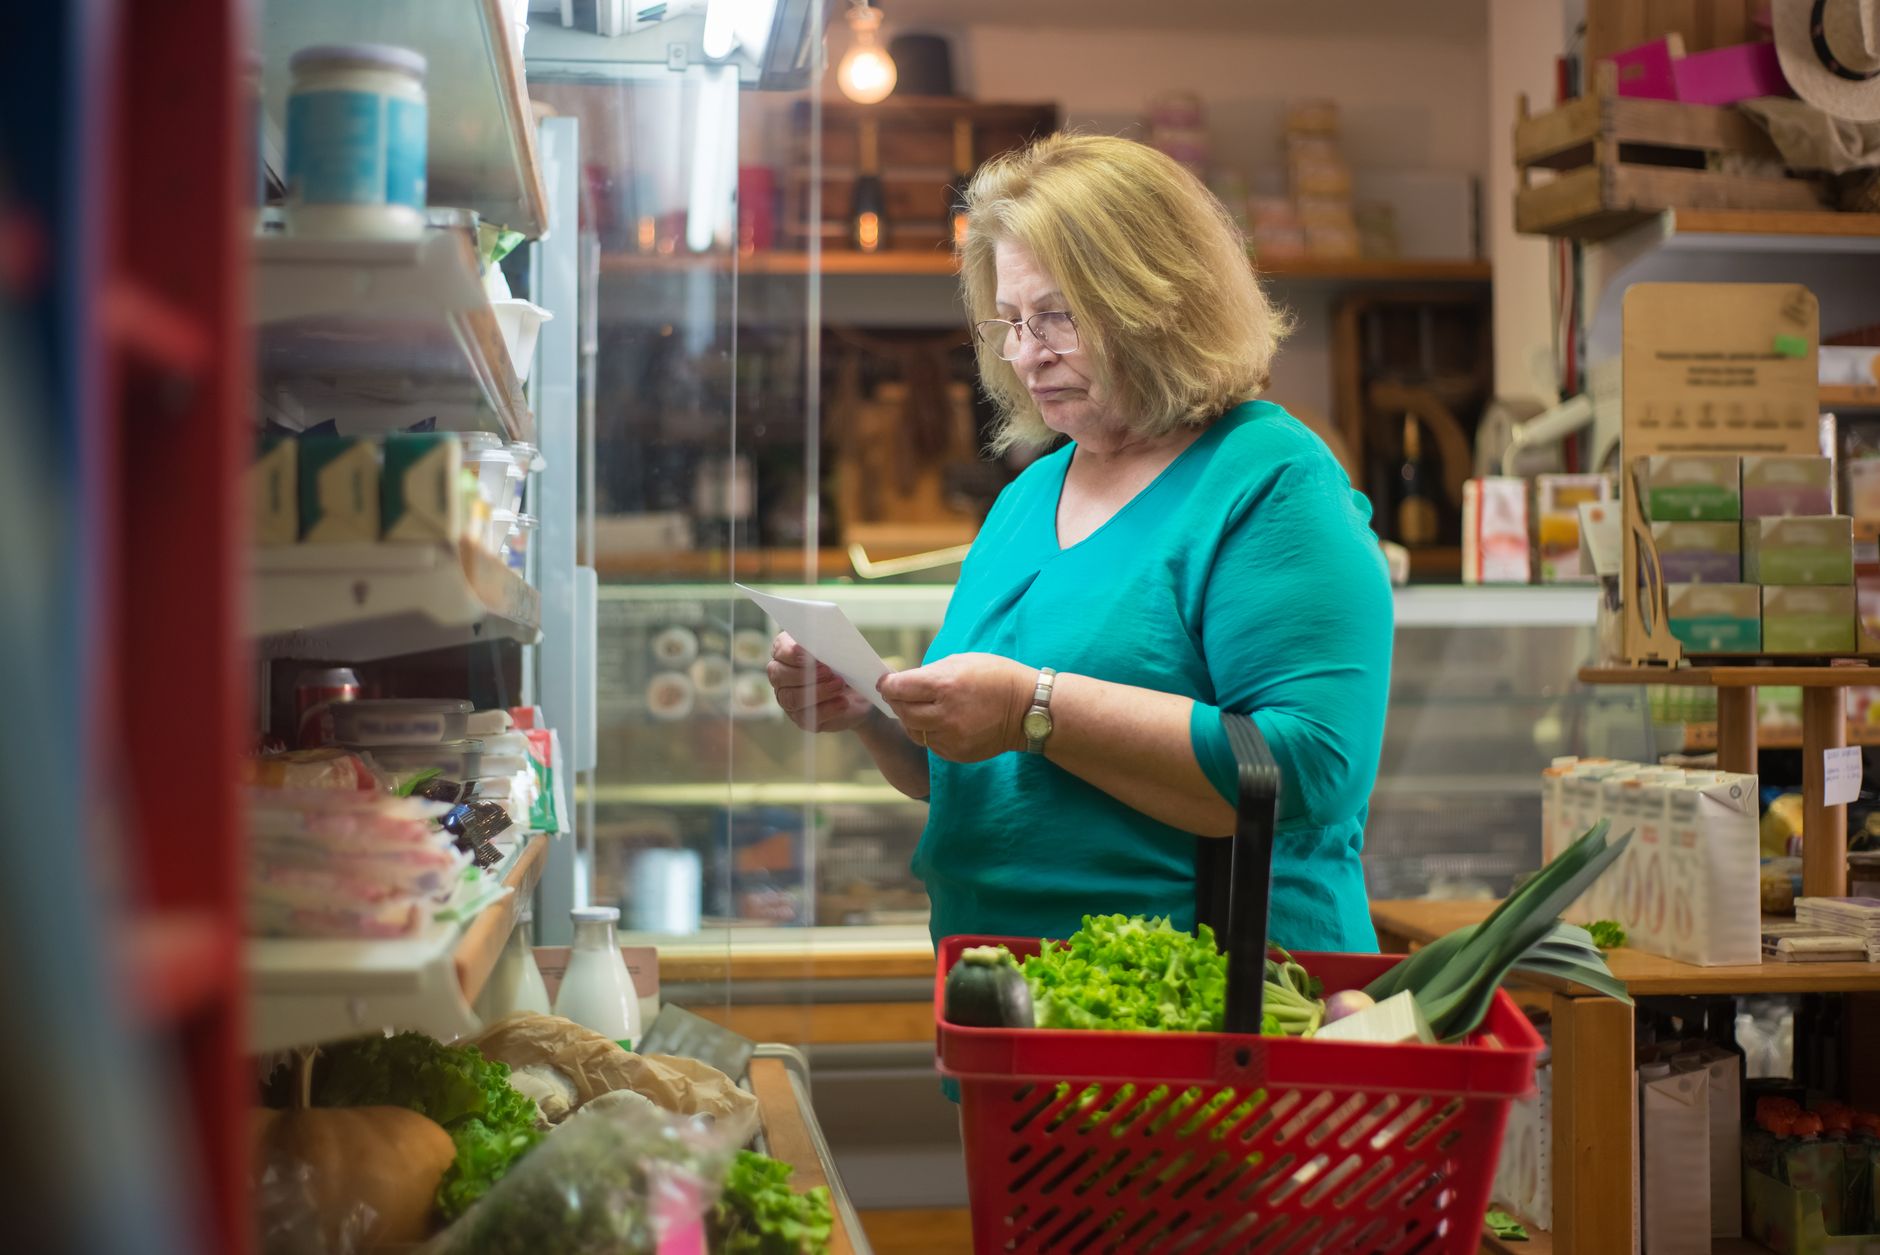
Mealie’s shopping list feature is the part most users underestimate until they actually use it. Add five meals to the weekly planner, click generate shopping list, and every ingredient from every recipe appears as a consolidated, deduplicated list sorted by quantity. You can share that list with anyone via a link that requires no login, which means one person plans the meals and another handles the shopping without needing their own Mealie account – a genuinely practical detail that most commercial meal planning apps charge extra to unlock.