


Your Media Library, Your Rules
Streaming subscriptions have a quiet problem: the content you want is never all in one place, libraries rotate without warning, and the combined monthly cost of three or four services adds up faster than most people notice. Jellyfin offers a different model entirely. It is a free, open-source media server that you install on your own hardware, point at your existing collection of video files, and stream to any device on your network – or outside it – through a clean, Netflix-style interface that you control completely.
The setup process is more approachable than it sounds, even if you have never run a home server before. Jellyfin handles metadata scraping, subtitle fetching, user profiles, parental controls, and hardware-accelerated transcoding out of the box. Once it is running, family members can browse and play your library from a phone, smart TV, tablet, or browser without needing to know anything about the underlying system. This guide walks through every step from a bare installation to a polished, remotely accessible media server.
Choosing Your Hardware and Installing Jellyfin
Jellyfin runs on almost anything – a spare Windows PC, a Linux box, a NAS device, or a Raspberry Pi. For a household with multiple simultaneous streams, the most important variable is whether your hardware can transcode video in real time. Transcoding happens when a client device cannot play the original file format directly and Jellyfin has to convert it on the fly. That process is CPU-intensive unless you have a GPU or integrated graphics that supports hardware acceleration. An older Intel Core i5 or i7 with Quick Sync, or any modern AMD processor with integrated graphics, handles two or three simultaneous streams without breaking a sweat. A Raspberry Pi 4 or 5 can work for direct-play scenarios but struggles with heavy transcoding. If you are planning a more capable dedicated machine, the headless Raspberry Pi 5 setup guide covers the foundational Linux configuration steps that apply here as well.
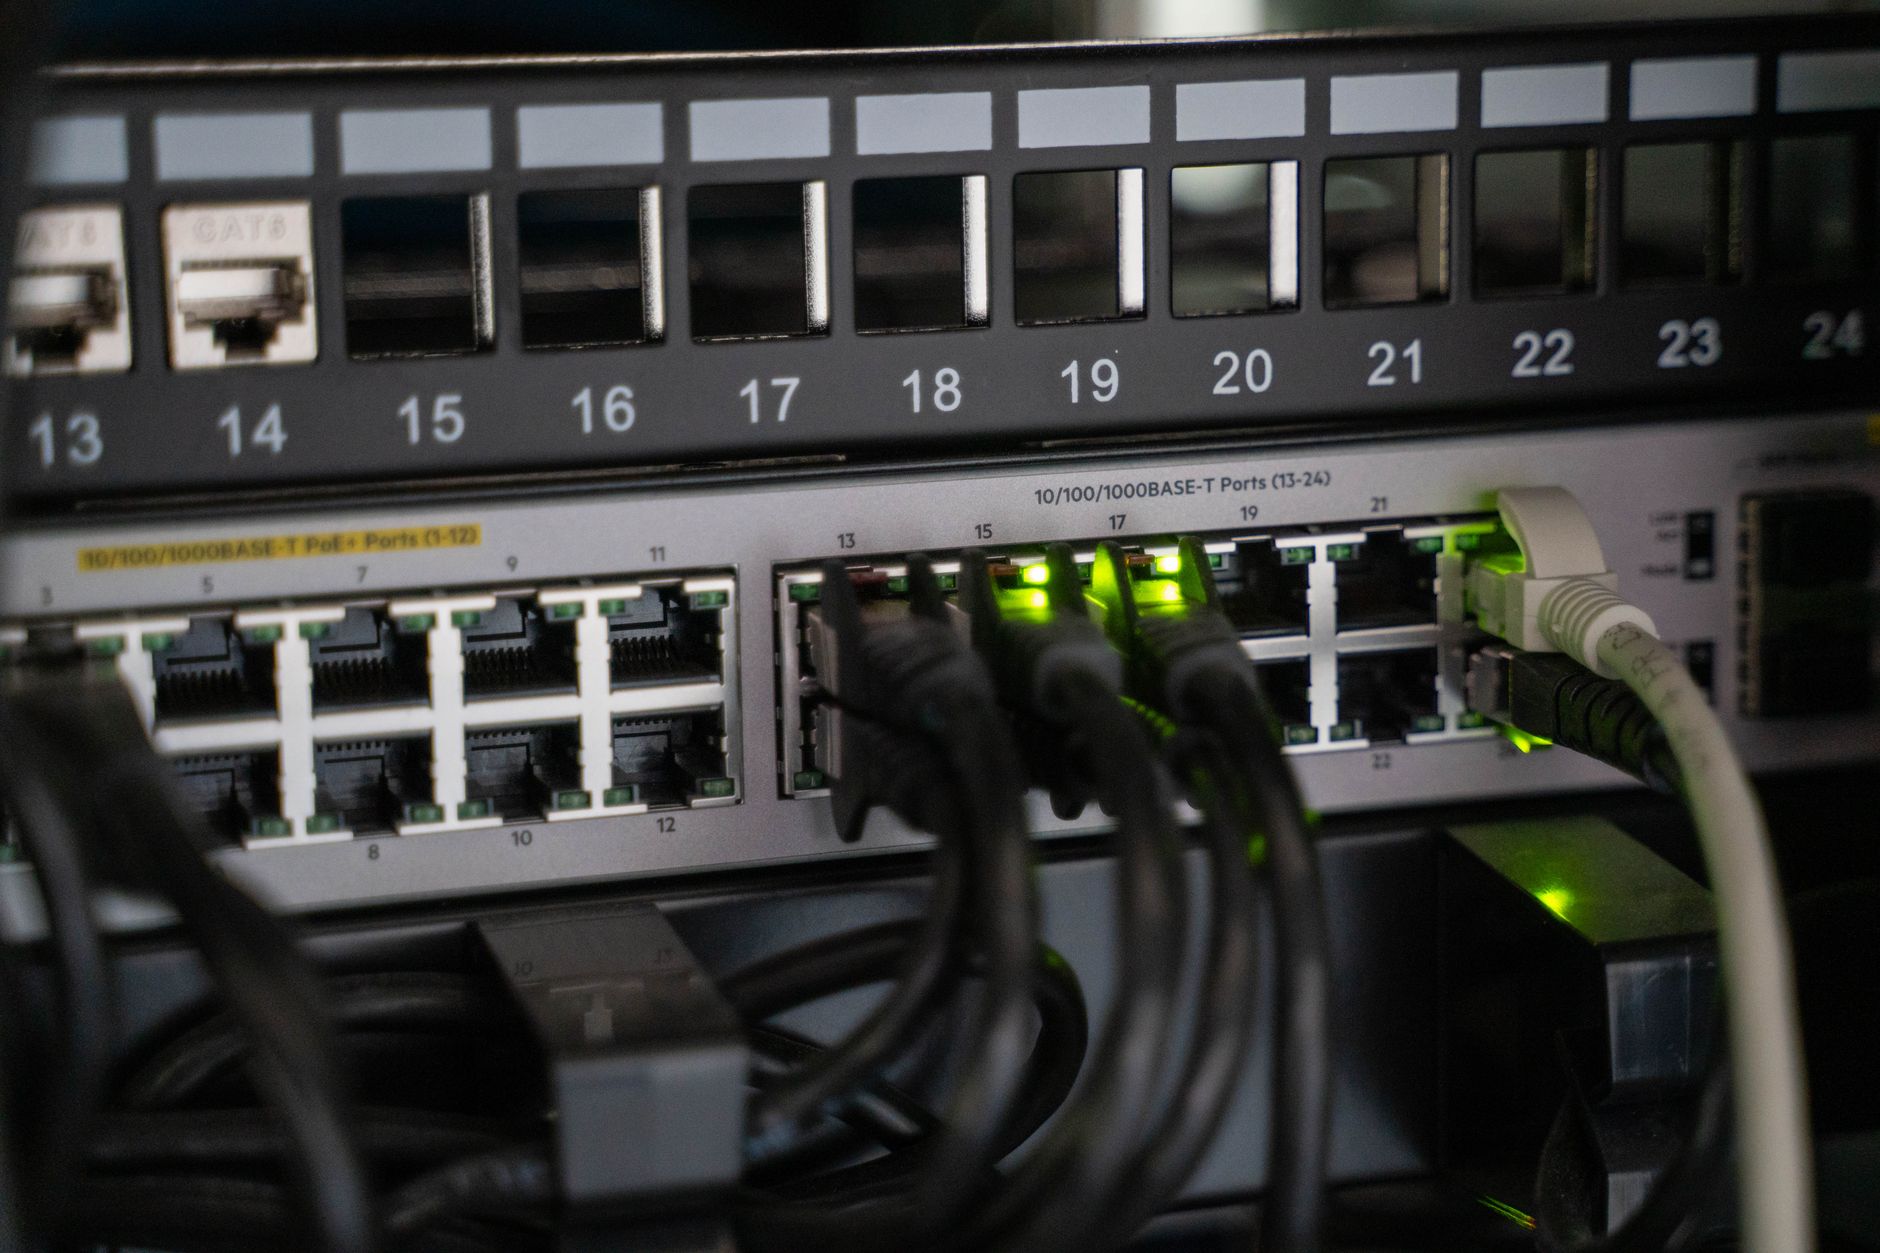
On Ubuntu or Debian, installation takes under five minutes. Add the Jellyfin repository, run sudo apt install jellyfin, and the service starts automatically. On Windows, download the installer from jellyfin.org and run it like any other application. Docker is the cleanest option if you want easy updates and an isolated environment – the official image is jellyfin/jellyfin and a basic compose file needs only a port mapping, a config volume, and one or more media volume mounts. Whichever method you choose, Jellyfin listens on port 8096 by default and the setup wizard is available immediately at http://your-server-ip:8096.
During the initial wizard, you create an administrator account and add your first media libraries. Point Jellyfin at the folders where your movies and TV shows live, select the correct content type for each folder, and the server begins scanning and matching files against online metadata databases. Large libraries can take twenty to thirty minutes to scan fully. Leave the browser tab open and let it finish before moving on – incomplete scans occasionally cause duplicate entries that require manual cleanup later.
Organizing Your Library and Configuring Metadata
Jellyfin uses file and folder naming to identify content, so consistent naming pays off immediately. Movies should follow the pattern Movie Title (Year)/Movie Title (Year).mkv and TV episodes should follow Show Name/Season 01/Show Name – S01E02.mkv. Anything that deviates from these conventions will either fail to match or match the wrong title. For large collections with inconsistent naming, the free tool FileBot automates renaming using online databases and handles batch operations across thousands of files in a single pass.
Metadata providers are configured under Dashboard – Libraries – and by default Jellyfin pulls from TheMovieDB and TheTVDB. Both are reliable and cover the vast majority of content. For anime, adding the AniDB provider through the plugin catalog significantly improves match rates. Subtitles can be fetched automatically through the OpenSubtitles plugin, which requires a free account but then downloads .srt files on demand whenever a file lacks embedded subtitles. Enable this in the plugin catalog under Dashboard – Plugins – Catalog and restart the server after installation.

Hardware Transcoding, User Profiles, and Remote Access
Hardware transcoding is the setting most people miss and then wonder why their server CPU spikes to 100 percent during playback. In the admin dashboard, navigate to Dashboard – Playback – Transcoding and enable hardware acceleration for your chipset. Intel Quick Sync uses the Intel (QSV) option, Nvidia cards use NVENC, and AMD uses AMF. Linux installations require the correct drivers and, for Nvidia, the nvidia-container-toolkit if you are running Docker. After enabling hardware acceleration, the server offloads encoding to the GPU and a stream that previously consumed 80 percent CPU will drop to under 10 percent. The difference in real-world responsiveness is immediate.
User profiles let you give each person in the household their own login with separate watch history, continue-watching queues, and content restrictions. Create users under Dashboard – Users and assign library access permissions per user. For children’s profiles, the parental control options under each user account let you block content above a specified rating entirely – no workarounds, no separate app needed. Each user authenticates independently so there is no shared watch history muddying recommendations.
Remote access – watching your library from outside your home network – requires one of two approaches. The simpler option is a reverse proxy combined with a domain name. Nginx Proxy Manager is a popular choice that handles SSL certificates through Let’s Encrypt automatically. Point your domain at your home IP, forward ports 80 and 443 on your router to the machine running Nginx Proxy Manager, then create a proxy host entry that forwards to http://jellyfin-ip:8096. Jellyfin will be accessible at https://yourdomain.com with a valid certificate. If you would rather not expose your home IP at all, Tailscale provides a zero-configuration VPN that makes your server reachable through a private address from any device where you install the Tailscale client – no port forwarding required.
One practical limitation worth understanding before you commit: Jellyfin does not support DRM-protected content. Files purchased from iTunes, Google Play, or Amazon that use FairPlay or Widevine encryption cannot be played through Jellyfin. The server works only with files you own outright in an unencrypted format – ripped Blu-rays, downloaded open-format purchases, or content you have created yourself. That boundary defines the entire use case. Within it, though, the experience is genuinely polished: apps exist for Android, iOS, Roku, Fire TV, Apple TV, Samsung Tizen, and LG webOS, and the web interface works in any modern browser without plugins. The question of whether the setup effort is worth it usually answers itself the first time you pull up a film from your own collection on a hotel TV.

Frequently Asked Questions
Does Jellyfin work on a Raspberry Pi?
Jellyfin runs on a Raspberry Pi 4 or 5 for direct-play scenarios, but heavy real-time transcoding requires more powerful hardware with GPU support.
Can I watch my Jellyfin server outside my home network?
Yes. You can use a reverse proxy with a domain and SSL certificate, or a VPN tool like Tailscale for access without exposing your home IP address.
Is Jellyfin completely free?
Jellyfin is free and open-source with no subscription fees, no premium tiers, and no usage limits on users or libraries.


