


What You Need to Know
Stable Diffusion brings professional-grade AI image generation directly to your desktop. Unlike cloud-based services that charge per image or impose daily limits, running Stable Diffusion locally gives you unlimited creative freedom. You control your data, customize every parameter, and generate images without internet dependency.
The setup process involves installing Python dependencies, downloading model files, and configuring a user interface. While technical, the steps are straightforward once you understand the components. Your hardware requirements depend on your ambitions – basic generation works on modest systems, while high-resolution outputs demand serious GPU power.
Step 1: Check Your System Requirements
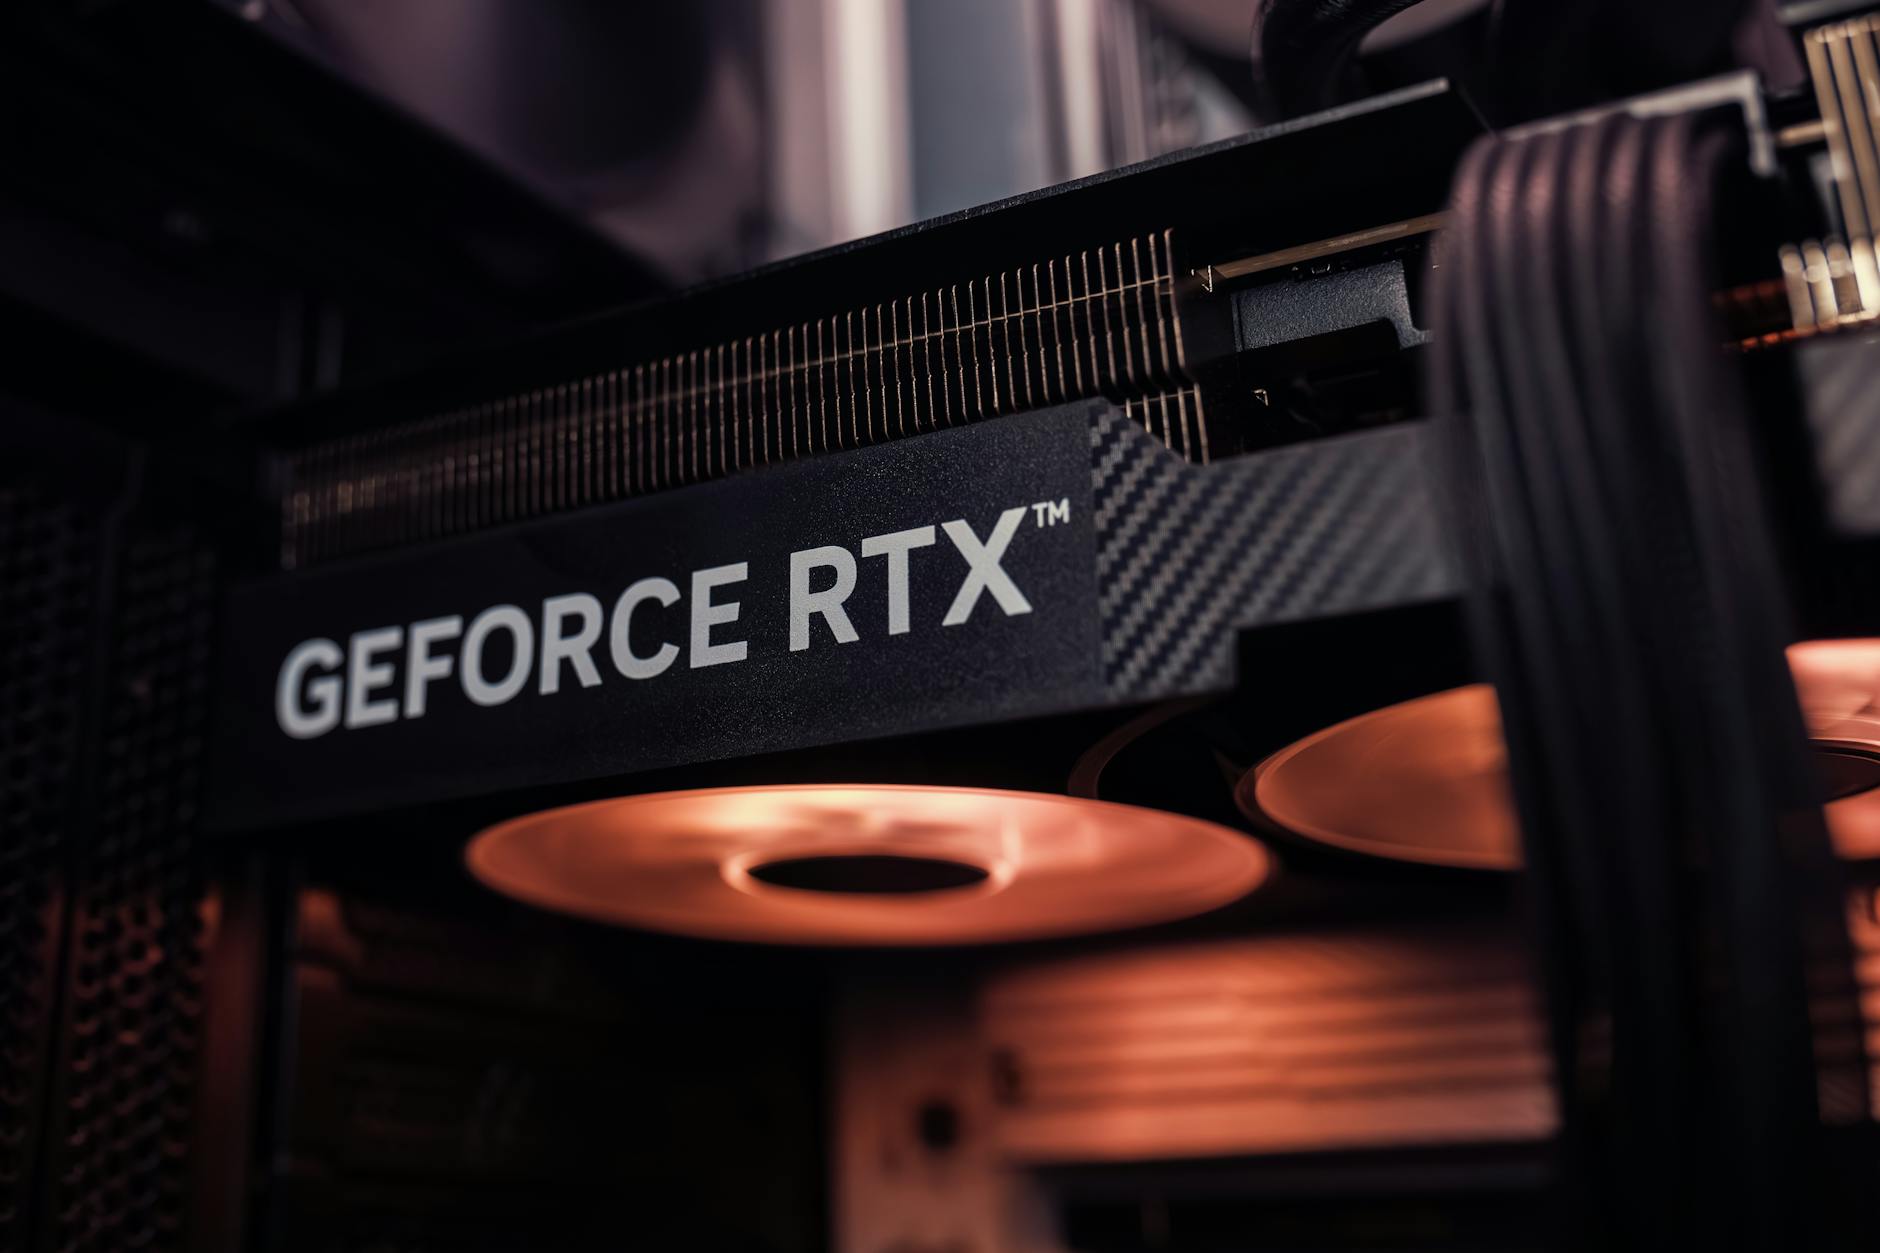
Your GPU determines what’s possible with Stable Diffusion. NVIDIA cards with at least 6GB VRAM handle standard 512×512 images smoothly. The RTX 3060, RTX 4060, or better perform well for most users. Cards with 8GB or more VRAM generate higher resolutions without memory issues.
AMD GPU support exists through DirectML, though NVIDIA cards typically deliver better performance and compatibility. CPU-only generation works but runs painfully slow – expect 10-15 minutes per image versus 10-30 seconds on decent GPUs.
Storage space matters too. Base model files consume 2-7GB each, and you’ll likely collect multiple models. Allocate at least 50GB for a comfortable setup with room for experimentation.
Step 2: Install Python and Git
Download Python 3.10.6 from python.org – this specific version ensures maximum compatibility with Stable Diffusion packages. During installation, check “Add Python to PATH” to avoid command-line headaches later.
Install Git for Windows from git-scm.com. Accept default settings during installation. Git downloads the Stable Diffusion code repository and manages updates. Both tools provide the foundation for everything that follows.
Step 3: Download AUTOMATIC1111 WebUI
AUTOMATIC1111’s WebUI represents the most popular Stable Diffusion interface. Open Command Prompt and navigate to your desired installation folder. Run this command to clone the repository:
git clone https://github.com/AUTOMATIC1111/stable-diffusion-webui.git
The download includes thousands of files totaling several hundred megabytes. This interface handles model management, parameter adjustment, and image generation through an intuitive web browser interface.
Create a dedicated folder like “C:\AI\stable-diffusion” to keep everything organized. Avoid spaces in folder names to prevent path-related errors during installation.
Step 4: Download Your First Model
Stable Diffusion requires trained model files to generate images. Visit huggingface.co/runwayml/stable-diffusion-v1-5 and download the “v1-5-pruned-emaonly.ckpt” file – approximately 4GB in size.
Place this file in the “stable-diffusion-webui\models\Stable-diffusion” folder. Rename it to something memorable like “sd15-base.ckpt” for easier identification later.
Alternative models offer different artistic styles and capabilities. Realistic Vision excels at photorealistic portraits. DreamShaper balances realism with artistic flair. Start with one model and expand your collection based on your creative needs.
Step 5: Configure GPU Acceleration
NVIDIA users benefit from CUDA acceleration out of the box. The WebUI installer automatically detects CUDA-capable cards and configures appropriate settings. No manual intervention required for most systems.
AMD GPU owners need additional setup. Edit the “webui-user.bat” file in the WebUI folder and add this line: set COMMANDLINE_ARGS=–use-cpu all –precision full –no-half
These parameters enable DirectML support for AMD cards, though performance trails NVIDIA equivalents. Intel Arc GPU support remains experimental but shows promise for budget builds.
Step 6: Run Your First Generation
Navigate to your WebUI folder and double-click “webui-user.bat”. The first run downloads additional dependencies automatically – this process takes 10-20 minutes depending on your internet connection.
Watch for the local URL in the command window, typically “http://127.0.0.1:7860”. Open this address in your web browser to access the Stable Diffusion interface. The familiar layout includes prompt boxes, parameter sliders, and generation buttons.
Test the installation with a simple prompt like “a red apple on a wooden table”. Click “Generate” and wait for your first AI-created image. Success here confirms everything works correctly.
Step 7: Optimize Performance Settings
The Settings tab contains performance options that dramatically affect generation speed. Enable “xformers” for NVIDIA cards – this optimization reduces VRAM usage by 10-20% while maintaining quality.
Adjust batch sizes based on your GPU memory. Cards with 8GB VRAM handle batch sizes of 2-4 images simultaneously. Lower-memory cards work better with single-image generation to avoid out-of-memory errors.
The “Optimizations” section includes options for low-VRAM systems. Enable “Lowvram” for 6GB cards or “Medvram” for 8GB cards experiencing memory issues. These settings sacrifice some speed for stability.
Key Takeaways
Local Stable Diffusion installation grants unlimited creative freedom without subscription fees or usage restrictions. The initial setup requires technical comfort but rewards you with complete control over the generation process.
GPU specifications directly impact your experience – invest in adequate VRAM for smooth operation. Model selection shapes your artistic output more than any other factor. Start simple, then experiment with specialized models as you develop preferences.
Performance optimization prevents frustration and maximizes your hardware potential. Monitor VRAM usage, adjust batch sizes appropriately, and enable hardware-specific optimizations. The WebUI updates regularly with new features and improvements, making occasional maintenance worthwhile for enhanced capabilities.


