


Remote work demands seamless access to your office computer from anywhere in the world. Whether you’re troubleshooting a client issue from a coffee shop or accessing specialized software from your home office, remote desktop access transforms any location into your workplace.
What You Need to Know
Remote desktop technology lets you control one computer from another over the internet. Your office machine becomes the “host” while your laptop, tablet, or phone acts as the “client.” You see and control everything as if sitting at your office desk, but with crucial security considerations.
The process involves three key components: the remote desktop software, network configuration, and security protocols. Popular solutions include Windows Remote Desktop, TeamViewer, Chrome Remote Desktop, and AnyDesk. Each offers different features, security levels, and pricing models.
Security remains paramount when opening network access to your computer. Proper setup prevents unauthorized access while maintaining productivity. This guide covers both built-in Windows solutions and third-party alternatives.
Step 1: Choose Your Remote Desktop Solution
Windows Remote Desktop Connection comes built into Windows Pro, Enterprise, and Education editions. It’s free, secure, and integrates seamlessly with Windows networks. However, it requires manual network configuration and doesn’t work with Windows Home edition.
TeamViewer offers the most user-friendly experience with automatic connection setup. The free version works for personal use, while commercial licenses start around $50 monthly. It works across all operating systems and mobile devices.
Chrome Remote Desktop provides simple browser-based access through your Google account. It’s completely free and works on any device with a web browser. Security relies on your Google account credentials.
AnyDesk delivers fast performance with lower bandwidth requirements. It offers competitive commercial pricing and includes file transfer capabilities.
Step 2: Enable Remote Desktop on Windows
For Windows Remote Desktop, open Settings and navigate to System, then About. Click “Advanced system settings” to open System Properties. Select the “Remote” tab and enable “Enable Remote Desktop.”
Create a dedicated user account for remote access rather than using your primary account. Go to Settings, Accounts, then “Family & other users.” Add a new user with a strong password and add them to the “Remote Desktop Users” group.
Configure Windows Firewall to allow Remote Desktop connections. The system typically handles this automatically, but verify by checking Windows Defender Firewall settings. Look for “Remote Desktop” in the allowed apps list.
Note your computer’s local IP address by opening Command Prompt and typing “ipconfig.” Write down the IPv4 address – you’ll need this for router configuration.
Step 3: Configure Your Router and Network
Access your router’s configuration panel by typing its IP address into a web browser. Common addresses include 192.168.1.1 or 192.168.0.1. Log in with your router credentials.
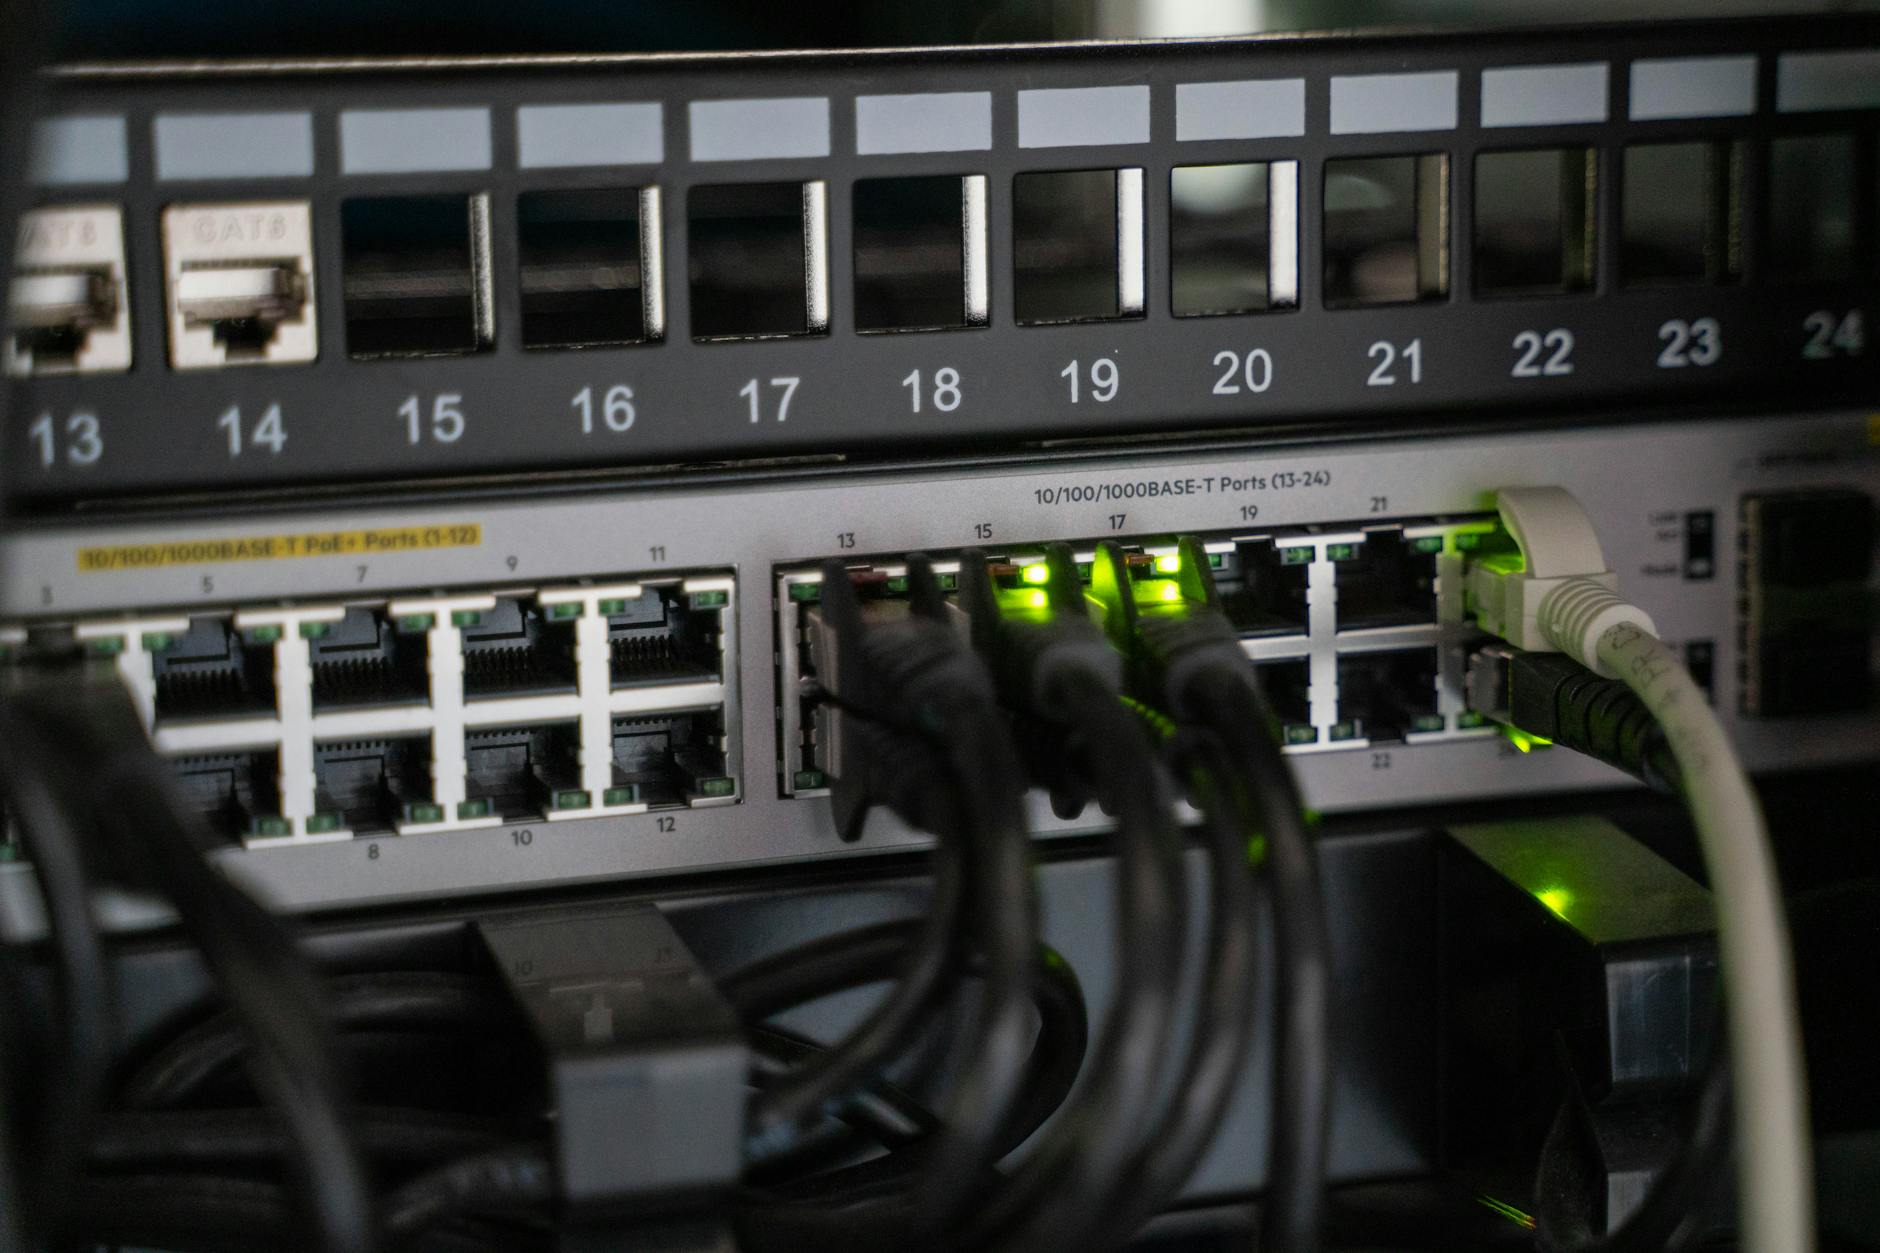
Set up port forwarding to direct remote desktop traffic to your computer. Create a new port forwarding rule for port 3389 (Windows Remote Desktop default) or port 5900 for VNC-based solutions. Point this to your computer’s local IP address.
Consider changing the default port number for enhanced security. Hackers frequently target port 3389, so using a custom port like 3390 or 5555 reduces automated attack risks. Update your remote desktop software to use the new port.
Enable Dynamic DNS if your internet provider assigns changing IP addresses. Services like No-IP or DynDNS provide consistent hostnames that automatically update with your changing IP address.
Step 4: Install and Configure Third-Party Solutions
For TeamViewer, download the software from the official website and install it on both computers. During setup, choose “Install to access this computer remotely.” Create a TeamViewer account and assign the computer to your account for easy access.
Set up unattended access by configuring a permanent password. This eliminates the need for someone to provide the temporary session ID each time you connect. Enable automatic startup so TeamViewer launches when the computer boots.
Chrome Remote Desktop requires the Chrome browser and Google account on both devices. Install the Chrome Remote Desktop extension, then enable remote connections. Choose a secure PIN for access – this protects against unauthorized Google account access.
Configure your chosen solution’s quality settings based on your internet connection. Lower quality settings work better on slower connections, while higher quality provides clearer visual detail but requires more bandwidth.
Step 5: Implement Security Best Practices
Enable Network Level Authentication for Windows Remote Desktop. This requires users to authenticate before establishing a remote session, preventing certain types of attacks. Access this setting in the System Properties Remote tab.
Use VPN connections when possible for an additional security layer. Rather than exposing your computer directly to the internet, connect through a VPN server first. This encrypts all traffic and masks your computer’s real location.
Set up strong authentication methods including complex passwords and two-factor authentication where available. Avoid default passwords and change credentials regularly, especially if you suspect unauthorized access attempts.
Configure automatic screen locking on the host computer. Set a short timeout period so the screen locks quickly when not in use. This prevents unauthorized physical access to your computer while connected remotely.
Monitor connection logs regularly to identify unusual access patterns. Windows Event Viewer shows remote desktop connections under Windows Logs > System. Look for unexpected connection times or unfamiliar IP addresses.
Step 6: Test and Optimize Your Connection
Test your remote desktop connection from outside your home network using mobile data or a different internet connection. This verifies that external access works correctly and helps identify configuration issues.
Adjust display settings for optimal performance. Lower screen resolution and color depth when working over slower connections. Disable desktop wallpapers and visual effects to improve responsiveness.
Configure file sharing and clipboard synchronization based on your needs. These features are convenient but can pose security risks if not properly managed. Disable unnecessary features to reduce attack surfaces.
Set up backup access methods in case your primary solution fails. Having both Windows Remote Desktop and a third-party option provides redundancy when troubleshooting connection issues.
Test wake-on-LAN functionality if your computer supports it. This allows you to remotely power on your computer from sleep mode, essential for energy-conscious remote work setups.
Step 7: Maintain Your Remote Access Setup
Keep all remote desktop software updated with the latest security patches. Enable automatic updates where possible, and regularly check for newer versions of third-party applications.
Monitor your internet connection’s upload speed, as this determines remote desktop performance. Consider upgrading your internet plan if you frequently experience slow or choppy remote sessions.
Back up your configuration settings and connection details. Document port numbers, custom settings, and account credentials in a secure location. This information becomes crucial when troubleshooting or setting up additional devices.
Review and update security settings quarterly. Change passwords, review user accounts, and audit connection logs for suspicious activity. Remote access creates ongoing security responsibilities that require regular attention.
Key Takeaways
Remote desktop access transforms your work flexibility but requires careful security planning. Built-in Windows solutions work well for technical users, while third-party options like TeamViewer offer easier setup for less technical environments.
Security should never be an afterthought when implementing remote access. Strong authentication, regular monitoring, and defense-in-depth strategies protect against unauthorized access. Consider VPN connections and custom port numbers for enhanced protection.
Test your setup thoroughly from various networks and devices before relying on it for critical work. Having backup access methods prevents productivity losses when technical issues arise.
Regular maintenance keeps your remote access secure and functional. Update software, monitor connections, and review security settings to maintain a reliable work-from-anywhere computing environment. Like setting up development environments, remote desktop access requires ongoing attention to remain effective and secure.
Frequently Asked Questions
Is Windows Remote Desktop free to use?
Yes, Windows Remote Desktop is free but requires Windows Pro, Enterprise, or Education editions to act as the host computer.
What’s the most secure way to set up remote desktop access?
Use VPN connections, enable Network Level Authentication, change default ports, and implement strong password policies with two-factor authentication.


