


Take Control of What You’re Paying For
Subscription creep is real. You sign up for a streaming service during a free trial, add a cloud storage plan, throw in a password manager, maybe a VPN – and six months later you’re paying for tools you haven’t opened since January. Wallos is a self-hosted, open-source subscription tracker that gives you a single dashboard to log, categorize, and monitor every recurring charge you’re running. No third-party account required, no syncing your bank credentials to someone else’s server.
Wallos runs in Docker, stores everything in a local SQLite database, and gives you a clean web UI to track subscription costs, renewal dates, payment methods, and categories. You can even set per-subscription currency and get a converted total if you’re paying in multiple currencies. It’s a lightweight app with a clear purpose.
This guide walks through a full Wallos setup on a Linux server or home lab machine using Docker Compose.

What You Need Before You Start
The requirements here are minimal. You need a machine running Linux – a VPS, a spare Raspberry Pi, or a home server all work fine. Docker and Docker Compose need to be installed. If you’re already running other self-hosted services, you likely have both. If not, the official Docker documentation covers installation for every major distribution. You also want a basic understanding of how Docker Compose files are structured, though this guide explains each line that matters.
Wallos doesn’t require a reverse proxy to run, but if you want to access it from outside your local network using a clean domain name, you’ll want something like Nginx Proxy Manager or Caddy sitting in front of it. For a purely local setup – accessible only on your home network – you can skip that entirely and just use the server’s IP address and port. The app also supports optional notification hooks via Gotify or Telegram if you want renewal alerts pushed to you, but those are optional at this stage.
One thing worth setting up ahead of time: decide where on your host machine you want Wallos to store its data. The app uses a single SQLite file for its database, so you just need one persistent volume path. Something like /opt/wallos/db works well. Create the directory before running the container so permissions don’t cause problems at startup.
Setting Up Wallos with Docker Compose
Create a new directory for the project – /opt/wallos works – and inside it create a file called docker-compose.yml. The configuration is straightforward. Wallos publishes its image to Docker Hub under ellite/wallos, so no manual building is needed.
Paste the following into your Compose file:
- image: ellite/wallos:latest
- container_name: wallos
- “8282:80” – maps host port 8282 to the container’s web server
- /opt/wallos/db:/var/www/html/db – persists the SQLite database to your host
- /opt/wallos/logos:/var/www/html/images/uploads – persists any service logos you upload
- TZ=America/New_York – set this to your local timezone
ports:
volumes:
environment:
restart: unless-stopped
With that file saved, run docker compose up -d from the same directory. Docker will pull the image and start the container. Give it about ten seconds, then open a browser and navigate to http://your-server-ip:8282. You’ll land on the Wallos setup screen, where you create your admin username and password. After that, you’re in.
Adding Subscriptions and Configuring the Dashboard
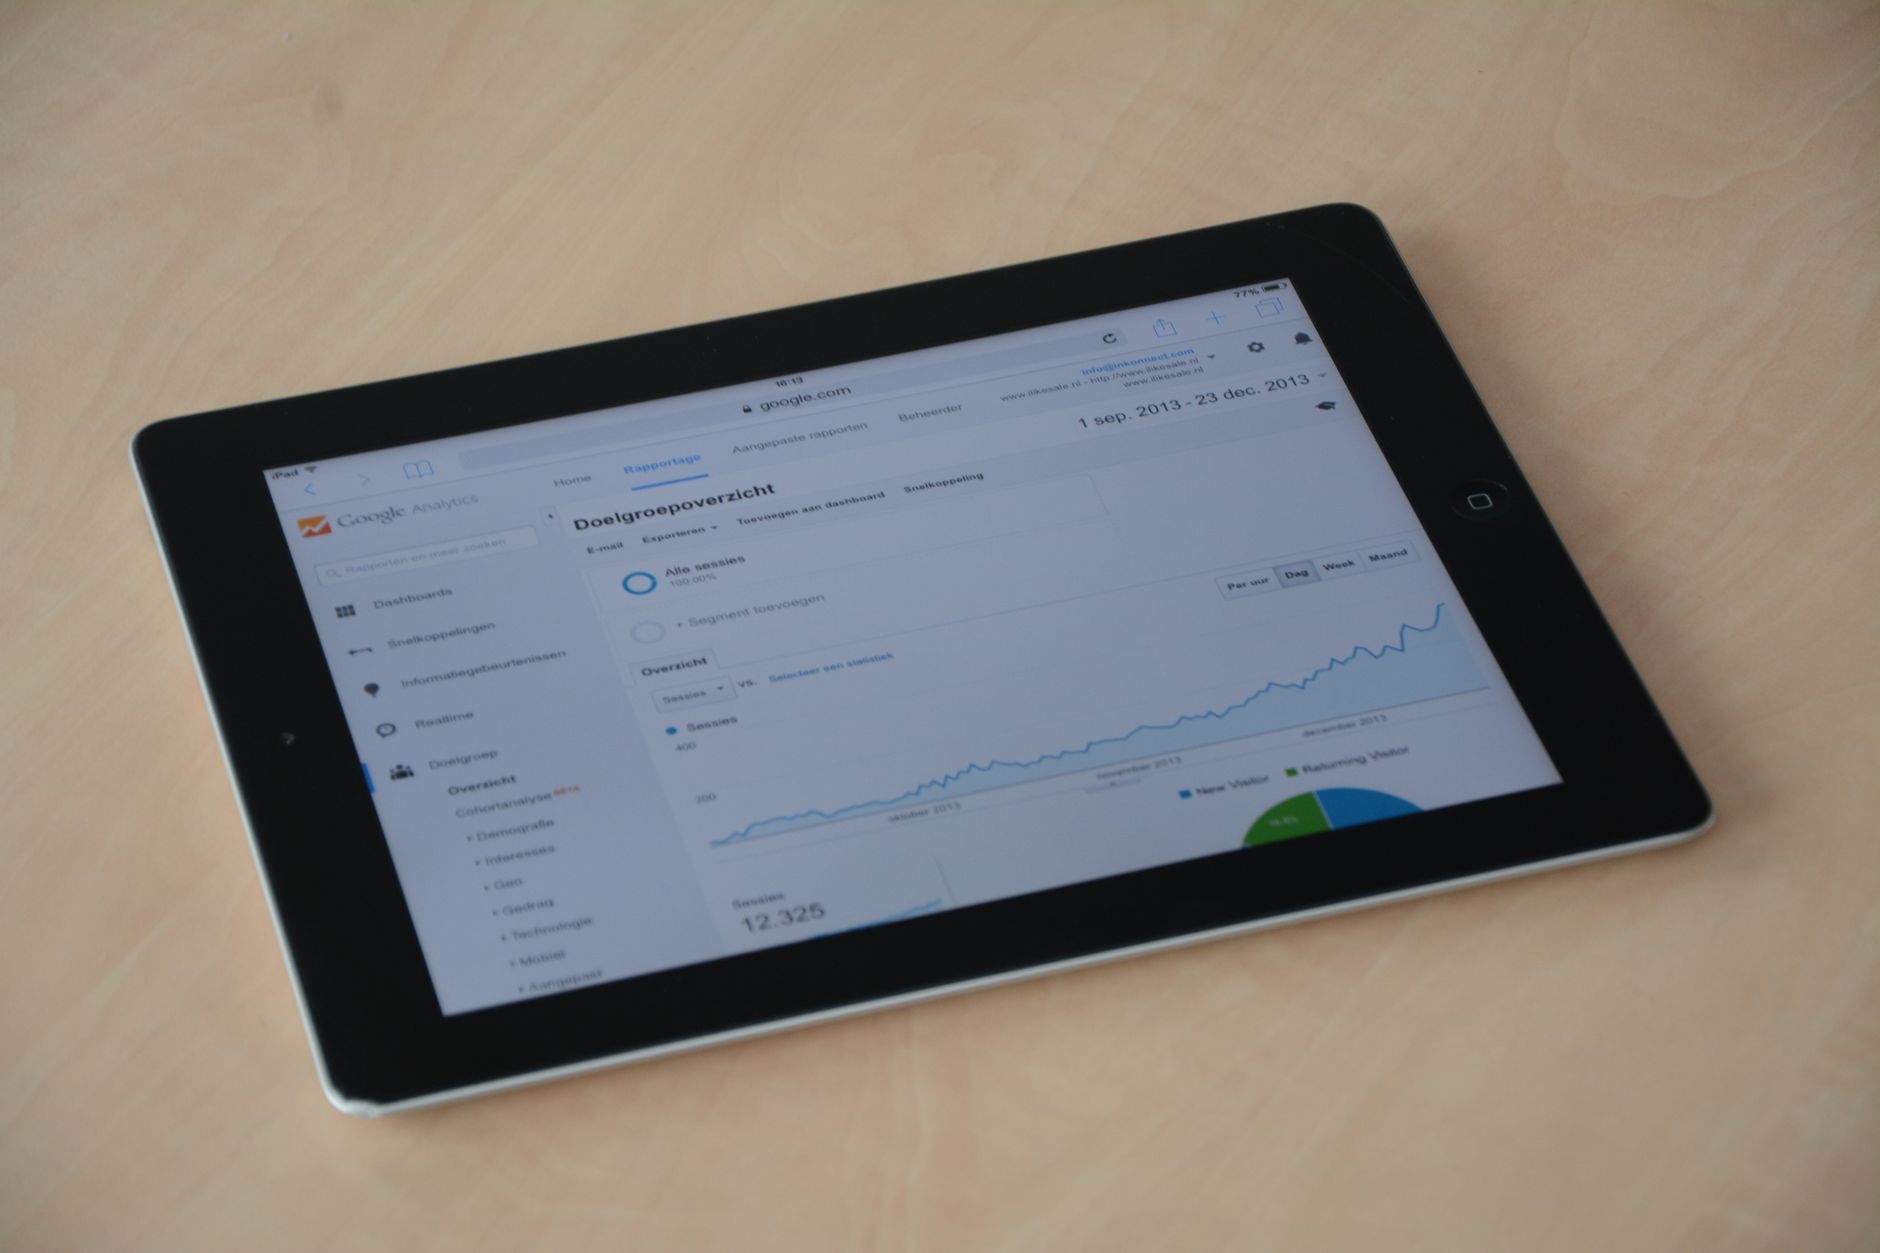
The Wallos interface is deliberately simple. From the main dashboard you’ll see a summary of monthly and yearly costs, broken down by category. Adding a subscription takes about thirty seconds: click the plus button, enter the service name, set the cost and billing cycle (monthly, yearly, weekly, or custom), pick a currency, set the next renewal date, and optionally upload a logo. Wallos ships with a library of pre-loaded logos for popular services, so you usually won’t need to upload anything manually.
Categories are worth setting up before you start adding subscriptions in bulk. Wallos lets you create custom categories – things like “Entertainment,” “Productivity,” “Infrastructure,” or “Fitness” – and tag each subscription accordingly. The dashboard then breaks your costs down by category, which is where the app gets genuinely useful. Seeing that you’re spending more per month on SaaS productivity tools than on everything else combined tends to prompt some decision-making. You can also flag subscriptions as inactive without deleting them, which is helpful if you’ve paused something and aren’t sure whether to cancel it outright.
Payment method tracking is another underused feature. You can log which card or account each subscription is billed to, which matters when a card expires or you’re trying to audit what’s sitting on a specific account before closing it. Wallos also supports multiple users if you’re running a shared household setup – each user gets their own subscription list, and an admin can see the aggregated view.
Optional: Setting Up Renewal Notifications
Wallos supports push notifications through Gotify and Telegram bots, and email alerts via SMTP if you’d rather get a message in your inbox before a renewal hits. To configure any of these, go to Settings inside the app. For Telegram, you’ll need a bot token and your chat ID. For Gotify, you need the server URL and an app token – if you’re already running other self-hosted monitoring tools, you may already have Gotify available. Set your notification lead time – how many days before a renewal date you want the alert – and Wallos handles the rest automatically.
SMTP setup follows the same pattern as any other app: server address, port, sender address, and credentials. If you’re using Gmail with an app password, or a transactional service like Mailgun, either works. The notification system checks daily on a schedule, so there’s no manual trigger needed once it’s configured.
One caveat worth flagging: Wallos does not connect to your bank or card accounts. It has no automatic import feature. Every subscription you track needs to be entered manually. For some people that’s a dealbreaker – but for anyone uncomfortable with apps that require read access to financial accounts, the manual approach is precisely the point. The data never leaves your server.

Keeping Wallos Updated
Because Wallos uses SQLite and stores its database in a mounted volume, updates are clean and non-destructive. Pull the latest image with docker compose pull, then restart the container with docker compose up -d. The database file on your host stays untouched between updates. Back it up periodically anyway – copying the single wallos.db file from /opt/wallos/db to any offsite location is all the backup you need. A cron job that copies that file nightly takes about two minutes to set up and saves you from having to re-enter everything if the host machine fails.
Wallos is actively maintained and releases updates fairly regularly, so checking the GitHub repository page occasionally is worth building into your routine. The changelog tends to be specific and honest about what changed – a quality that’s rarer than it should be in open-source projects of this size.