


Why Push Notifications Belong on Your Own Server
Most push notification services sit between your devices and someone else’s infrastructure. Firebase Cloud Messaging, Apple Push Notification Service, and similar platforms route every alert through third-party servers before it ever reaches your phone. For personal scripts, home automation, server monitoring, or any workflow where the content of those alerts is sensitive, that routing is a real problem – not a theoretical one.
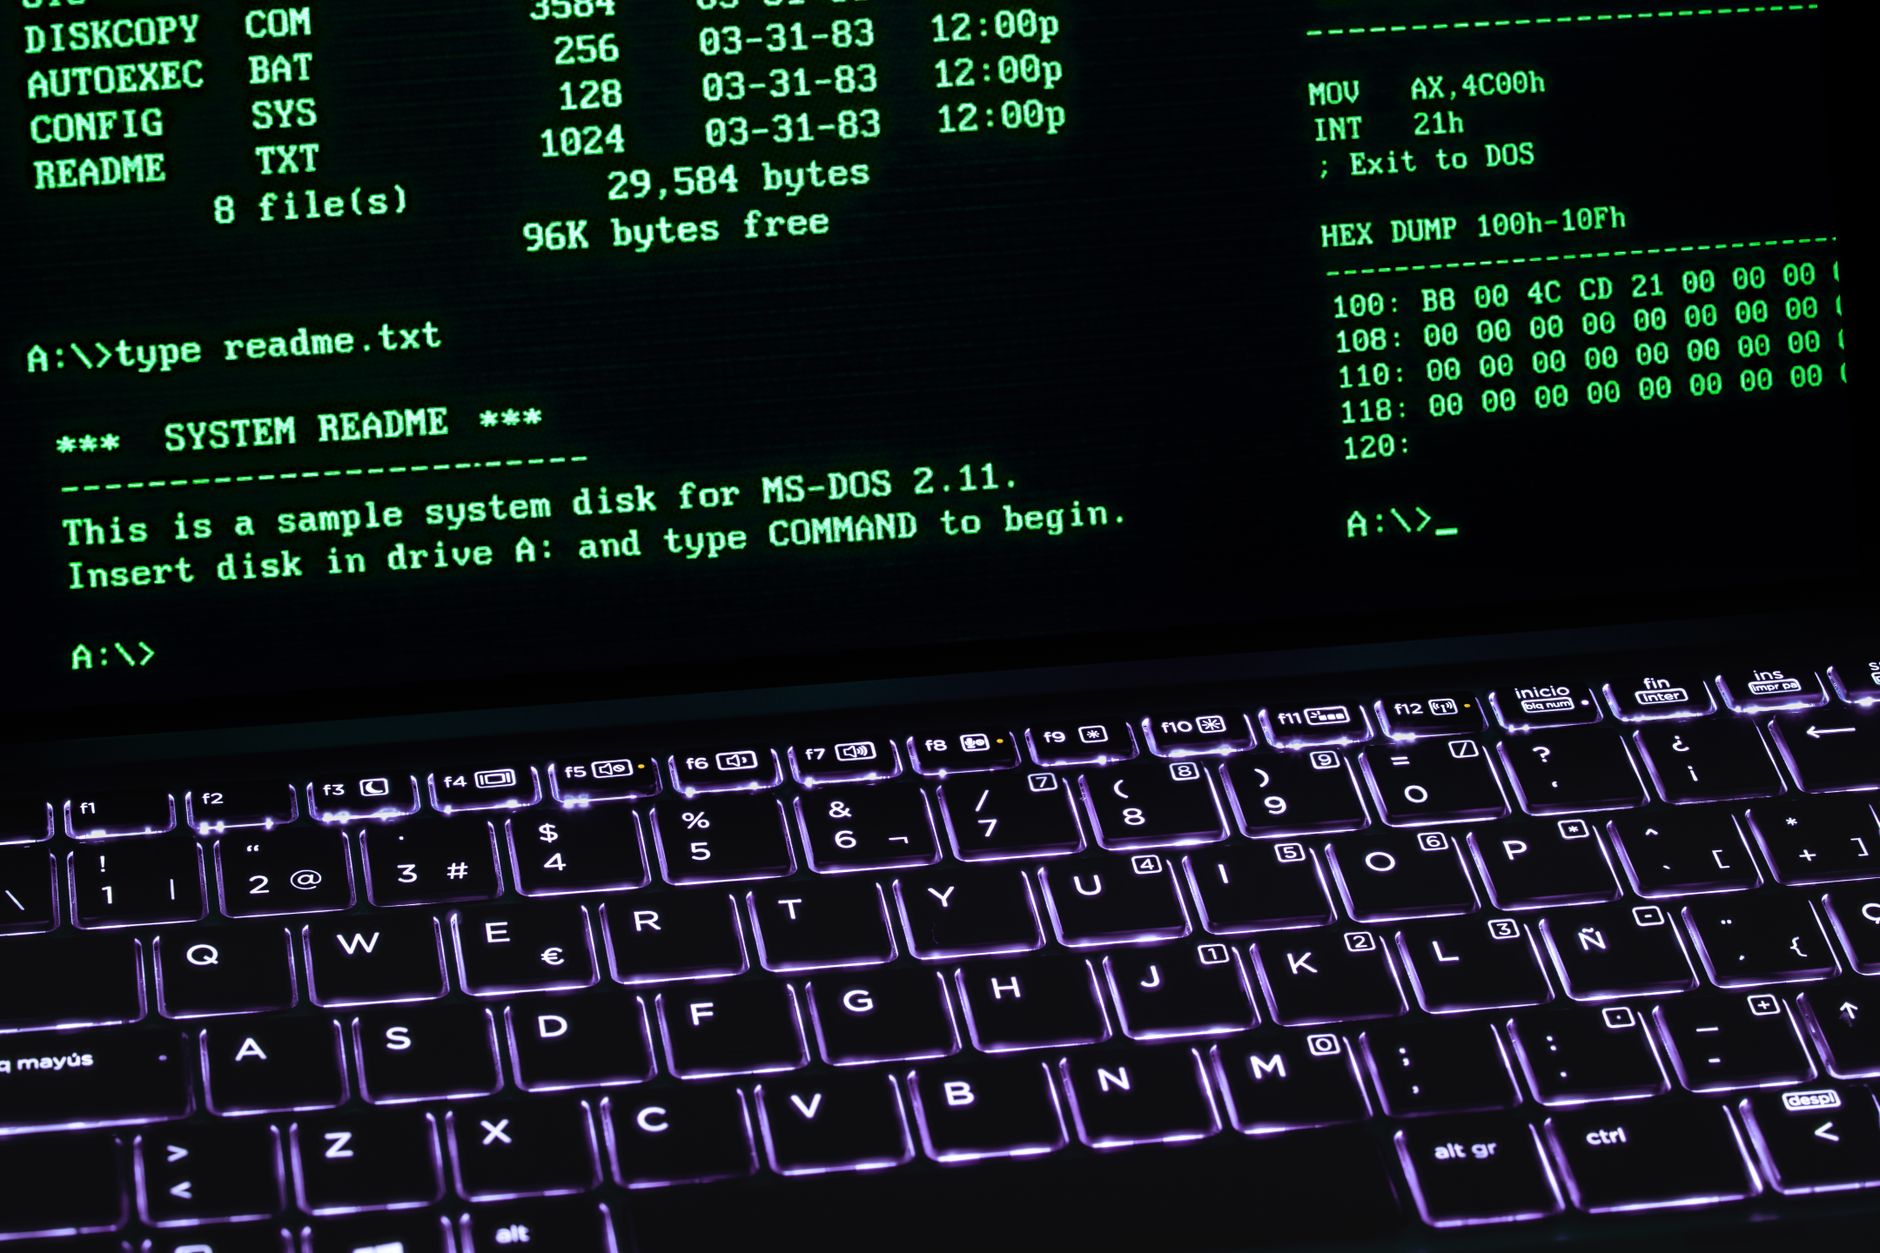
Ntfy is an open-source notification service you can host yourself. It works over a simple HTTP API, supports Android and iOS apps, a web interface, and can receive messages from anything that can make a curl request. No accounts required on the sender side, no API keys to manage beyond what you configure yourself, and no company logging your alerts about failed backups or your home network going offline at 3am.
Setting it up takes about 20 minutes if you already have a server running.

What You Need Before You Start
You need a Linux server – a VPS, a home server, or even a Raspberry Pi on your local network. The server needs Docker installed, or you can run ntfy as a binary directly. A domain name pointed at your server is strongly recommended if you want notifications to reach you outside your home network. Without a public domain, you are limited to local network access only, which works fine for some use cases but rules out mobile push when you are away from home.
Port 80 and 443 should be open on your firewall if you plan to expose ntfy to the internet. You will also want a reverse proxy – Caddy or Nginx both work well. Caddy handles SSL certificate provisioning automatically, which removes a step. If you already run a reverse proxy for other self-hosted services, adding ntfy is just another block in your config. For anyone who has gone through the process of setting up Karakeep for self-hosted bookmarking, the architecture here is almost identical.
On the client side, install the ntfy app from F-Droid or Google Play on Android, or the App Store on iOS. There is also a progressive web app accessible from any browser, which is useful for desktop notifications without installing anything.
Installing and Configuring Ntfy
The fastest path is Docker. Pull the image with docker pull binwiederhier/ntfy, then run it with a volume mount for persistent data and a port binding to 80 or whatever internal port your reverse proxy will forward to. A basic Docker run command looks like this:
docker run -v /var/cache/ntfy:/var/cache/ntfy -v /etc/ntfy:/etc/ntfy -p 80:80 -it binwiederhier/ntfy serve
That gets you a working server immediately, but you will want a config file before going further. Ntfy reads from /etc/ntfy/server.yml by default. The two settings to configure first are base-url – set this to your full domain including https – and cache-file, which enables message persistence so devices that were offline when a notification fired can still receive it on reconnect. Without cache enabled, any notification sent while your phone had no connection is gone permanently. The cache duration defaults to 12 hours but can be set to days if you prefer.
Authentication is off by default, meaning anyone who knows your server address can subscribe to topics and send messages. That is fine on a local network, but on a public server you almost certainly want access controls. Ntfy supports user accounts with the ntfy user add command and per-topic permissions via ACL entries. Add an admin account first, then create subscriber-only or publisher-only accounts depending on whether you want to restrict who can send versus who can receive. For most personal setups, a single user with full access to all topics is enough, combined with a strong password and HTTPS enforced at the reverse proxy level.
Subscribing to Topics and Sending Your First Notification
Topics in ntfy are just strings – no setup required on the server side. You subscribe to a topic name in the app, and any message sent to that topic arrives as a push notification. There is no registration step, no configuration file entry for new topics. You can create a topic named homelab-alerts by simply subscribing to it in the app and then sending a message to https://yourdomain.com/homelab-alerts. The server creates the topic on first use.
Sending a notification is a single curl command: curl -d “Backup completed successfully” https://yourdomain.com/homelab-alerts. That posts a plain text message with no title and default priority. Ntfy supports additional headers to set message title, priority level (from min to max, with max triggering an alert sound and bypassing Do Not Disturb on Android), tags that map to emoji, and a click action URL that opens a specific page when the notification is tapped. A more complete example uses headers like -H “Title: Server Alert” and -H “Priority: high”. These can all be scripted into cron jobs, monitoring tools, or any webhook-capable service.
iOS requires one extra step. Because Apple’s push infrastructure does not allow direct delivery from third-party servers, the ntfy iOS app routes notifications through ntfy’s upstream server (ntfy.sh) as a relay for the actual push delivery, while the message content is fetched directly from your self-hosted instance. This means you get push delivery to iOS without giving the relay server your message content – only a notification trigger fires through Apple’s system, and the app retrieves the actual payload from your own server. It is a reasonable compromise and works without any extra configuration on your end beyond pointing the app at your server URL.
Making Ntfy Useful Across Your Workflow
The real payoff comes when you start wiring ntfy into the tools you already run. Uptime Kuma, the self-hosted monitoring tool, has built-in ntfy support under its notification providers list. Grafana can send alerts to ntfy via webhook. Any script that runs on a schedule – database backups, certificate renewals, system health checks – can append a curl command at the end to confirm success or failure. Home Assistant integrates with ntfy through the RESTful notification platform, meaning your automations can push to your phone without routing through a cloud service. Once the server is running and your devices are subscribed, adding a new notification source takes about thirty seconds, and the question stops being whether you can get an alert and starts being which alerts are actually worth sending.


