



Taking Your Photos Back From the Cloud
Google Photos changed its unlimited storage policy a few years ago, and iCloud pricing has crept upward with every new iPhone generation. For anyone sitting on tens of thousands of photos and videos, the monthly tab adds up fast – and neither service gives you real ownership of your data. Immich is an open-source, self-hosted photo backup solution that replicates the automatic backup experience of Google Photos while keeping every file on hardware you control.
This guide walks through setting up Immich on a home server or NAS, installing the mobile app, and configuring automatic background backup so your phone syncs to your own storage without touching a third-party cloud. You will need a Linux machine or NAS running Docker, a fixed local IP or domain for that machine, and about 20 minutes of setup time.

Installing Immich on Your Server With Docker Compose
Immich runs as a stack of Docker containers, so Docker and Docker Compose need to be installed on your server before anything else. If you are running a Proxmox-based home lab, spinning up a dedicated Ubuntu or Debian VM for Immich keeps things tidy – you can find guidance on that environment in the Proxmox VE home virtualization setup guide. Once Docker is ready, create a working directory – something like /opt/immich – and download the official Compose file and environment file from the Immich GitHub repository. The project maintains these files at a stable URL, so grabbing them with curl or wget is the fastest approach.
Open the .env file and set two values before starting the stack: UPLOAD_LOCATION should point to the directory where you want photos stored (make sure the drive has enough headroom), and DB_PASSWORD should be a strong password you generate and keep somewhere safe. Everything else in the default Compose file works out of the box for most home setups. Run docker compose up -d from your Immich directory, wait about 60 to 90 seconds for the containers to initialize, then open a browser and navigate to http://YOUR_SERVER_IP:2283. The first account you create automatically becomes the admin account, so complete that step before anyone else on your network visits the URL.
Configuring the Server for Remote and Local Access
Immich works fine on a local network, but the mobile app needs to reach the server whenever your phone is away from home if you want backup to happen continuously. The cleanest solution is assigning your server a static local IP through your router’s DHCP reservation settings, then deciding whether you want external access through a VPN or a reverse proxy with a domain name.
A Tailscale VPN is the lowest-friction option for remote access. Install the Tailscale client on your server, log in with any supported account, and Tailscale assigns your server a stable private IP that the mobile app can reach from any network. No port forwarding, no public domain required. The mobile app just uses the Tailscale IP as its server address and connects regardless of whether you are home or abroad.
If you prefer a proper domain with HTTPS, a reverse proxy like Traefik handles TLS termination and routing cleanly – that setup process is covered in depth in the Traefik self-hosted reverse proxy guide. Point your domain to your server, configure Traefik to route traffic to Immich on port 2283, and enable automatic Let’s Encrypt certificates. The mobile app then connects using your https://photos.yourdomain.com address, and all traffic is encrypted in transit.
Either way, write down the address you plan to use before moving to the mobile setup. You will paste it into the app, and a typo there is a common source of connection failures that wastes time to debug.

Setting Up the Immich Mobile App
Immich has native apps for both Android and iOS, available from their respective app stores under the name Immich. After installing, the first screen asks for your server address – enter the full URL or IP including the port if you are using the default setup (http://192.168.x.x:2283), or your domain if you went the reverse proxy route. Log in with the account you created during server setup. The app should connect within a few seconds and display your (currently empty) library.
Before enabling backup, go into the app settings and review the backup albums selection. By default, Immich will back up your main camera roll, but on Android it may also detect additional albums like screenshots or app downloads. Deselecting those saves storage and keeps your server library clean. iOS users can include the “Recents” album which covers everything the Photos app has access to.
Enabling Automatic Background Backup
Inside the Immich app, navigate to Settings and then Backup. Toggle on Background Backup. On Android, also enable Require charging and Require WiFi if you want backups to happen only when the phone is plugged in at home – this prevents the app from uploading over mobile data or draining battery during the day. iOS has more restrictions on background activity, so the app may not fire automatically as often, but it will sync whenever you open the app and when the system permits background refresh.
The first backup run will take a while depending on how many photos you have. A phone with 10,000 photos might run for an hour or more on the initial sync, even over a fast local network, because Immich processes uploads and generates machine learning thumbnails and facial recognition data server-side. Let it run overnight if needed. Do not close the app during this first pass on iOS, or the upload will pause.
Once the initial sync completes, subsequent backups happen incrementally. New photos taken during the day sync the next time the conditions you set are met – typically overnight on WiFi while charging. You can also trigger a manual sync at any time from the backup settings screen, which is useful right after a trip when you want photos off your phone immediately. The server-side library in the web interface updates in real time as files arrive, so you can open a browser on any device on your network and see new photos appear as the app uploads them.
Managing Storage and Keeping the Server Healthy
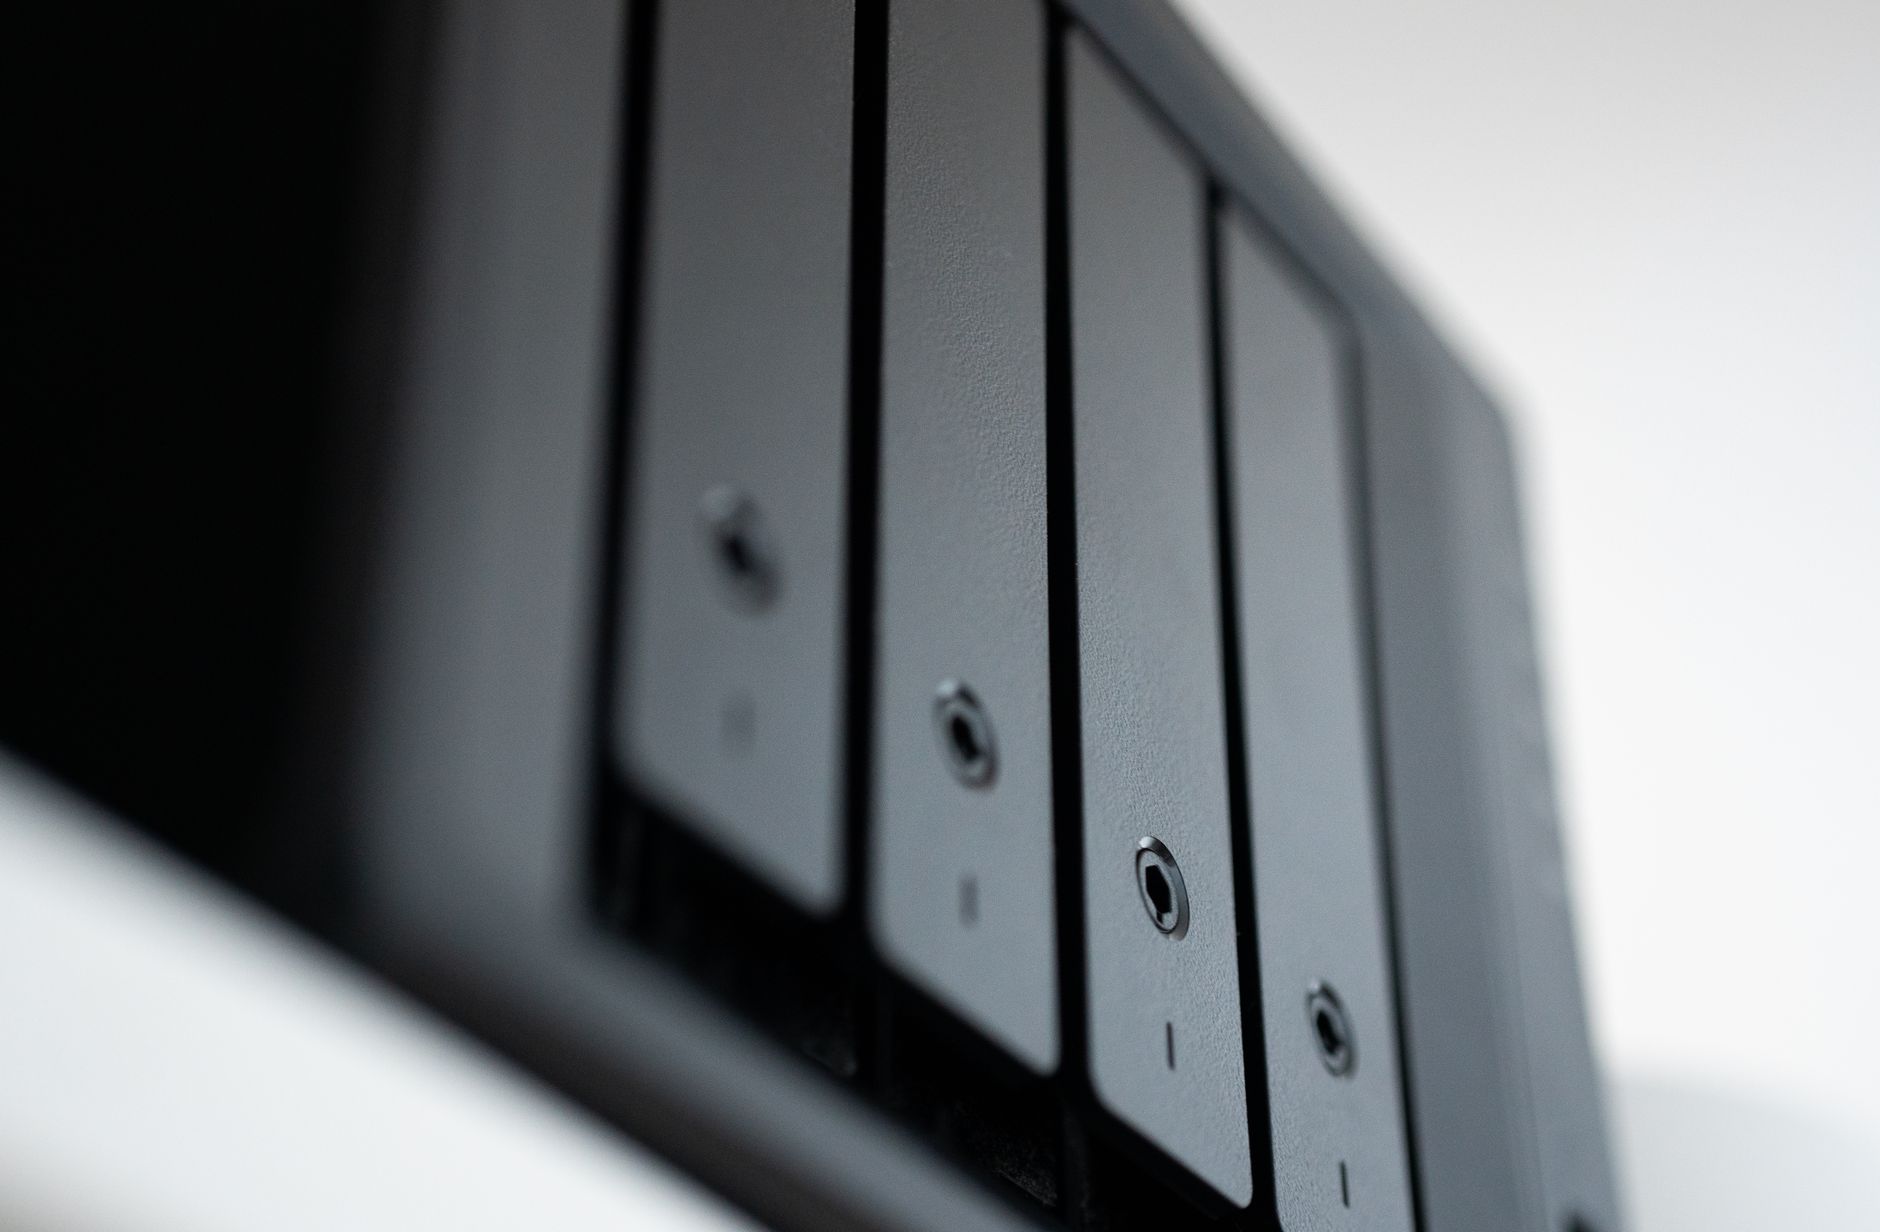
Immich stores original files exactly as your phone captures them – full resolution HEIC from iPhone, RAW files if your Android supports them, and the original video files without re-encoding. That is good for quality but means storage consumption grows faster than compressed cloud services. Check the admin panel under Server Stats periodically to monitor disk usage and plan ahead before the drive fills up. Immich will stop accepting uploads gracefully rather than corrupting files if the disk runs out, but you still want to avoid hitting that ceiling.
The admin panel also controls user management, so if other people in your household want to back up their phones, you can create separate accounts for each person. Each account maintains its own library, and the admin view shows total storage used per user. One thing worth setting up early is an external backup of the Immich data directory itself – the irony of losing a self-hosted photo backup to a failed drive is not lost on anyone who has been through it. A simple scheduled rsync job to a second drive or a separate NAS covers the basics without any additional software.
Frequently Asked Questions
Does Immich work without an internet connection?
Yes. On a local network, Immich runs entirely offline. You only need internet access if you want to reach the server remotely from outside your home.
Can multiple phones back up to the same Immich server?
Yes. The admin can create separate accounts for each person, and each account maintains its own photo library on the server.