

Why Local Automation Beats the Cloud
Most smart home setups run through someone else’s server. Your light turns on because a request traveled from your phone to a data center in another state, got processed, and bounced back to your home – all in under a second, most of the time. The problem is that “most of the time” is doing a lot of heavy lifting. When the cloud goes down, your automations stop. When the company pivots or shuts down, your devices become expensive plastic. Home Assistant solves this by keeping everything on your local network, where your automations run whether or not you have internet access.
Home Assistant is open-source software that lets you connect hundreds of smart home devices under one roof, write automations based on triggers and conditions, and control everything from a single dashboard – without your data ever leaving your home. It runs on a Raspberry Pi, an old mini PC, or a purpose-built device like the Home Assistant Green. The learning curve is real, but the payoff is a system you actually own.
This guide walks through installation, initial setup, and building your first working automations.
Getting Home Assistant Installed
The recommended installation method is Home Assistant OS, a dedicated operating system image that handles everything including updates and add-ons. If you are running it on a Raspberry Pi 4 or 5, download the correct image from the official Home Assistant website (home-assistant.io), flash it to a microSD card or SSD using the Raspberry Pi Imager or Balena Etcher, insert it into the device, and power it on. For a mini PC or any x86 machine, you can write the generic x86-64 image to a USB drive and boot from it the same way you would install any operating system.
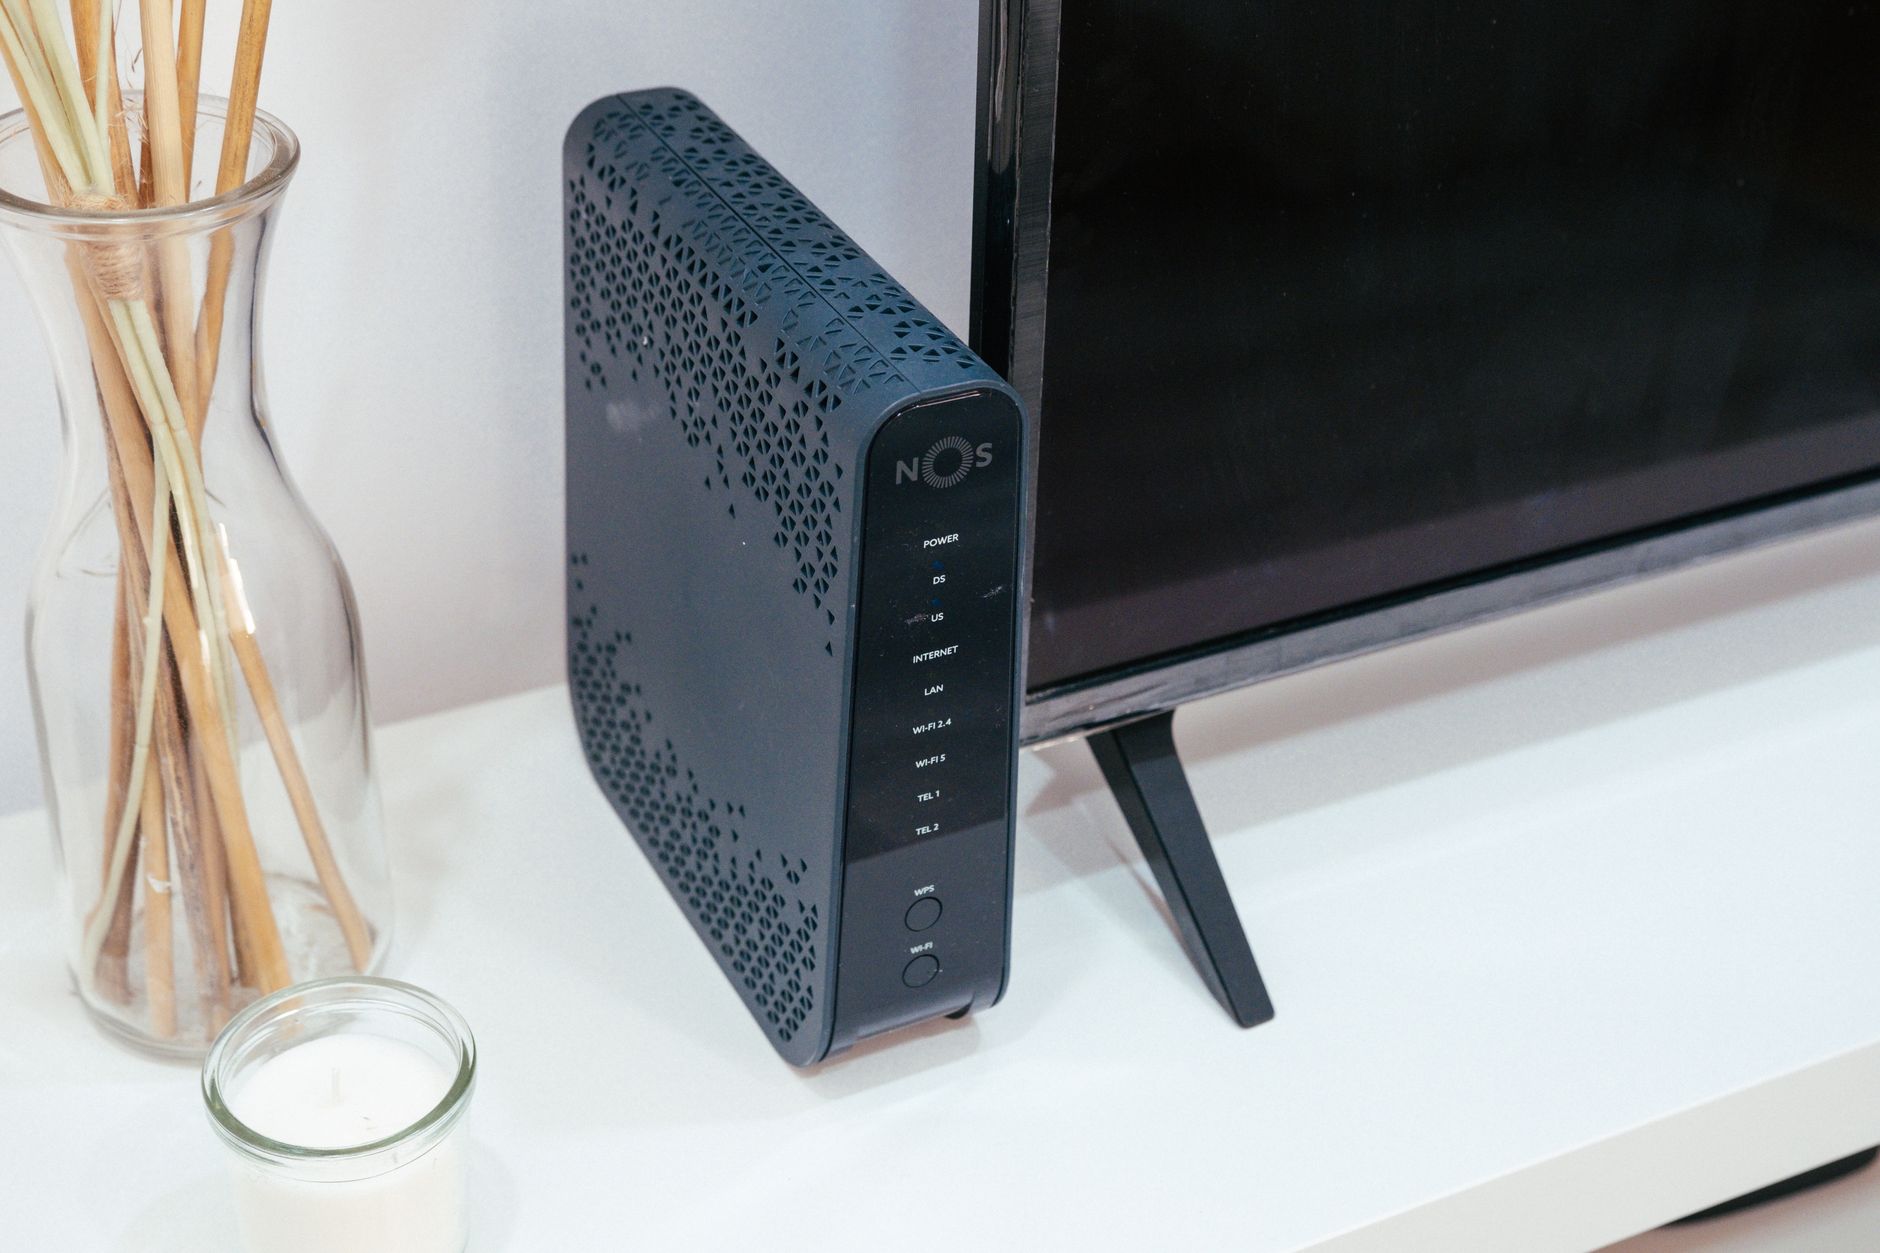
Once the device boots, Home Assistant takes a few minutes to set itself up on first launch. You access it by navigating to homeassistant.local:8123 in any browser on the same network. If that address does not resolve, check your router’s connected devices list for the IP address assigned to the new machine and use that directly. You will be prompted to create a user account, name your home, set your location and timezone – that location data stays local and is used for sun-based automations like triggering lights at sunset.
After the initial setup wizard completes, Home Assistant will automatically detect many devices already on your network. Philips Hue bridges, Sonos speakers, Roku devices, and anything using mDNS or SSDP for discovery will show up as suggested integrations on the dashboard. Accept the ones you want, follow the short authentication steps for each, and your devices will appear as entities inside Home Assistant within minutes.
Connecting Devices and Building Automations
Not every device announces itself automatically. Zigbee and Z-Wave devices, which communicate over radio frequencies instead of Wi-Fi, need a USB coordinator dongle plugged into your Home Assistant machine. The SONOFF Zigbee 3.0 USB Dongle Plus and the Aeotec Z-Wave 700 USB stick are both widely supported. Once plugged in, install the Zigbee2MQTT add-on or the ZHA (Zigbee Home Automation) integration through Settings > Devices and Services > Add Integration, and your Zigbee bulbs, motion sensors, and door contacts will pair directly with your local hub – no cloud bridge required.
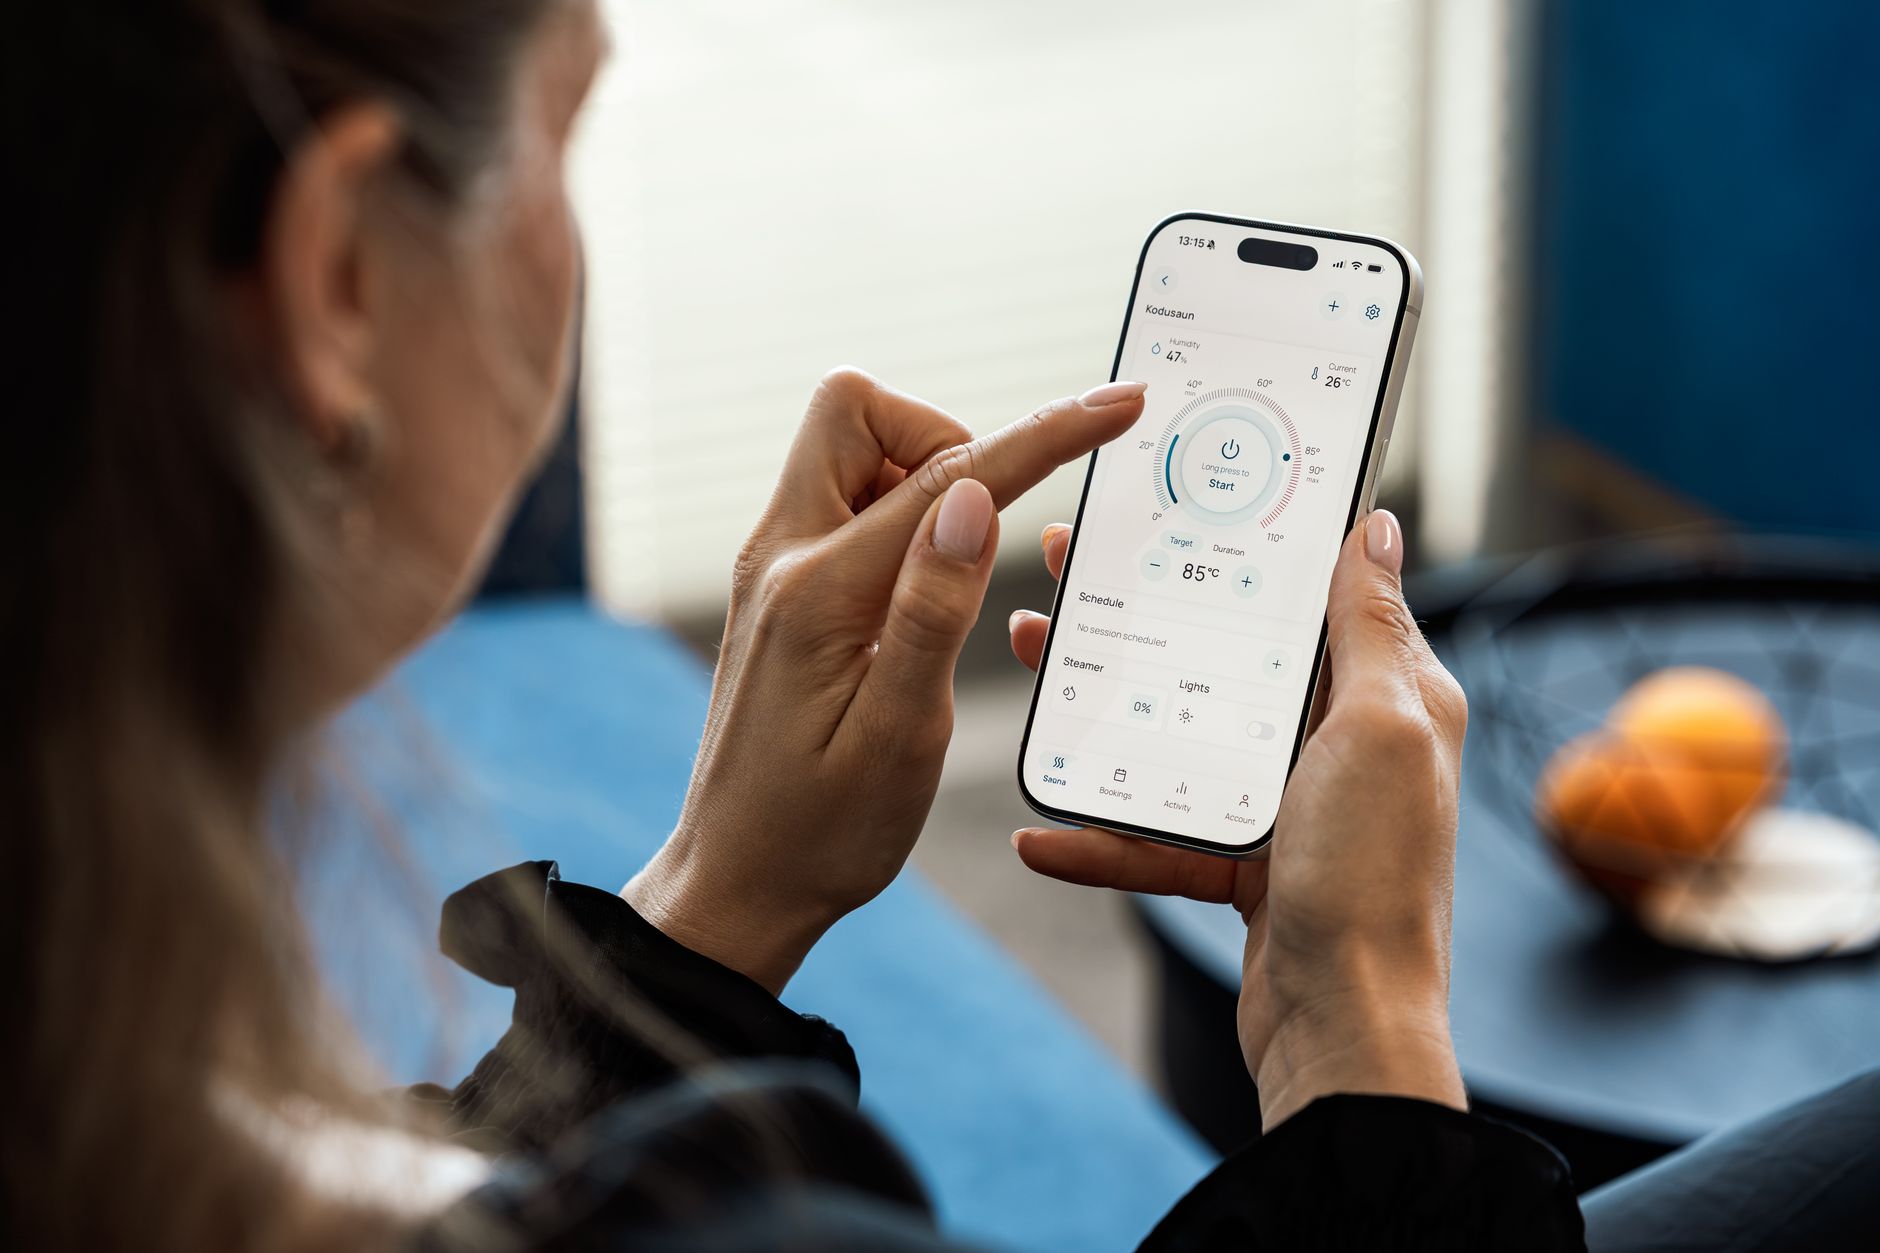
Automations live under Settings > Automations and Scenes. The automation editor gives you three building blocks: a trigger, optional conditions, and actions. A trigger is what starts the automation – a device state change, a time of day, a sun event, or even an MQTT message. Conditions are filters that prevent the action from firing unless specific criteria are met, like “only run this if someone is home.” Actions are what actually happens – turn on a light, send a notification, run a script, or call a service. A simple but genuinely useful first automation: when a motion sensor detects movement after sunset and no one has manually turned the light on in the last five minutes, turn the hallway light on at 40 percent brightness and turn it off again after three minutes of no motion.
For more advanced logic, Home Assistant has a built-in scripting layer that supports variables, loops, and conditionals, plus a template system using Jinja2 that lets you build dynamic automation messages. If you want to go further, the Node-RED add-on provides a visual flow editor that many users prefer for complex multi-step automations. Both approaches run entirely on your local machine. If your internet connection drops, the lights still come on at sunset, the thermostat still adjusts at bedtime, and the door lock still engages when the last person leaves.
Making It Work Long-Term
Home Assistant releases updates monthly, and the update process is straightforward – a single click inside the Supervisor panel. That said, major updates occasionally break custom integrations or HACS (Home Assistant Community Store) add-ons, so reading the release notes before updating is a habit worth building. Snapshots – called backups inside the interface – can be scheduled automatically and stored locally or pushed to a network share. Set up weekly backups before you start building complex automations, not after.
Remote access without exposing your home network to the internet is handled through Nabu Casa, the official cloud subscription service priced at a few dollars per month, which tunnels your connection securely. Alternatively, a Wireguard or Tailscale VPN gives you remote access for free and keeps everything off third-party infrastructure entirely. The Tailscale add-on installs in under two minutes and works on iOS and Android without any router configuration. If you are already running other self-hosted tools – a self-hosted document scanner, for instance – you can route access to all of them through the same Tailscale network.
The dashboard is fully customizable using a layout system called Lovelace. Cards can display sensor history graphs, camera feeds, media player controls, or weather forecasts pulled from a local integration. The most practical dashboard is one built around your actual daily habits – not a showpiece full of data you never look at. Start with five cards covering the devices you interact with most, add complexity only when you actually need it, and resist the urge to automate everything on day one. The hardest part of Home Assistant is not the technology – it is resisting the instinct to rebuild your entire setup the moment you realize how much is possible.