


Most smart home gadgets come with a quiet condition: they work only as long as a manufacturer’s cloud server stays online, stays free, and stays interested in your light bulbs. Home Assistant is open-source software that reverses that arrangement. It runs on hardware in your house, talks to devices over your local network, and keeps the automation logic under your roof, so a vendor’s bad quarter doesn’t turn your hallway lights into decoration.
Setup takes an afternoon, not a weekend.
This guide covers choosing an install method, getting through onboarding, connecting your first devices, building a useful automation, and handling remote access without exposing your home to the open internet. You don’t need to write code at any stage, though you’ll get more out of the platform if you’re comfortable with a web browser and an occasional terminal command.
Pick the Right Install Method
Home Assistant offers several installation types, and this choice shapes everything that follows. Home Assistant OS is a dedicated, minimal operating system that bundles the core application, a supervisor that handles updates and backups, and an add-on store. It runs on a Raspberry Pi, a spare mini PC, a virtual machine, or the Home Assistant Green, a small plug-and-play box sold by the project’s own team. For most people starting from scratch, this is the right answer because the platform manages itself and the add-on store covers most extras with a couple of clicks.
The Container method suits people who already run a home server with Docker. You get the core application and nothing else, which means no add-on store. Anything extra, such as an MQTT broker or a Zigbee bridge, runs as its own container that you maintain yourself. The trade is more control and a smaller footprint in exchange for more manual upkeep. If you go this route, a Docker Compose file needs these essentials:
- Image: the official stable image from the Home Assistant GitHub container registry
- Network mode: host, so the app can discover devices on your local network
- Volumes: a persistent folder mapped to /config, plus /etc/localtime mounted read-only for correct time handling
- Restart policy: unless-stopped, so it comes back after a reboot
- Privileged mode: enabled if you plan to pass USB devices through to the container
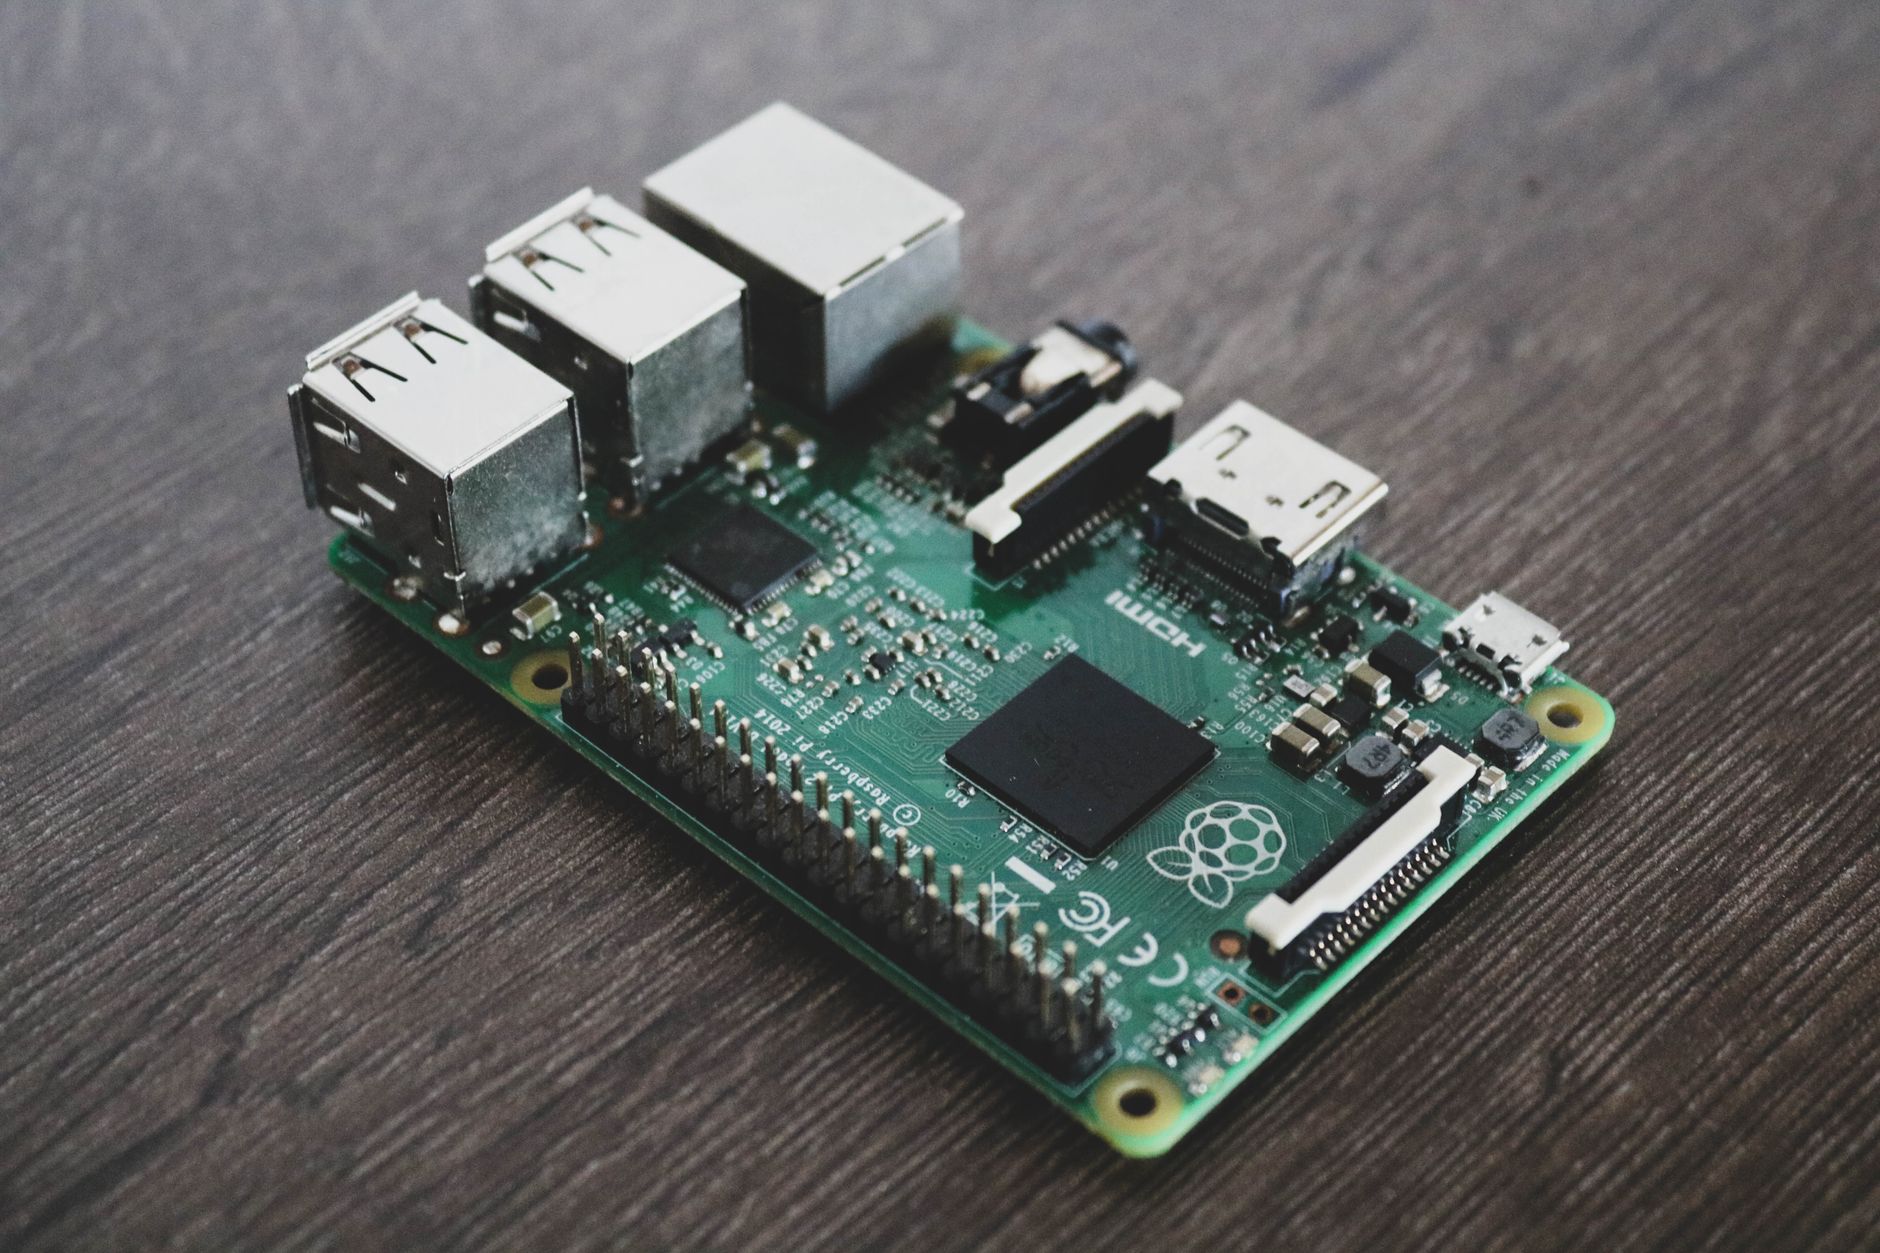
Hardware deserves a moment of thought. A Raspberry Pi 4 or 5 handles a typical home without strain, but boot from an SSD over USB instead of a microSD card. Home Assistant writes to its database constantly, and SD cards wear out under that workload, usually at the worst possible time. A used mini PC costs a little more and gives you headroom for cameras, voice assistants, and long history graphs. To install Home Assistant OS, flash the image with Raspberry Pi Imager or balenaEtcher, connect the device to your router with an Ethernet cable, power it on, and wait ten minutes or so for the first boot. Then open homeassistant.local:8123 in a browser on the same network.
Onboarding, Devices, and Your First Automation
The onboarding screen asks you to create an owner account, name your home, and set your location, time zone, and unit system. Don’t rush the location step. Sunrise and sunset triggers depend on it, and a wrong time zone produces automations that fire hours off schedule. Once you finish, Home Assistant scans your network and lists what it finds. Smart TVs, Sonos speakers, Chromecasts, and Philips Hue bridges often show up on their own, ready to add with a single confirmation.
Devices that don’t use Wi-Fi need a bit more hardware. Zigbee sensors, bulbs, and switches talk through a radio coordinator, and a USB stick such as the Home Assistant Connect ZBT-1 plugs into your server and works with the built-in ZHA integration. Zigbee2MQTT is the alternative for people who want finer control and broader device support, at the cost of running an extra component. Use a short USB extension cable to keep the coordinator away from USB 3 ports and metal enclosures, which can interfere with the 2.4 GHz signal and cause sensors to drop off. Matter devices pair through the Matter integration using your phone and the device’s setup code, and they keep working locally when your internet connection fails.
Your first automation should be dull and useful. Home Assistant automations follow a simple structure of trigger, condition, and action. Imagine a hallway motion sensor: the trigger is motion detected, the condition is that the sun has set, and the action turns on a hallway light at low brightness. A second automation turns the light off after three minutes without motion. Build it under Settings, then Automations and Scenes, using the visual editor, and watch the trace view to see exactly why it fired or didn’t. Once one automation behaves reliably, the pattern repeats for everything else, from thermostats to door sensors to notifications on your phone.
Lock It Down Before You Leave the House
Remote access is where self-hosting gets risky, so pick one of three routes deliberately: the paid Nabu Casa subscription, which also funds development, a VPN such as WireGuard or Tailscale that puts your phone on your home network, or a reverse proxy with HTTPS, which you can build using the approach in our guide to Nginx Proxy Manager with two-factor authentication. Whichever you choose, enable multi-factor authentication on your owner account and never forward port 8123 straight to the internet. Then open Settings, then System, then Backups, create a full backup, copy it to a different machine, and restore it once on spare hardware to confirm it works, because a backup you’ve never restored is only a guess.