

Block Ads at the Network Level Before They Ever Load
Most ad blockers work at the browser level – they intercept requests after your device has already started rendering a page. AdGuard Home works differently. It runs as a DNS server on your local network, which means every device that queries it for a domain name gets filtered before a single packet of ad content is ever requested. Your smart TV, your phone, your router-connected IoT devices – all of them benefit without needing any software installed.
Setting up AdGuard Home takes about 30 minutes if you have a spare machine, a Raspberry Pi, or a Linux server running on your network. The payoff is network-wide ad blocking that runs silently in the background with zero ongoing maintenance for day-to-day use.
This guide walks through the full setup from installation to configuring your first blocklists.
What You Need Before You Start
AdGuard Home runs on Linux, macOS, Windows, and ARM devices like the Raspberry Pi. For most home lab setups, a Raspberry Pi 3 or newer running Raspberry Pi OS Lite is the cleanest option – low power draw, always on, and dedicated to the task. A spare Ubuntu or Debian server works just as well. The machine needs a static IP address on your local network, either set through your router’s DHCP reservation table or configured directly on the device’s network interface.
You will need SSH access to the machine, a basic familiarity with the terminal, and port 53 free on the host. This last point matters more than it sounds. On modern Ubuntu systems, systemd-resolved binds to port 53 by default, and AdGuard Home cannot start if that port is occupied. Before installing, run sudo ss -tulpn | grep :53 to check. If systemd-resolved is listening, you will need to disable its stub listener by editing /etc/systemd/resolved.conf, setting DNSStubListener=no, and restarting the service with sudo systemctl restart systemd-resolved. On Raspberry Pi OS, this conflict typically does not exist.
Port 3000 also needs to be accessible from your browser, at least temporarily – that is the default port for AdGuard Home’s initial setup wizard. After setup is complete, the dashboard moves to port 80 or 443 depending on your configuration.
Installing AdGuard Home
The installation itself is a single command. SSH into your machine and run the official install script:
curl -s -S -L https://raw.githubusercontent.com/AdguardTeam/AdGuardHome/master/scripts/install.sh | sh -s -- -v
This downloads the latest AdGuard Home binary for your architecture, installs it as a system service, and starts it automatically. Once the script finishes, open a browser and navigate to http://[your-machine-ip]:3000. The setup wizard walks you through selecting which network interface to listen on for DNS (port 53) and which interface to use for the admin dashboard. If your machine has multiple interfaces – say, both ethernet and Wi-Fi – select the one connected to your main local network for DNS, or bind to all interfaces if you want coverage across both.
Create your admin username and password on the next screen, then complete the wizard. AdGuard Home is now running, but your network is not using it yet. That step comes next.
Pointing Your Network at AdGuard Home
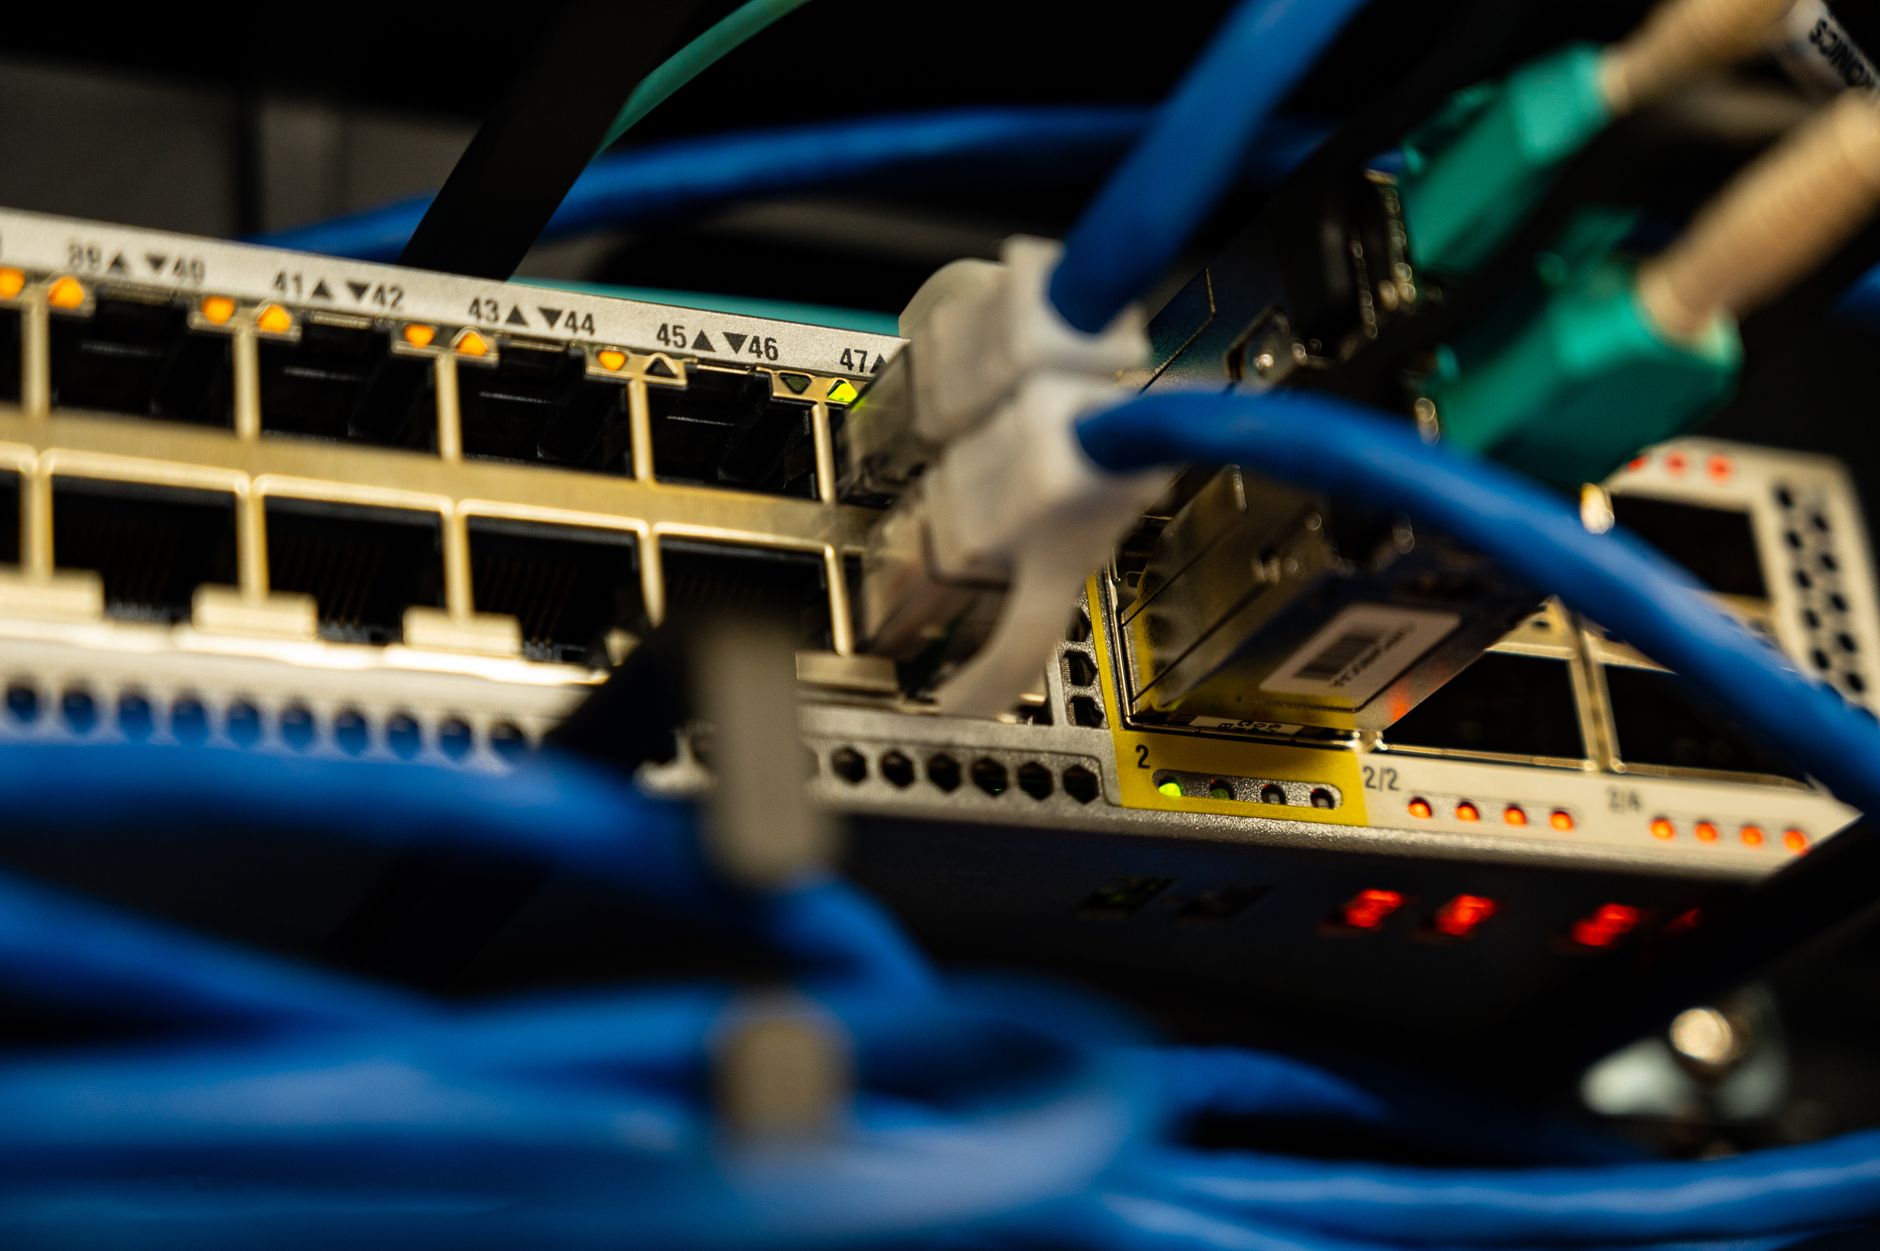
The most effective way to route all network DNS traffic through AdGuard Home is to configure your router’s DHCP server to hand out your AdGuard Home machine’s IP as the primary DNS server for every device on the network. Log into your router’s admin panel – usually accessible at 192.168.1.1 or 192.168.0.1 – and look for the DHCP settings section. Replace the existing DNS server entry with the static IP address of your AdGuard Home machine. Save and apply the changes. Devices will pick up the new DNS server when their DHCP leases renew, or immediately after reconnecting to the network.
If your router does not allow custom DNS entries in DHCP settings – some ISP-provided routers lock this down – you can configure individual devices manually. On Windows, set the DNS server in Network Adapter Settings. On macOS, it is under System Settings, Network, then your active connection’s DNS tab. On Android and iOS, DNS settings are available per Wi-Fi connection. For a truly network-wide approach without router access, running AdGuard Home directly on the router itself via firmware like OpenWrt is an option, though that is a more involved process. If you are already running a self-hosted VPN control server, you can also push AdGuard Home’s IP as the DNS server for all VPN clients.
Test that everything is working by opening the AdGuard Home dashboard at http://[your-machine-ip] and checking the Query Log tab. Within a few seconds of browsing on any device that has picked up the new DNS settings, you should see DNS queries appearing in real time. Blocked queries show up in red. Allowed queries in white.
Configuring Blocklists and Upstream DNS
Out of the box, AdGuard Home ships with one default blocklist: AdGuard DNS filter. It is solid for general use, but adding more lists dramatically improves coverage. Navigate to Filters then DNS Blocklists in the dashboard and click Add Blocklist. The most widely used additions are Steven Black’s Hosts file, which consolidates dozens of sources into one regularly updated list, and OISD, which focuses on ad and tracker domains with a low false-positive rate. Both have direct subscription URLs available on their respective GitHub pages.
Upstream DNS is what AdGuard Home queries for domains that are not blocked. By default it uses a general public DNS server, but you can change this under Settings, then DNS Settings. Cloudflare’s DNS-over-HTTPS endpoint (https://dns.cloudflare.com/dns-query) and Google’s equivalent are popular choices that add encryption between AdGuard Home and the upstream resolver. AdGuard Home supports DNS-over-HTTPS, DNS-over-TLS, and DNS-over-QUIC natively – just paste the encrypted endpoint URL into the upstream field. Using an encrypted upstream means your ISP cannot log your DNS queries even if they try.
The Rewrites section under Filters is worth knowing about. It lets you create custom local DNS entries – for example, pointing nas.home to your NAS device’s local IP. This turns AdGuard Home into a lightweight local DNS resolver for your entire homelab, not just a blocker.
One thing to watch after going live: some services break when their tracking domains are blocked – certain smart home devices, captive portal login pages, and a handful of streaming apps use domains that appear on blocklists. AdGuard Home’s Query Log makes it straightforward to find blocked domains causing problems and whitelist them individually with one click, rather than disabling filtering entirely.