


What You Need to Know
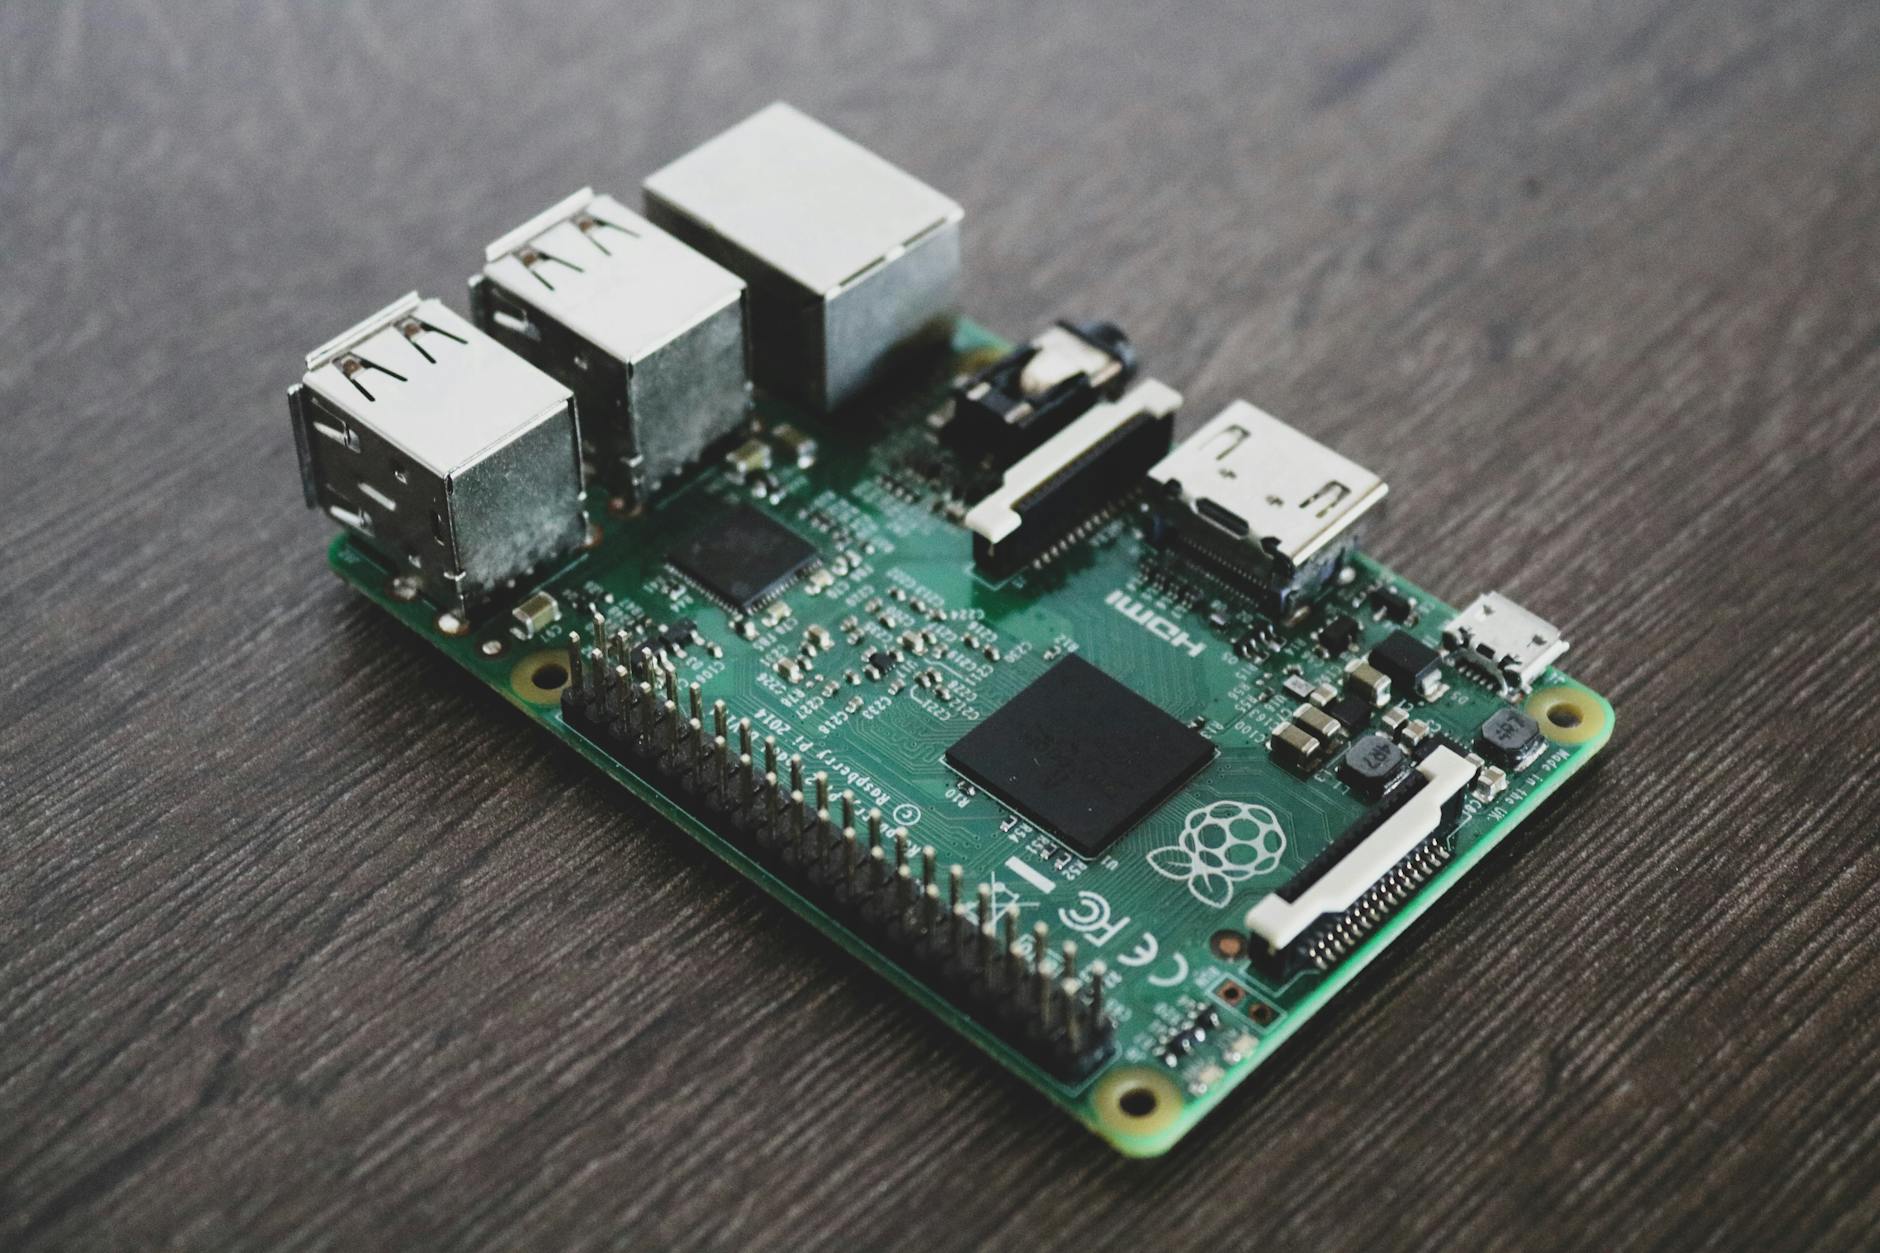
The Raspberry Pi 5 transforms home security monitoring from expensive commercial systems to affordable DIY projects. This single-board computer packs enough processing power to handle multiple camera feeds, motion detection, and remote access – all while consuming minimal electricity.
Setting up your Pi 5 as a security hub requires basic Linux knowledge and patience during initial configuration. The reward? A customizable system that records footage locally, sends alerts to your phone, and costs a fraction of professional installations.
Modern security software like MotionEye and Frigate work seamlessly with Pi 5’s improved GPIO pins and faster processing speeds. You’ll create a system that rivals commercial solutions while maintaining complete control over your data.
Step 1: Gather Your Hardware Components
Your Raspberry Pi 5 security system requires specific components beyond the board itself. Start with a high-quality microSD card – at least 64GB Class 10 for reliable video storage. Samsung EVO Select and SanDisk Ultra cards offer excellent performance for continuous recording.
Power delivery matters critically for stability. Use the official Raspberry Pi 27W USB-C power supply or equivalent third-party options that meet the 5V/5A specification. Underpowered supplies cause random shutdowns and corrupted footage.
Camera selection depends on your monitoring needs. The official Pi Camera Module 3 provides excellent image quality for indoor use. USB webcams offer easier positioning but may introduce latency. For outdoor monitoring, weatherproof IP cameras connect via Ethernet or Wi-Fi.
Additional components include a protective case with cooling fans, Ethernet cable for stable network connection, and external storage like a USB drive for extended recording capacity.
Step 2: Install and Configure Raspberry Pi OS
Download the official Raspberry Pi Imager tool and flash Raspberry Pi OS Lite to your microSD card. The Lite version eliminates desktop overhead, dedicating maximum resources to security operations. Enable SSH during the imaging process for headless setup.
Boot your Pi 5 and complete initial configuration through raspi-config. Enable the camera interface, expand filesystem to utilize full SD card capacity, and set timezone for accurate timestamps. Update the system immediately with apt update and apt upgrade commands.
Configure a static IP address to ensure consistent remote access. Edit /etc/dhcpcd.conf and add your network settings. This prevents IP changes that would break remote viewing apps and port forwarding rules.
Install essential packages including git, python3-pip, and development tools. These dependencies support most security camera software and enable custom modifications later.
Step 3: Install Motion Detection Software
MotionEyeOS provides the most user-friendly security camera interface for Raspberry Pi systems. Download the latest release and flash it to a separate SD card, or install motionEye on your existing OS installation through pip3.
For existing OS installations, create a dedicated user account for the camera system. Install motionEye with pip3 install motioneye, then configure the service to start automatically at boot. The web interface launches on port 8765 by default.
Access the configuration panel through your browser using the Pi’s IP address. The default admin username is blank with password “admin” – change this immediately for security. Configure camera resolution, frame rate, and recording quality based on your storage capacity and network bandwidth.
Enable motion detection with sensitivity adjustment to avoid false triggers from lighting changes or small animals. Set recording duration and retention policies to manage storage usage effectively.
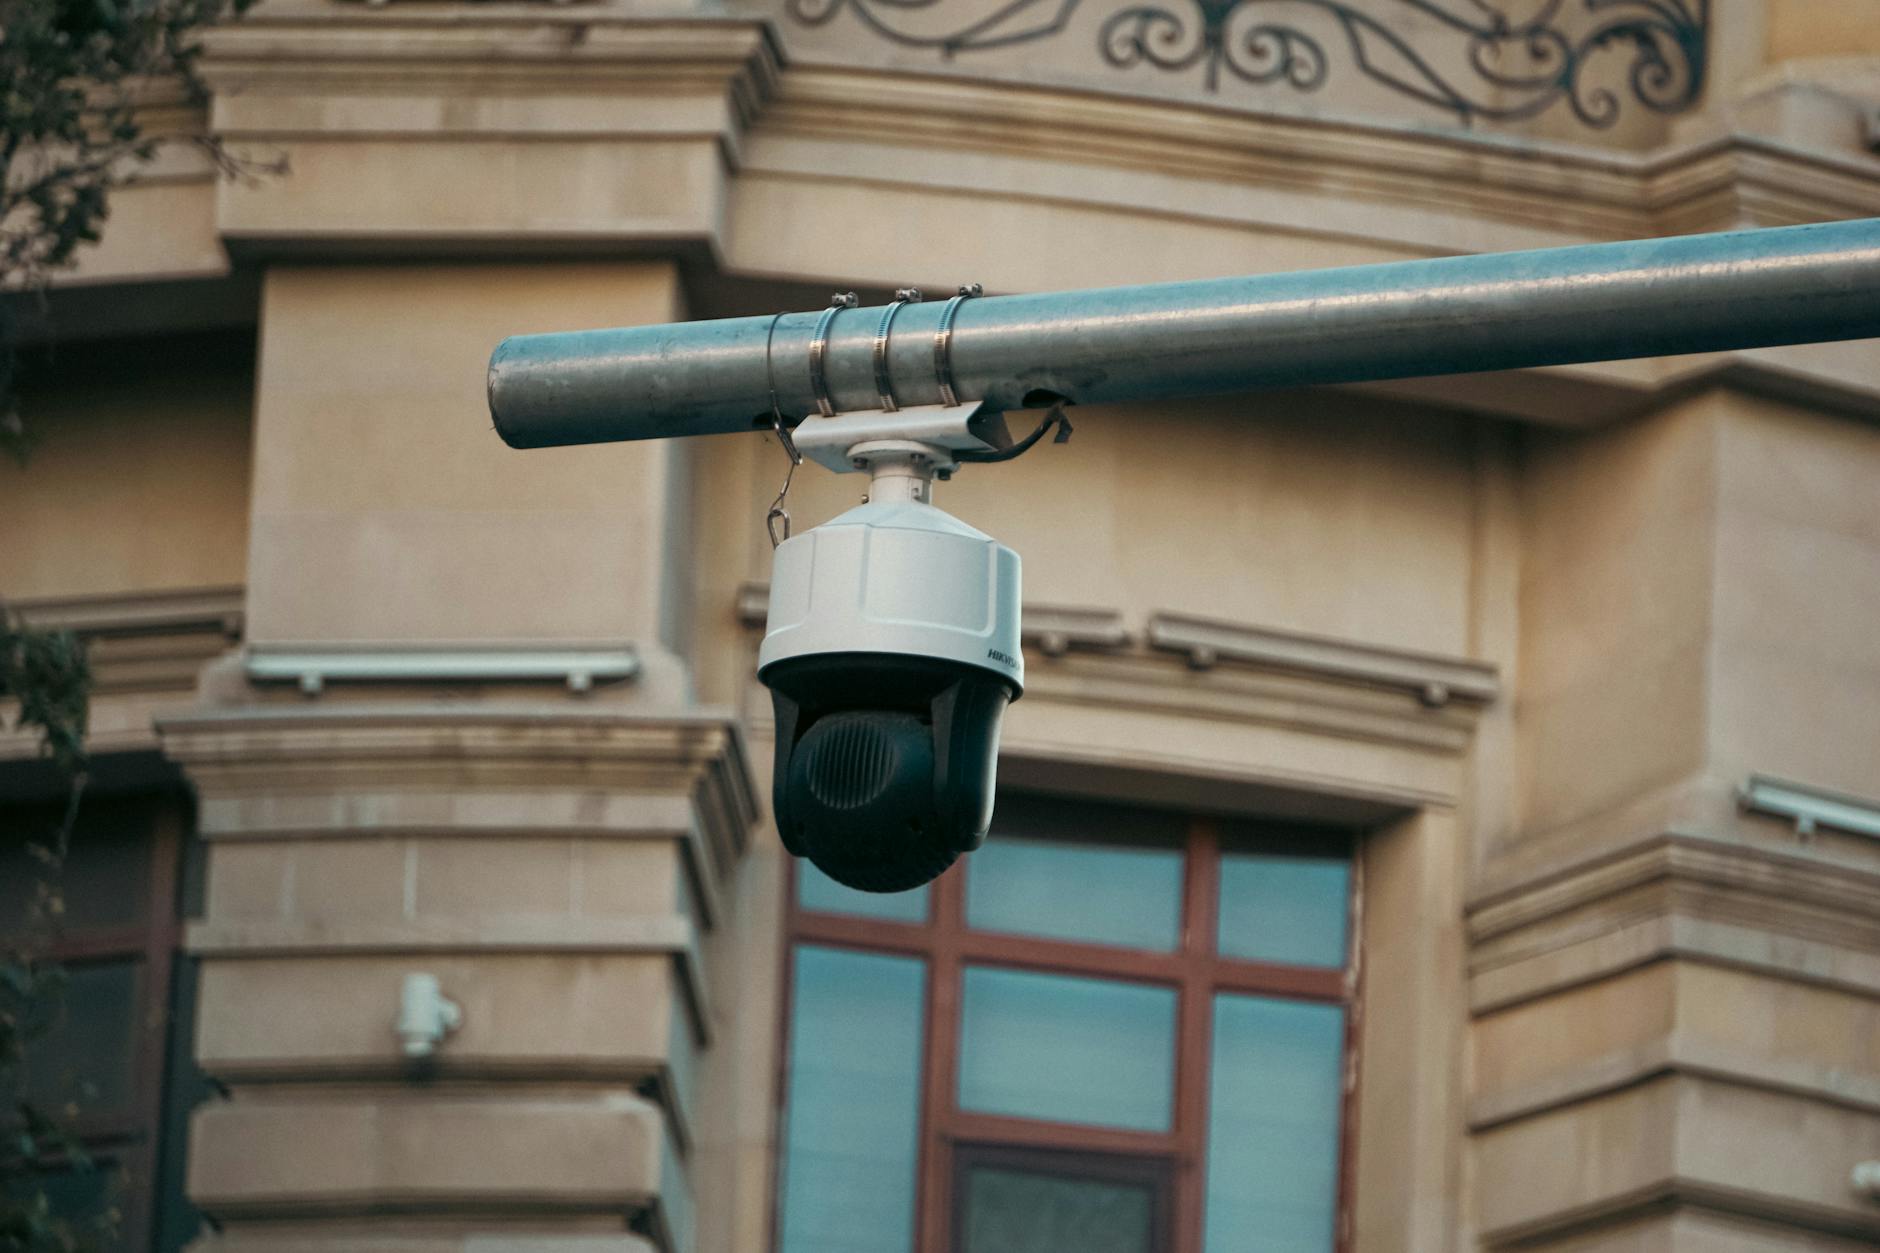
Step 4: Connect and Configure Cameras
USB cameras typically work plug-and-play with most security software. Connect your camera and verify detection with lsusb command. Quality varies significantly between manufacturers – test several options if budget allows.
Pi Camera modules require ribbon cable connection to the dedicated camera port. Handle cables carefully to avoid damage, and ensure secure seating in both connectors. The Pi 5’s improved camera interface supports higher resolutions and frame rates than previous generations.
IP cameras join your network independently and stream via RTSP or HTTP protocols. Add them to motionEye using their stream URLs, typically following formats like rtsp://camera_ip:554/stream or http://camera_ip/video.mjpeg. Consult manufacturer documentation for specific URLs.
Configure each camera’s field of view through the web interface. Draw motion detection zones to focus on entry points while ignoring areas like swaying trees or busy streets. This reduces false alarms and storage usage.
Step 5: Set Up Remote Access and Alerts
Remote monitoring requires secure external access to your camera system. Configure your router’s port forwarding to direct external traffic to your Pi’s motionEye interface. Use non-standard ports and strong authentication to minimize security risks.
Dynamic DNS services like No-IP or DuckDNS provide consistent access despite changing ISP-assigned IP addresses. Install ddclient on your Pi to automatically update DNS records when your external IP changes.
Email alerts notify you of motion detection events. Configure SMTP settings in motionEye using Gmail, Outlook, or your preferred email provider. Test thoroughly to ensure reliable delivery – some providers block automated emails without proper authentication.
For mobile access, dedicated apps like tinyCam Monitor Pro connect directly to motionEye streams. Configure app connections using your external IP address or dynamic DNS hostname plus the forwarded port number.
Step 6: Optimize Storage and Performance
Video storage fills available space quickly with continuous recording. Configure motionEye to record only during motion events, or set automatic deletion of older footage. External USB drives provide additional capacity beyond SD card limitations.
The Pi 5’s improved processing power handles multiple camera streams better than previous generations. However, monitor CPU usage with htop during peak recording periods. Reduce resolution or frame rates if the system becomes overwhelmed.
Network bandwidth affects remote viewing quality and local recording reliability. Wired Ethernet connections provide more stability than Wi-Fi for critical security applications. Monitor network usage to ensure cameras don’t saturate your internet connection.
Consider implementing redundant storage through network-attached storage or cloud uploads for critical footage. Some users configure automatic backup to services like Google Drive using rclone, though this requires careful bandwidth management.
Step 7: Enhance Security and Maintenance
Secure your camera system against unauthorized access through multiple layers. Change default passwords, disable unused services, and configure fail2ban to block brute force attacks. Regular security updates protect against newly discovered vulnerabilities.
Create automated backup scripts for your configuration files and critical footage. Store backups on separate devices to protect against SD card failures or system corruption. Test restoration procedures periodically to ensure backups remain functional.
Monitor system health through log files and performance metrics. Configure alerts for storage space warnings, temperature thresholds, and service failures. The Pi 5’s improved thermal design handles continuous operation better than previous models, but proper ventilation remains important.
Schedule regular maintenance windows for system updates and storage cleanup. Automated scripts can handle routine tasks like log rotation and temporary file deletion, keeping your security system running smoothly long-term.
Key Takeaways
Your Raspberry Pi 5 security camera system provides professional-grade monitoring at consumer prices. The setup process requires patience and technical knowledge, but creates a highly customizable solution that adapts to your specific needs.
Regular maintenance ensures reliable operation and protects your investment in time and hardware. Monitor system performance, update software regularly, and test backup procedures to maintain security effectiveness.
The Pi 5’s enhanced capabilities support more cameras and higher resolutions than previous generations, making it suitable for comprehensive home security deployments. With proper configuration, your DIY system rivals commercial alternatives while maintaining complete data control.
Frequently Asked Questions
Can Raspberry Pi 5 handle multiple security cameras simultaneously?
Yes, the Pi 5’s improved processing power supports multiple USB and IP cameras with proper configuration and adequate storage.
What’s the best storage solution for Pi 5 security recordings?
Use high-quality microSD cards for the OS and external USB drives for video storage to maximize capacity and reliability.


