


What You Need to Know
Private cloud storage puts you back in control of your data. While services like Google Drive and Dropbox offer convenience, they come with privacy concerns and subscription costs that add up over time. Setting up your own cloud storage using Nextcloud on a Synology NAS gives you unlimited storage space, complete data ownership, and advanced features like real-time collaboration and file versioning.
Nextcloud is an open-source platform that transforms your NAS into a full-featured cloud service. Combined with Synology’s user-friendly DiskStation Manager operating system, you get enterprise-grade features without the complexity. This setup works whether you’re syncing files across devices, sharing documents with team members, or accessing your media library from anywhere in the world.
The process takes about 30 minutes and requires no advanced technical skills. You’ll need a Synology NAS device, a stable internet connection, and basic familiarity with web interfaces. Once configured, your private cloud will rival commercial services while keeping your data completely under your control.
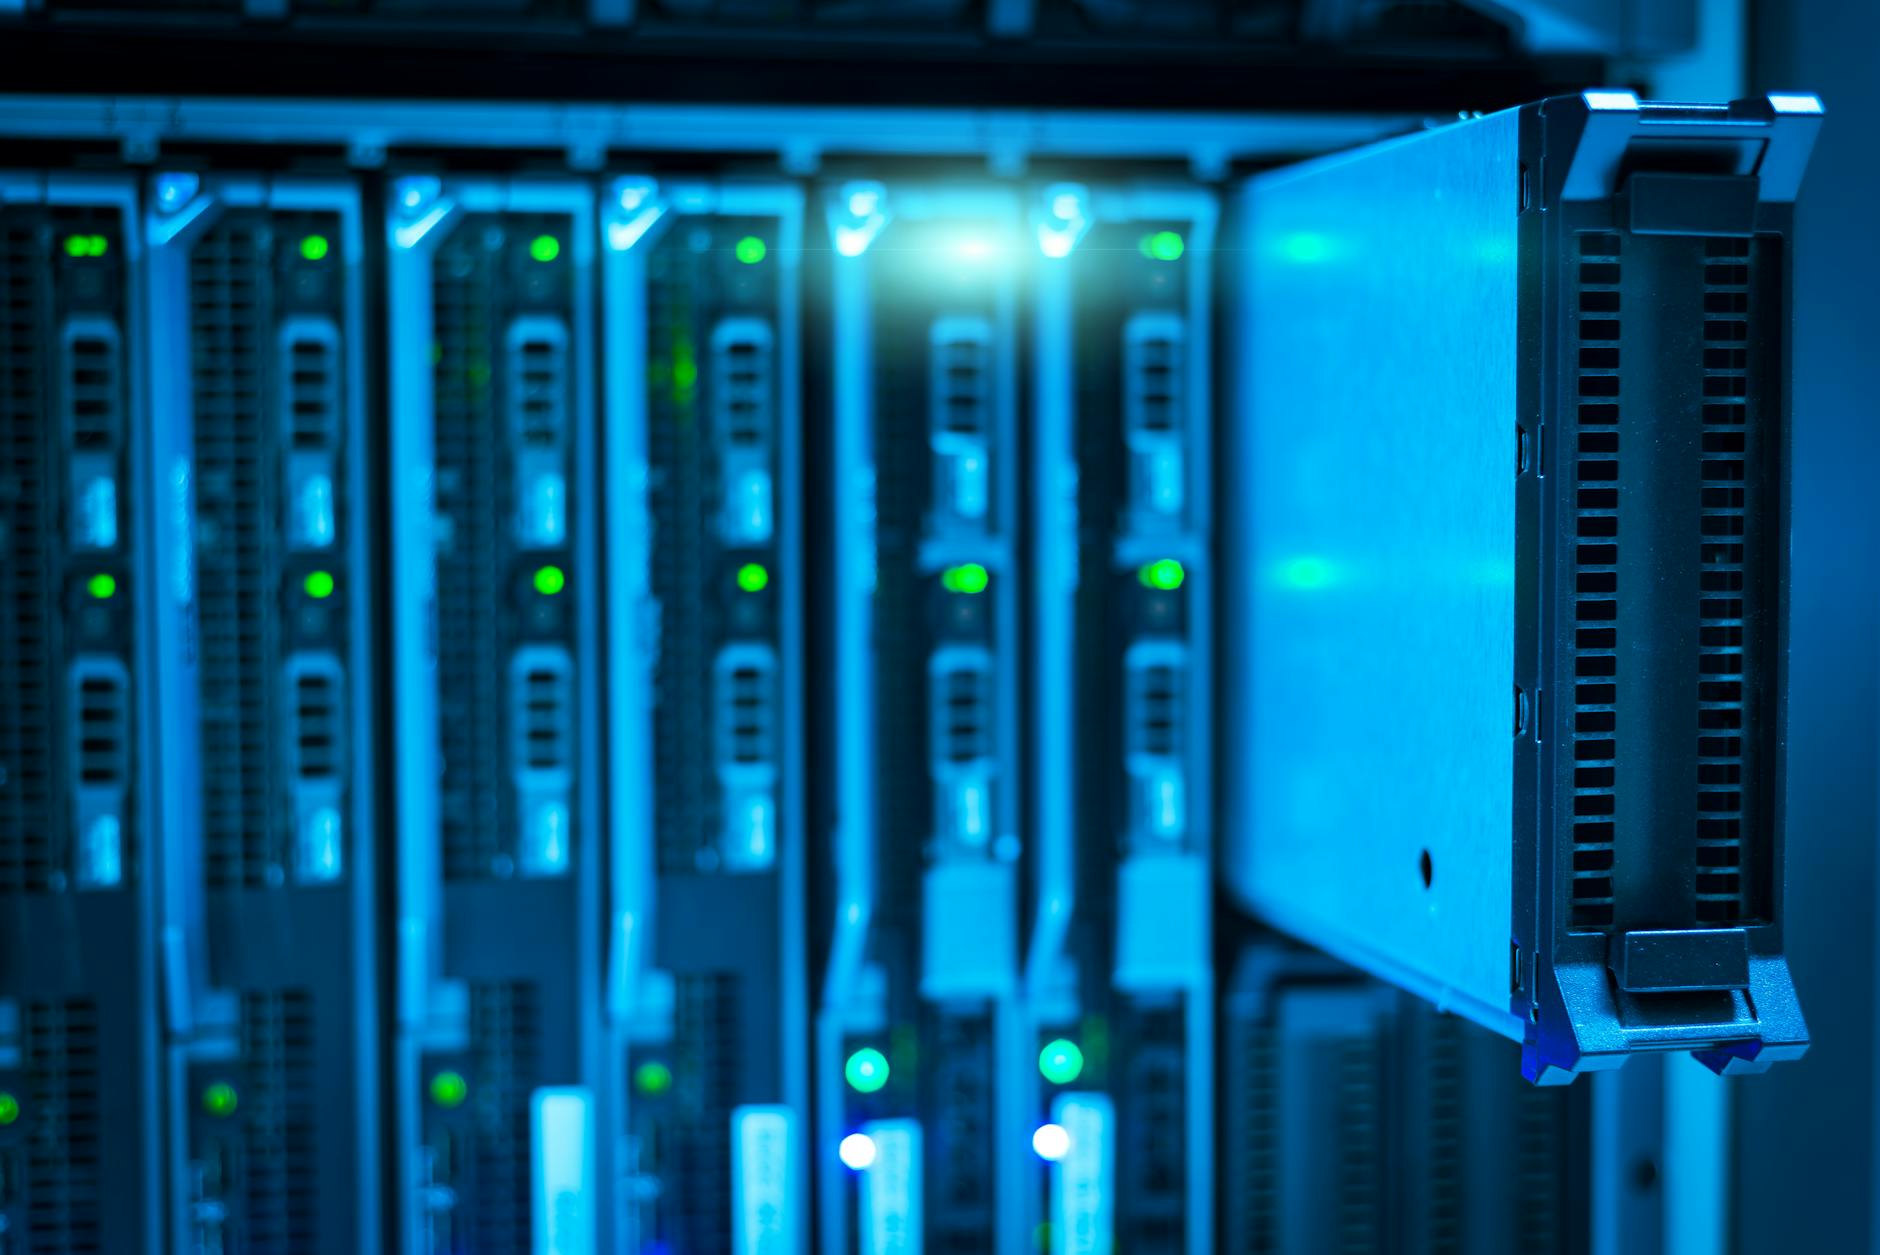
Step 1: Prepare Your Synology NAS
Start by ensuring your Synology NAS is running the latest DiskStation Manager version. Log into your NAS through the web interface using your admin credentials. Navigate to Control Panel > Update & Restore and install any pending updates. This ensures compatibility with the latest Nextcloud package.
Create a dedicated user account for Nextcloud operations. Go to Control Panel > User & Group and add a new user called “nextcloud” with a strong password. This account will manage file operations and database connections. Assign it to the “users” group with standard permissions.
Set up a shared folder specifically for Nextcloud data storage. In Control Panel > Shared Folder, create a new folder named “nextcloud_data” and grant the nextcloud user read/write access. This separation keeps your cloud files organized and makes backup management easier.
Configure your network settings if you plan to access your cloud remotely. Enable HTTPS in Control Panel > Network > DSM Settings for secure connections. Consider setting up a VPN server on your router for additional security when accessing your cloud from public networks.
Step 2: Install Nextcloud from Package Center
Open Package Center on your Synology NAS and search for “Nextcloud” in the available packages. Install the official Nextcloud package, which includes all necessary dependencies like Apache HTTP Server, PHP, and MariaDB database components.
During installation, the system will prompt you to configure database settings. Create a new MariaDB database specifically for Nextcloud by selecting “Create database” and naming it “nextcloud_db”. Set a strong password for the database administrator account.
The installation process automatically configures Apache virtual hosts and PHP settings optimized for Nextcloud performance. This includes memory limits, file upload sizes, and execution timeouts that work well for most home and small business environments.
After installation completes, note the default port assigned to your Nextcloud instance. This is typically port 80 for HTTP or port 443 for HTTPS connections. You’ll use this port to access your cloud interface through a web browser.
Step 3: Complete Initial Nextcloud Configuration
Open a web browser and navigate to your Synology NAS IP address followed by the Nextcloud port. The initial setup wizard will guide you through creating your administrator account and configuring basic settings.
Create your admin username and password. Choose a strong password that combines letters, numbers, and special characters. This account has full control over your Nextcloud instance, including user management and system configuration.
Configure the data directory path to point to the shared folder you created earlier. Enter the full path: “/volume1/nextcloud_data” or adjust based on your volume configuration. This ensures all user files are stored in your designated location.
Connect Nextcloud to the MariaDB database by entering the database credentials you created during package installation. Use “localhost” as the database host, “nextcloud_db” as the database name, and the administrator credentials you set up.

Step 4: Configure SSL and Domain Access
Enable SSL encryption for secure remote access to your cloud storage. In Synology’s Control Panel > Security > Certificate, either import an existing SSL certificate or create a self-signed certificate for testing purposes.
Set up dynamic DNS if you want to access your cloud using a domain name instead of IP addresses. Many Synology models include built-in DDNS services, or you can use external providers like No-IP or DuckDNS for custom domain mapping.
Configure port forwarding on your router to allow external access to your Nextcloud instance. Forward the appropriate ports (typically 80 and 443) to your Synology NAS internal IP address. This enables access to your cloud from anywhere with an internet connection.
Test external connectivity by accessing your Nextcloud instance from a different network or mobile data connection. Verify that SSL certificates are working correctly and that file uploads and downloads function properly over internet connections.
Step 5: Set Up User Accounts and Permissions
Create user accounts for family members, colleagues, or anyone who needs access to your private cloud. In Nextcloud’s admin panel, navigate to Users settings and add new accounts with appropriate permissions and storage quotas.
Configure group permissions to organize users based on access needs. Create groups like “Family”, “Work”, or “Guests” with different sharing privileges and storage limitations. This provides granular control over who can access which files and folders.
Set up file sharing permissions by creating shared folders with specific access controls. You can grant read-only access to sensitive documents while allowing full editing rights for collaborative projects. Nextcloud supports advanced permissions including expiration dates for shared links.
Enable two-factor authentication for enhanced security. Install authenticator apps on user devices and require 2FA for all accounts accessing sensitive data. This adds an extra security layer even if passwords are compromised.
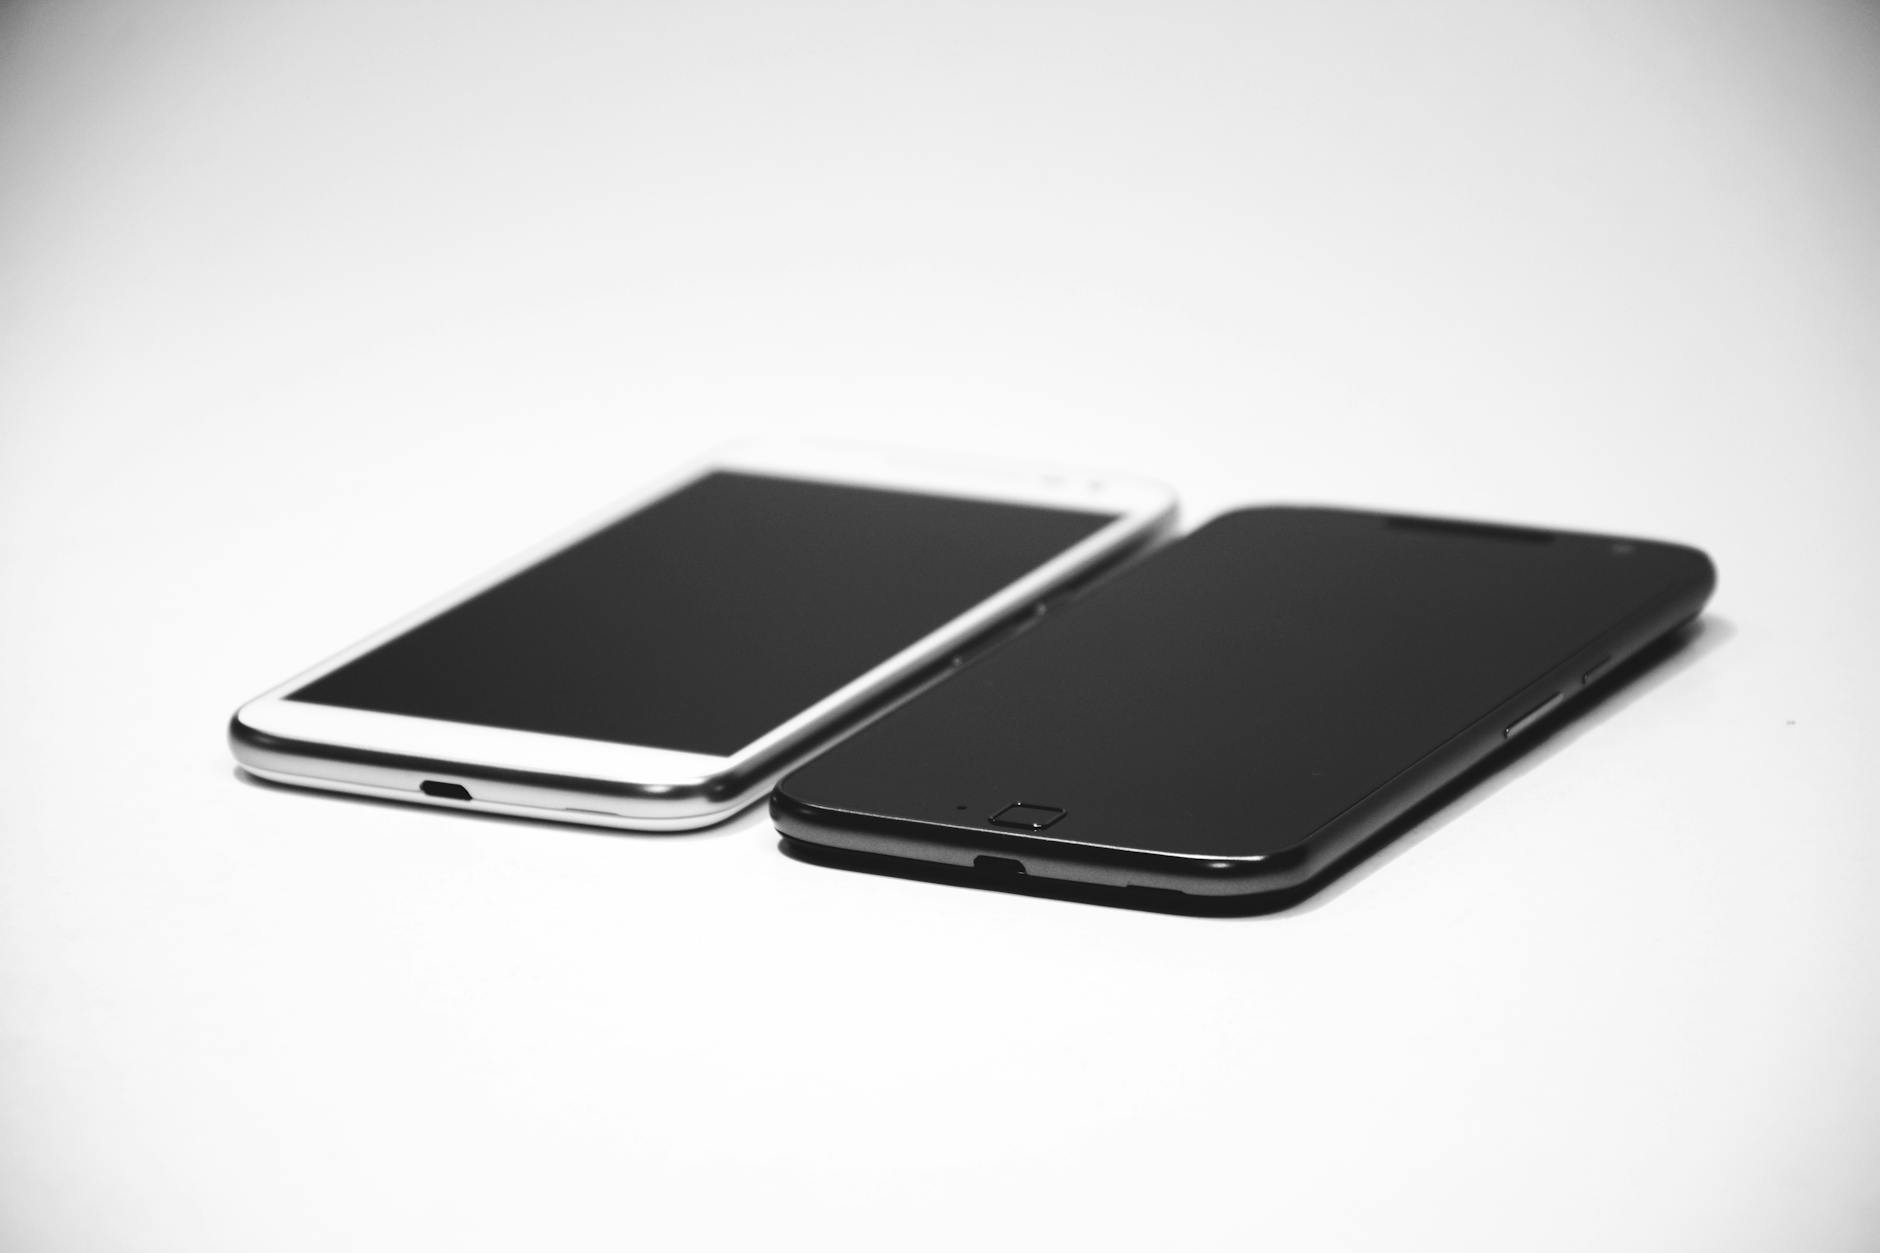
Step 6: Install Desktop and Mobile Clients
Download official Nextcloud client applications for Windows, macOS, or Linux desktop systems. These clients provide automatic file synchronization similar to Dropbox or Google Drive, keeping local folders in sync with your private cloud storage.
Configure desktop clients by entering your Nextcloud server URL, username, and password. Choose which folders to synchronize locally and set bandwidth limits if you’re on a metered internet connection. The client runs in the background and syncs changes automatically.
Install Nextcloud mobile apps from the App Store or Google Play Store. Mobile apps provide full access to your cloud storage including file viewing, editing, and sharing capabilities. Enable automatic photo backup to create your own private photo cloud service.
Test synchronization across multiple devices to ensure files update correctly. Create a test document on your desktop, verify it appears on your mobile device, then edit it from a web browser to confirm all sync points are working properly.
Key Takeaways
Setting up private cloud storage with Nextcloud and Synology NAS gives you complete control over your data while providing enterprise-grade features at home. The combination offers unlimited storage capacity limited only by your NAS drive space, advanced collaboration tools, and the privacy assurance that comes with self-hosted solutions.
Your private cloud setup provides significant advantages over commercial services: no monthly subscription fees, unlimited user accounts, and the ability to customize features based on your specific needs. Whether you’re organizing family photos, collaborating on work projects, or simply wanting to reduce dependence on big tech companies, this solution scales with your requirements.
Regular maintenance keeps your system running smoothly. Update Nextcloud through Package Center when new versions are available, monitor storage usage as your data grows, and periodically review user permissions to ensure security remains tight. Consider implementing automated backups of your Nextcloud database and configuration files to protect against hardware failures.
The skills you’ve learned here extend beyond just cloud storage. Understanding NAS configuration, SSL certificates, and network security principles applies to other self-hosted services you might want to explore, from media servers to home automation systems.
Frequently Asked Questions
Can I access my Nextcloud from anywhere?
Yes, with proper port forwarding and SSL configuration, you can securely access your private cloud from any internet connection.
How much storage space can I have?
Storage is limited only by your NAS drive capacity. You can expand by adding more drives to your Synology device.


