


What You Need to Know
Face recognition door locks represent the cutting edge of home security technology, combining biometric authentication with smartphone connectivity for seamless access control. These smart locks eliminate the need for traditional keys or PIN codes by scanning facial features to grant entry. Modern systems integrate with popular smartphone apps, allowing remote monitoring, temporary access codes, and real-time notifications when someone enters or exits your property.
The technology has evolved rapidly in recent years, with major manufacturers like Aqara, Yale, and Schlage releasing consumer-friendly models that balance security with convenience. Before diving into installation, understand that these systems require stable Wi-Fi connectivity, adequate lighting conditions for optimal recognition, and compatible smartphone operating systems. Most current models support both iOS and Android platforms through dedicated apps.
Step 1: Choose Your Face Recognition Lock System
Research compatible models based on your door type and security needs. Popular options include the Aqara Smart Door Lock U100, Yale Assure Lock 2, and Schlage Encode Smart WiFi Deadbolt with facial recognition capabilities. Consider factors like battery life, weather resistance ratings, and maximum user capacity. Most systems support 50-200 facial profiles, making them suitable for families or small businesses.
Verify your door’s thickness and backset measurements before purchasing. Standard residential doors work with most models, but older or custom doors may require additional hardware. Check the manufacturer’s compatibility list and ensure your smartphone meets the minimum operating system requirements – typically iOS 12+ or Android 8.0+.
Step 2: Prepare Installation Tools and Environment
Gather necessary tools including a drill with appropriate bits, screwdriver set, measuring tape, and pencil for marking positions. Most face recognition locks include installation templates and detailed hardware packages. Clear the installation area and ensure adequate workspace around your door.
Test your Wi-Fi signal strength near the installation location. Weak connectivity will cause synchronization issues between the lock and your smartphone app. If signal strength is poor, consider installing a Wi-Fi extender or mesh network system to improve coverage in the entry area.
Step 3: Remove Existing Lock Hardware
Power down any existing electronic locks and remove batteries to prevent electrical issues. Unscrew the interior and exterior components of your current deadbolt or door handle system. Keep screws and hardware organized in labeled containers for potential reuse or disposal.
Examine the existing holes and determine if modifications are needed for your new face recognition system. Some installations require enlarging holes or adjusting strike plates. Clean the door surface thoroughly, removing any debris or old adhesive residue that might interfere with the new lock’s mounting.
Step 4: Install the Face Recognition Lock Hardware
Follow the manufacturer’s template to mark screw positions accurately. Most systems include paper guides that align with standard door preparations. Drill pilot holes carefully to avoid splintering, especially on wooden doors. Metal doors may require specialized bits and cutting lubricant.
Mount the exterior face recognition unit first, ensuring the camera lens faces outward at the appropriate height – typically 60-66 inches from ground level for optimal facial scanning. Thread connecting cables through the door carefully, avoiding pinching or kinking. Secure the interior components according to the installation manual, ensuring all connections are tight and properly seated.
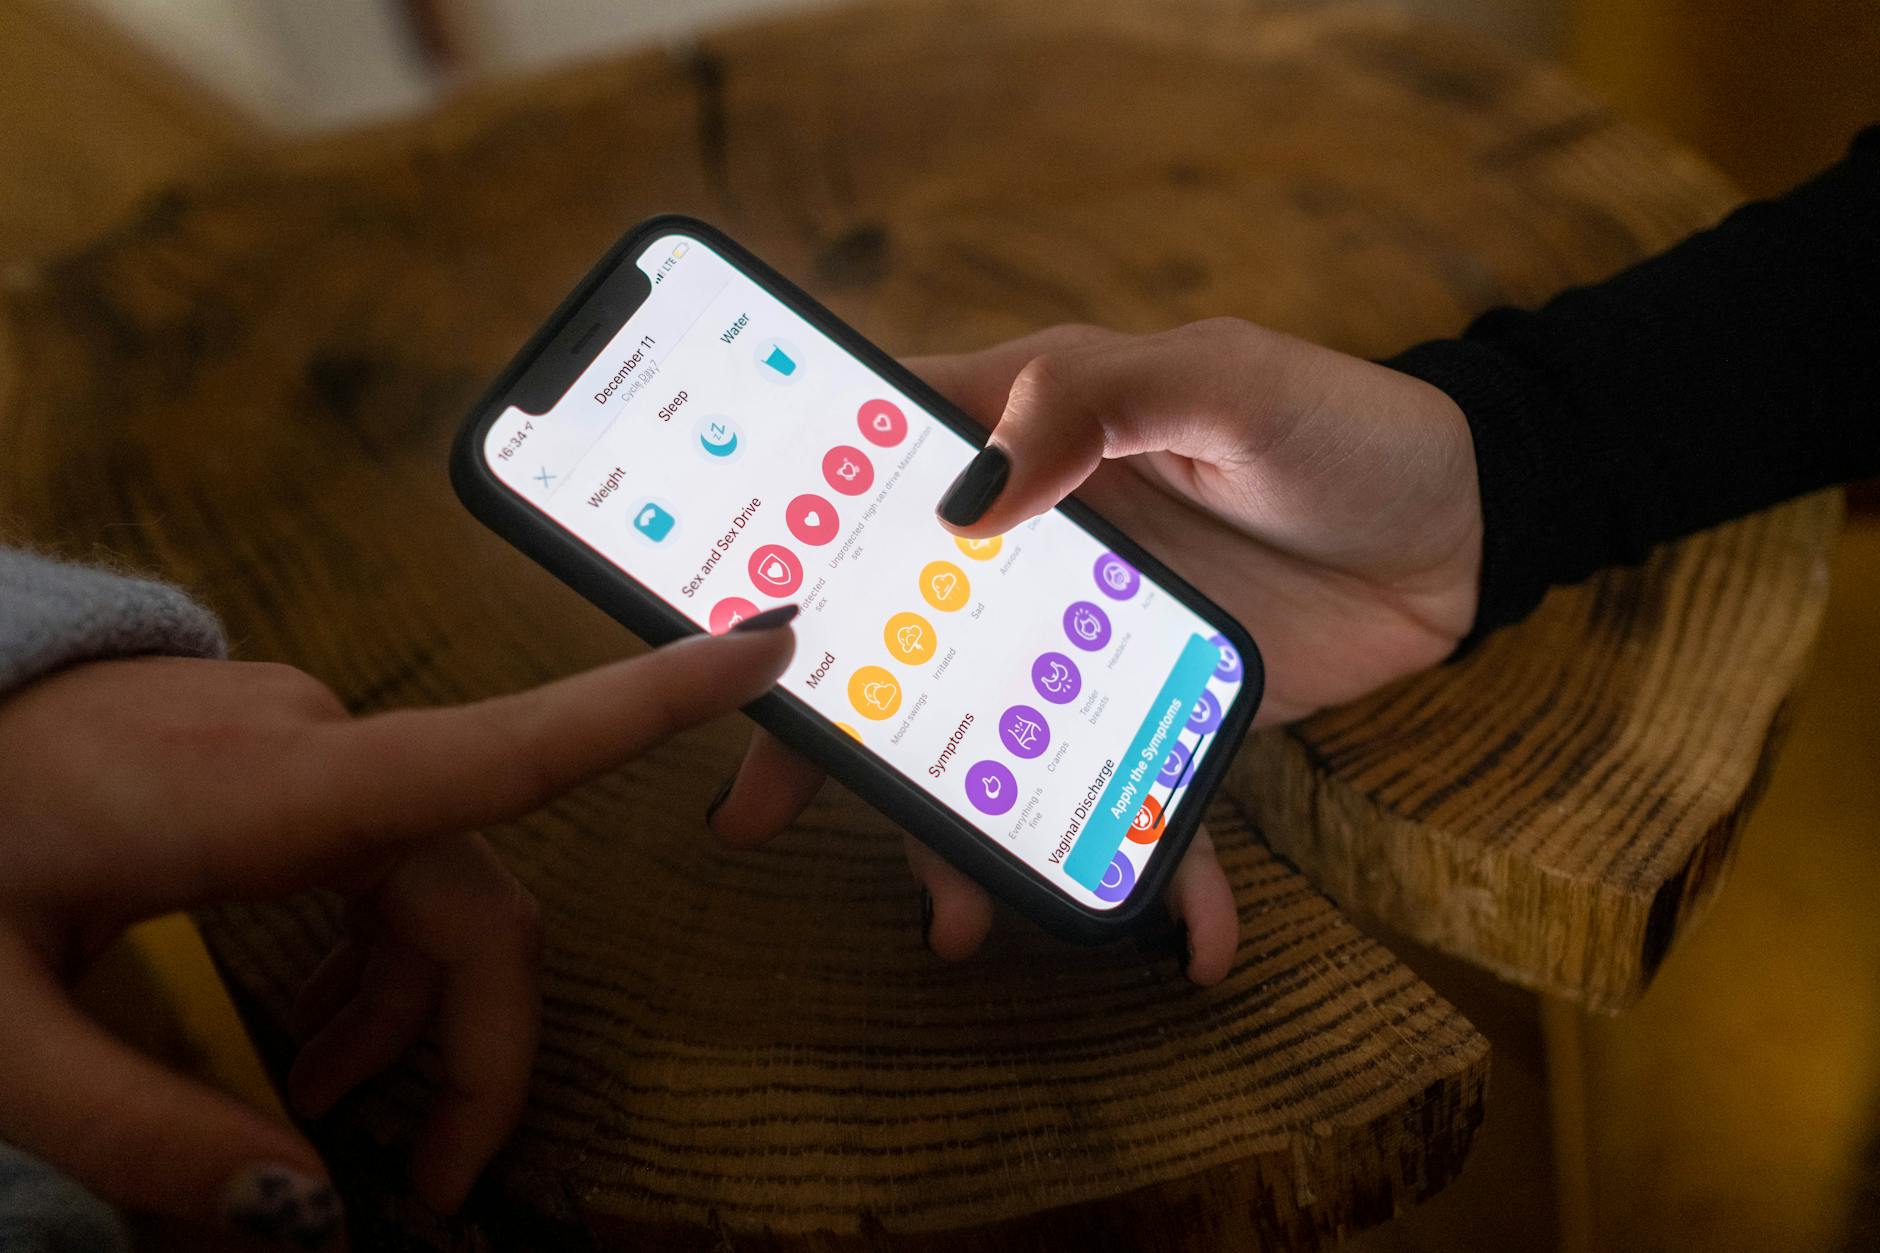
Step 5: Download and Configure the Smartphone App
Install the manufacturer’s dedicated app from the App Store or Google Play Store. Create an account using a secure email address and strong password. Most apps require email verification before allowing device registration. Enable two-factor authentication if available for enhanced security.
Connect the lock to your home Wi-Fi network through the app’s setup wizard. Enter your network password and wait for confirmation of successful connection. The initial pairing process typically takes 2-3 minutes and may require pressing specific buttons on the lock hardware while following app prompts.
Step 6: Register Primary Users and Face Profiles
Begin with the primary user registration, typically the homeowner or main resident. Position yourself 18-24 inches from the face recognition camera in good lighting conditions. Follow the app’s guidance for optimal head positioning – slightly tilted left, right, up, and down to capture multiple angles.
The registration process requires 3-5 face scans from different angles to build a comprehensive facial profile. Avoid wearing sunglasses, hats, or face coverings during initial setup. Most systems allow profile updates later to accommodate seasonal changes like facial hair or eyewear.
Add additional family members or authorized users through the app’s user management section. Each person requires individual face registration using the same process. Some advanced systems support temporary profiles for guests with automatic expiration dates.
Step 7: Configure Security and Notification Settings
Set up push notifications for successful and failed access attempts. Configure the app to send alerts when specific users enter or exit, creating a comprehensive activity log. Most systems offer customizable notification schedules to avoid unnecessary alerts during sleeping hours.
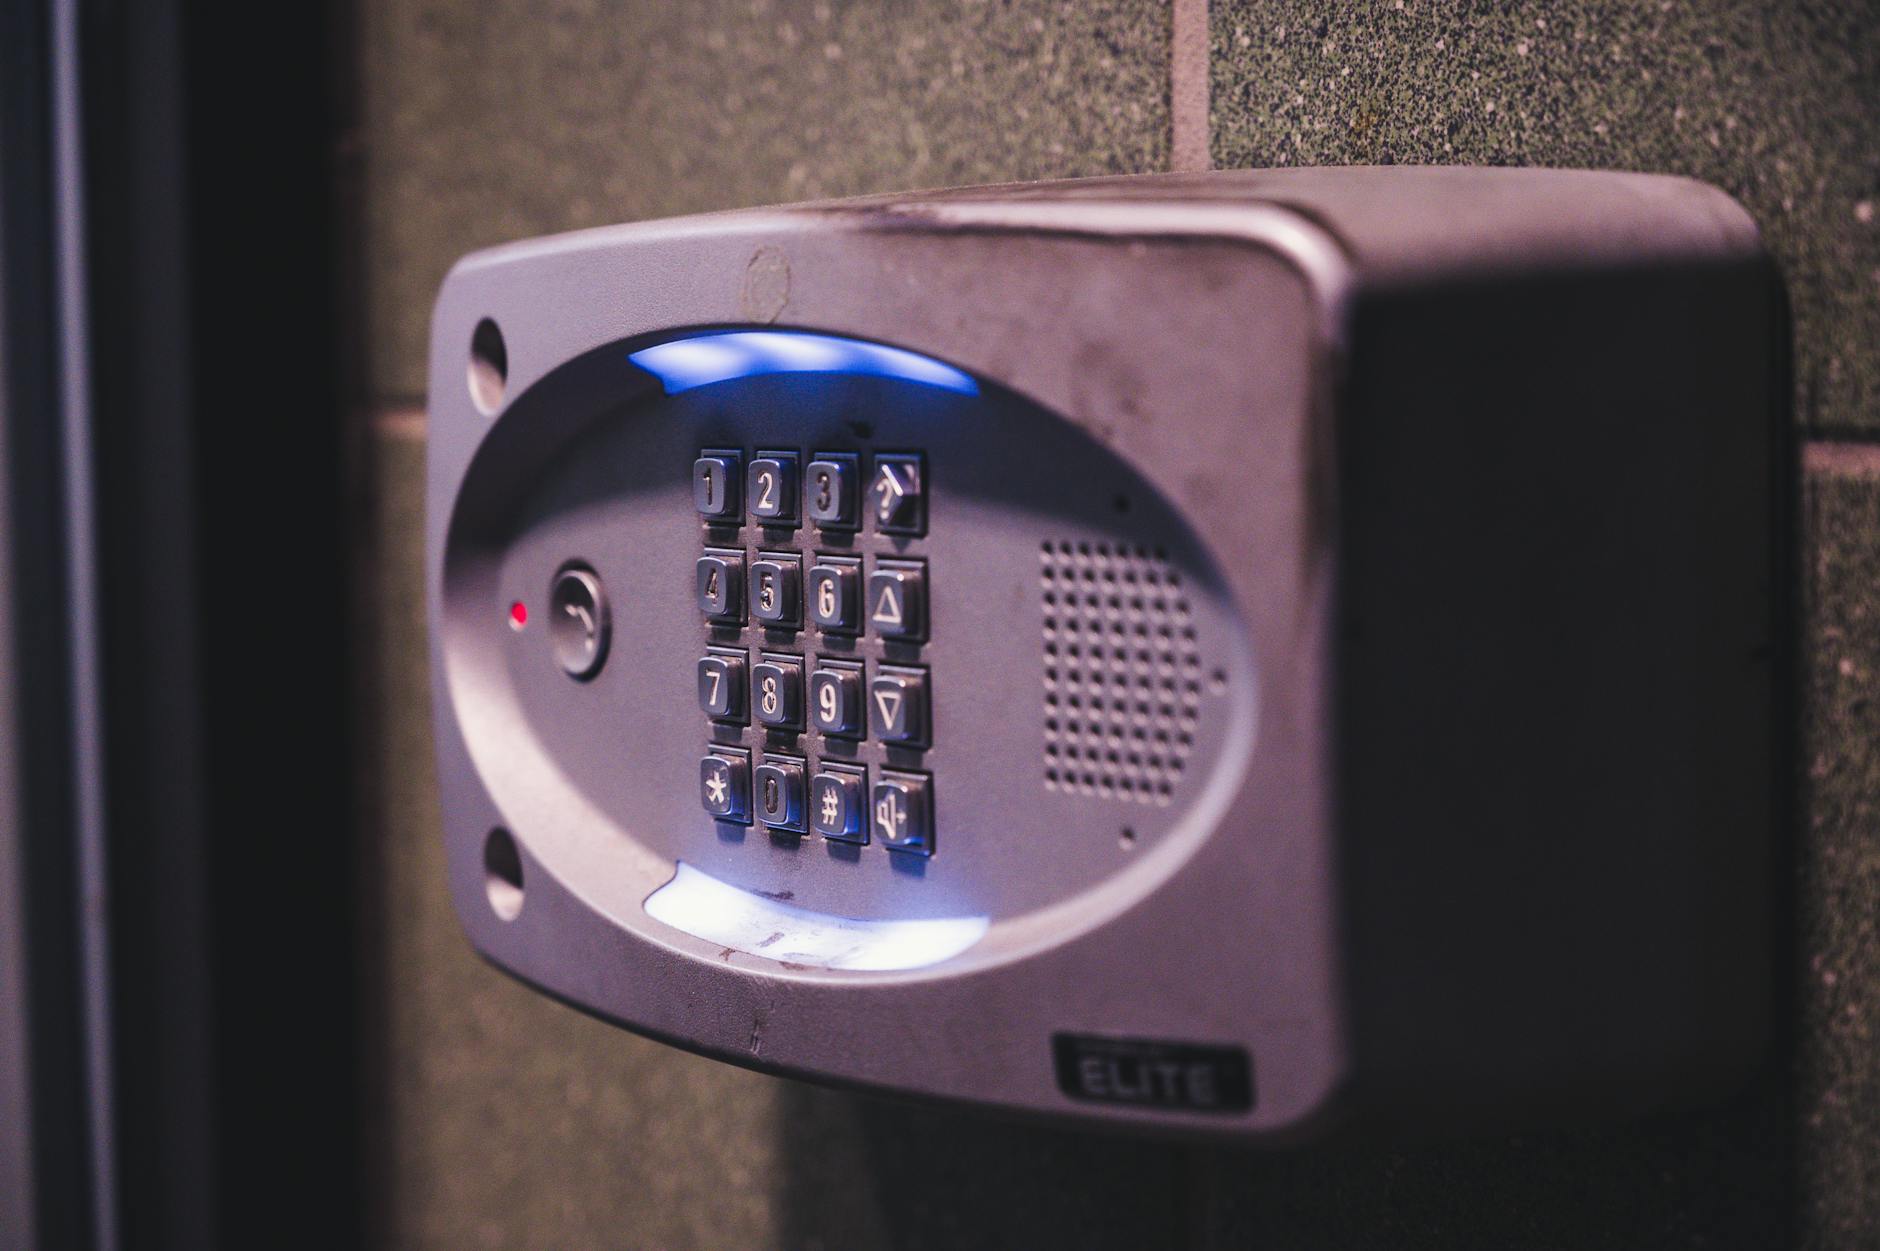
Enable backup access methods including PIN codes or physical key override options. These alternatives ensure entry during system malfunctions or low battery situations. Set strong backup PINs that differ from common patterns or personal information like birthdays.
Configure auto-lock timing to secure your door automatically after entry. Most systems offer 10-60 second delay options, balancing convenience with security. Longer delays accommodate carrying groceries or assisting others, while shorter periods maximize protection.
Step 8: Test System Functionality and Integration
Conduct comprehensive testing during different lighting conditions – morning, afternoon, and evening illumination. Face recognition performance can vary significantly with changing light angles and intensity. Adjust camera positioning if recognition fails consistently during specific times.
Test smartphone app connectivity from various distances to understand the effective range for remote lock control. Most systems work within 50-100 feet depending on Wi-Fi strength and building materials. Test remote locking and unlocking functions to ensure reliable smartphone integration.
Verify backup access methods work correctly. Test PIN code entry and physical key operation to ensure multiple entry options remain functional. Document all access codes and keep physical backup keys in secure locations.
Key Takeaways
Face recognition door locks with smartphone integration offer sophisticated security solutions for modern homes. Successful installation requires careful planning, stable Wi-Fi connectivity, and thorough testing across various conditions. The technology continues evolving with improved accuracy and reduced false rejection rates.
Regular maintenance includes cleaning camera lenses, updating user profiles, and monitoring battery levels through smartphone notifications. Most systems provide 6-12 months of battery life depending on usage frequency and environmental conditions.
Consider integration possibilities with other smart home systems. Many face recognition locks work with popular platforms like Amazon Alexa, Google Assistant, and Apple HomeKit, creating seamless automation opportunities for lighting, security cameras, and climate control systems.
Frequently Asked Questions
How accurate are face recognition door locks in different lighting?
Modern systems achieve 95%+ accuracy in good lighting, with performance decreasing in very dim or extremely bright conditions.
Can multiple family members use the same face recognition lock?
Yes, most systems support 50-200 user profiles, allowing entire families to register their faces for access.


