


What You Need to Know
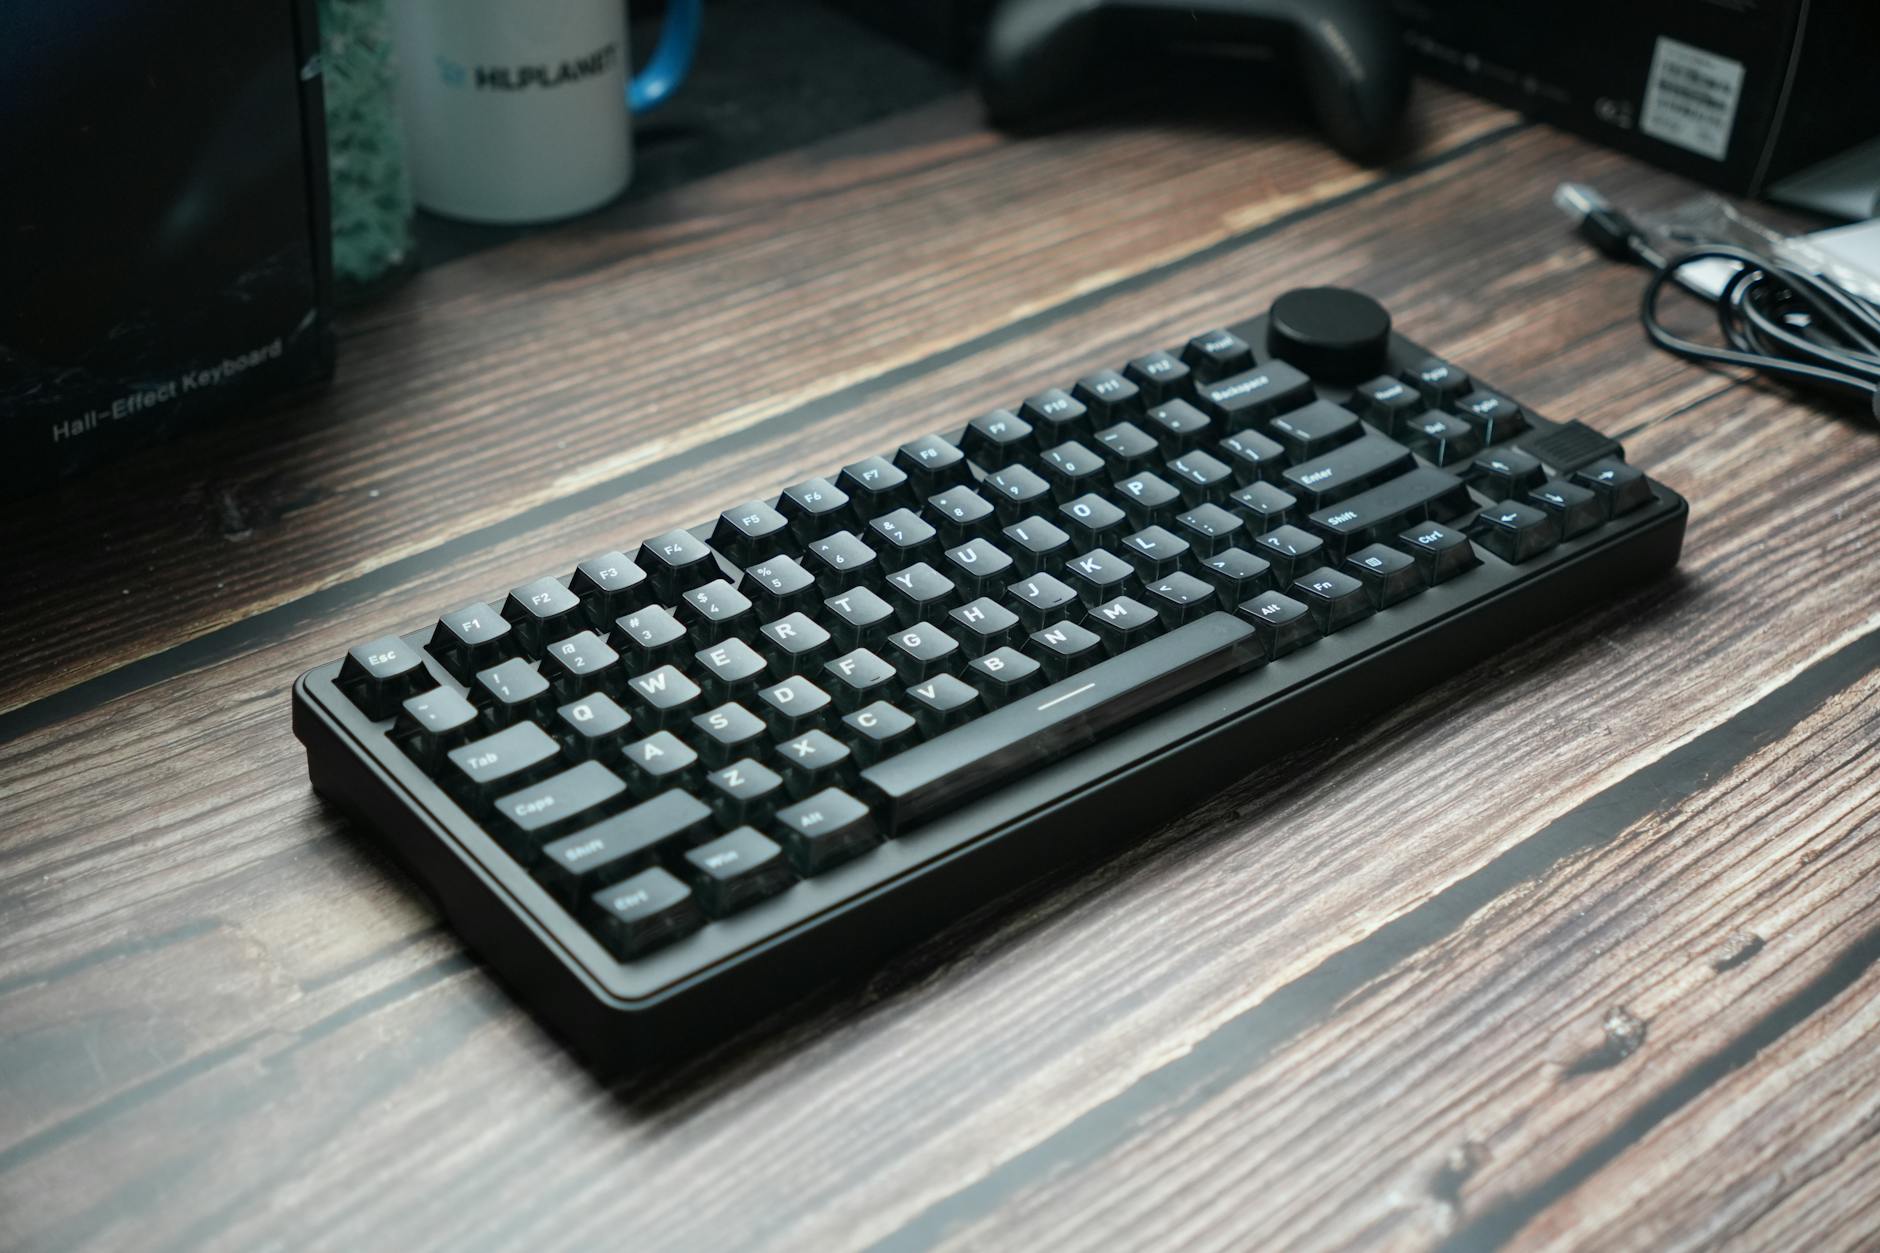
Hot-swappable mechanical keyboards have revolutionized the custom keyboard scene, letting enthusiasts swap switches without soldering. This technology, once limited to premium boards, now appears in affordable options from brands like Keychron, GMMK, and Drop. Whether you’re building your first custom board or upgrading an existing setup, hot-swap sockets make experimentation effortless.
The process involves selecting compatible switches, preparing your workspace, and methodically installing components. Most hot-swap keyboards use either Kailh or Gateron sockets, supporting MX-style switches from Cherry, Gateron, Kailh, and dozens of boutique manufacturers. The entire swap takes minutes rather than hours of soldering work.
Step 1: Gather Your Components and Tools
Start by collecting everything you’ll need for the swap. Your hot-swappable keyboard should already have sockets installed – look for small plastic or metal receptacles where switches insert. You’ll need your chosen switches, typically sold in packs of 10 or more, plus a switch puller tool.
Most switch pullers are simple plastic or metal tools with prongs that grip switch sides. Some keyboards include these tools, or you can purchase universal pullers for under $10. Avoid using pliers or other improvised tools that might damage delicate switch housing or PCB components.
Consider having a small bowl or tray nearby to hold removed switches. If you’re installing different switch types in specific locations – perhaps linear switches for gaming keys and tactile switches for typing – label your switches or keep them organized by type.
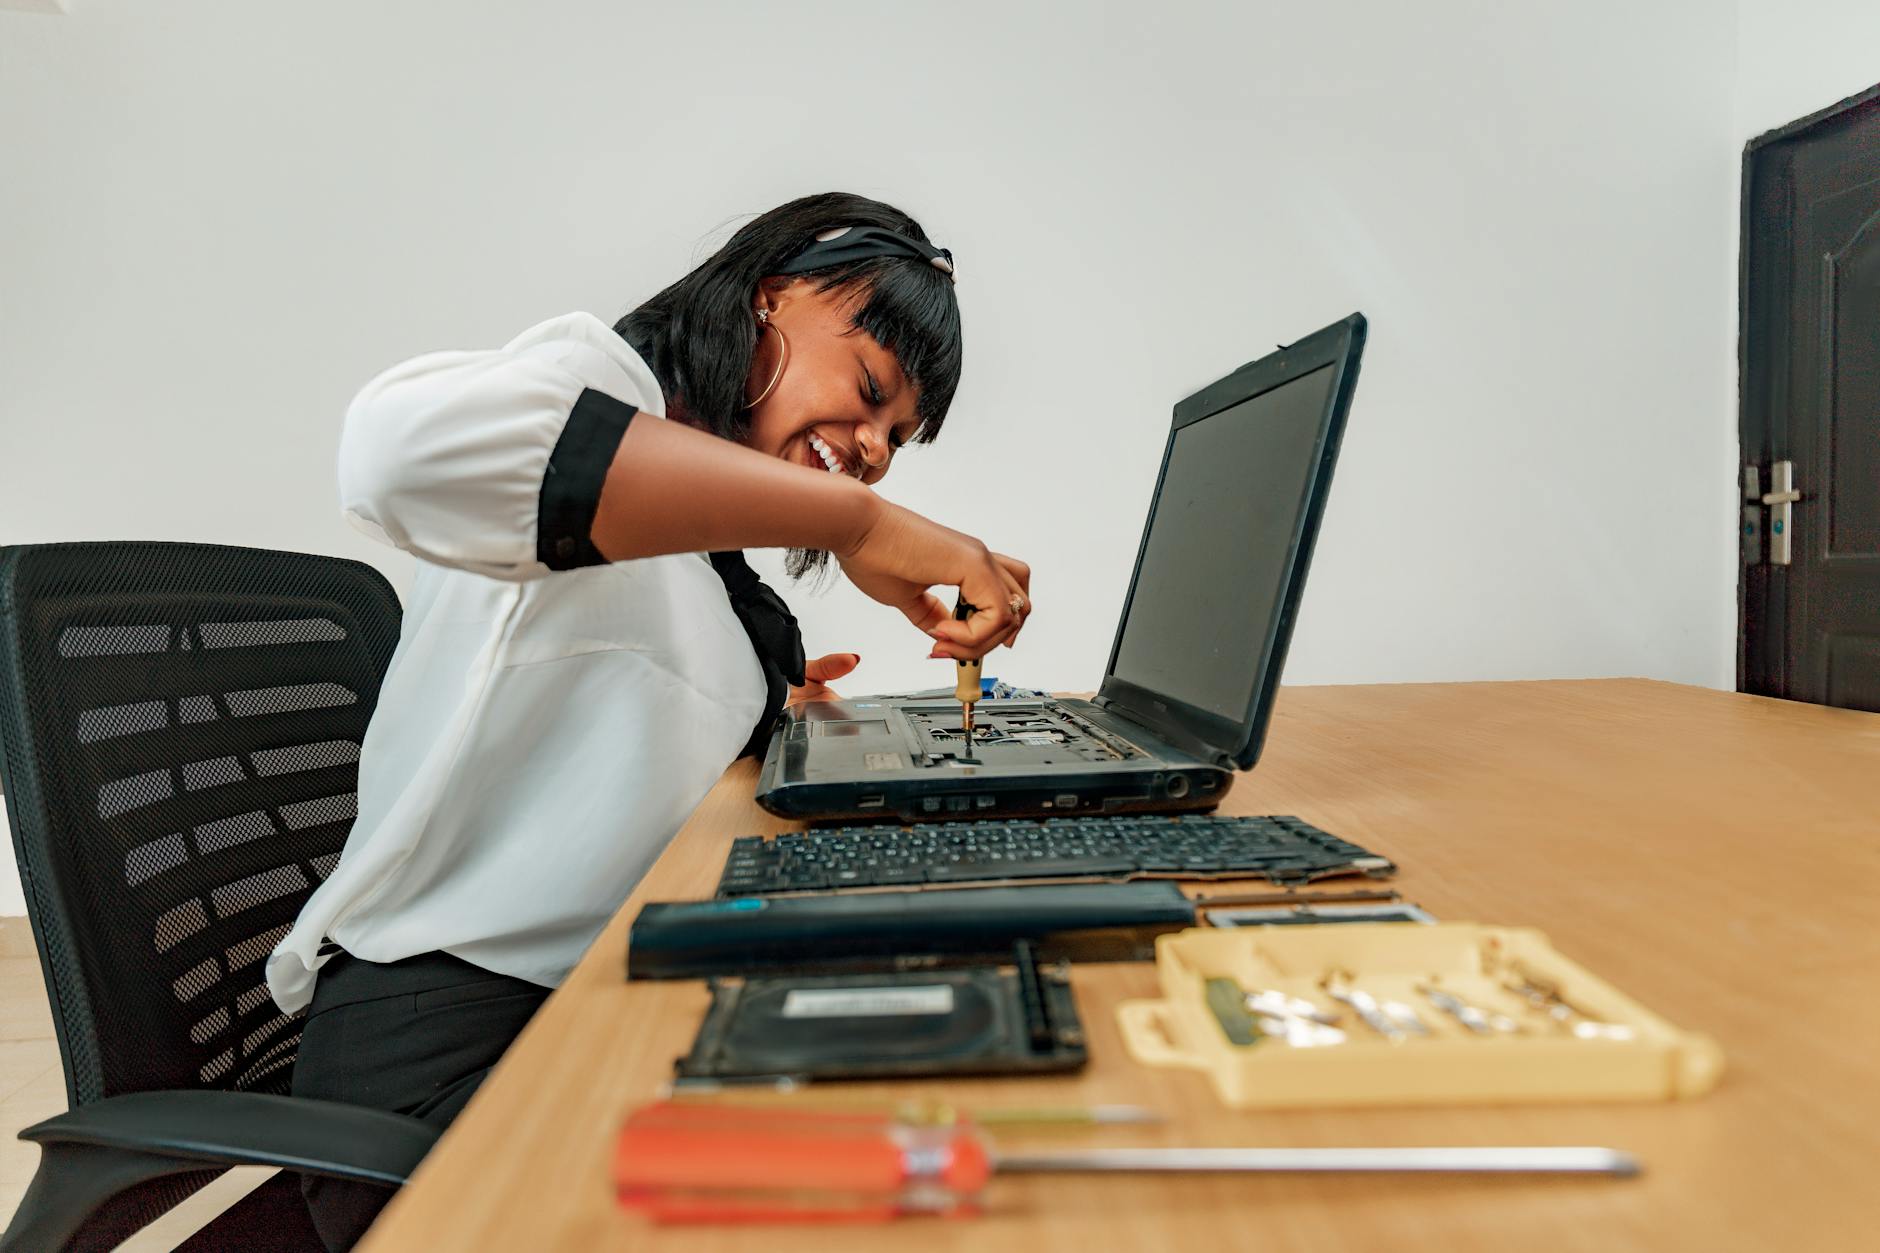
Step 2: Remove Existing Switches
Power down your keyboard and disconnect it from your computer. Remove all keycaps using a keycap puller, working systematically from one side to the other. Store keycaps in order if they have different profiles or legends.
Insert your switch puller around the first switch, gripping the plastic housing on opposite sides. Apply gentle, even pressure while pulling straight up. The switch should slide out smoothly – if you feel significant resistance, check that the puller is properly positioned and not catching on surrounding components.
Work through all switches methodically. Some positions, particularly around larger keys like spacebar or enter, might have stabilizers that complicate removal. Take photos before removing these switches to remember proper stabilizer positioning.
Step 3: Prepare New Switches
Inspect each new switch before installation. Look for bent pins, damaged housing, or debris in the mechanism. Switch pins should be straight and parallel – gently straighten any bent pins with needle-nose pliers.
If you’re installing different switch types, now’s the time to sort them according to your layout plan. Many enthusiasts use heavier switches for less-frequently used keys and lighter switches for common letters. Gaming-focused builds might feature linear switches on WASD keys with tactile switches elsewhere.
Test a few switches by hand to ensure smooth operation. The mechanism should feel consistent across all switches of the same type. Any scratchy or inconsistent feeling might indicate manufacturing defects or debris.
Step 4: Install New Switches
Align your first switch with its corresponding socket, ensuring the pins match the socket orientation. Most hot-swap sockets have a specific orientation – forcing a switch in backwards can damage both components. The switch should slide in easily with minimal pressure.
Press down firmly until the switch clicks into place. The switch housing should sit flush with the keyboard plate, with no gaps or tilting. Test the installed switch by pressing it gently – you should feel the intended tactile response and hear the switch’s characteristic sound.
Continue installing switches row by row. This systematic approach helps prevent mistakes and ensures you don’t miss any positions. Pay special attention to larger keys that require stabilizers – these switches must align properly with both the socket and stabilizer mechanism.
Step 5: Test Switch Installation
Before reinstalling keycaps, connect your keyboard and test every switch position. Use a key testing website or keyboard software to verify each switch registers properly. This is much easier than discovering problems after keycaps are installed.
Look for switches that don’t register, register multiple times per press, or feel physically different from others of the same type. These issues usually indicate improper installation or damaged components.
Check that switches are properly seated by visual inspection. All switches should sit at the same height relative to the plate, with no obvious tilting or gaps. Gently press each switch to ensure solid mounting.
Step 6: Reinstall Keycaps and Final Testing
Replace keycaps in their original positions, or take this opportunity to try a different layout or profile. Press keycaps down firmly to ensure proper seating on switch stems. Larger keys with stabilizers may require slight wiggling to align properly.
Perform comprehensive testing with actual typing. Different switches change the keyboard’s feel dramatically – linear switches provide smooth keystrokes, tactile switches offer feedback bumps, and clicky switches add audible confirmation. Spend time adjusting to the new feel, as it may take several typing sessions to fully appreciate the changes.
Like setting up specialized environments for Docker containers, customizing mechanical keyboards requires attention to configuration details that significantly impact the user experience.

Key Takeaways
Hot-swappable keyboards democratize mechanical keyboard customization, eliminating the technical barriers that once limited switch experimentation to experienced builders. The process requires minimal tools and can be completed in under an hour, even for beginners.
Switch selection dramatically impacts typing experience – more than keycap profiles or case materials. Linear switches suit gaming, tactile switches excel for typing, and clicky switches provide maximum feedback. Many users discover their preferences only through hands-on testing.
The hot-swap ecosystem continues expanding, with new switch designs launching regularly. Manufacturers like Novelkeys, Durock, and Akko release innovative switches monthly, making hot-swap compatibility essential for staying current with mechanical keyboard trends. Your initial switch choice doesn’t lock you in – future upgrades remain just minutes away.
Frequently Asked Questions
Do I need soldering experience for hot-swappable keyboards?
No, hot-swappable keyboards require no soldering. Switches simply push into sockets and pull out with a switch puller tool.
Are all mechanical switches compatible with hot-swap keyboards?
Most hot-swap boards support MX-style switches from major brands, but always check socket type and switch pin compatibility first.


