Introduction
So, you’ve got a brand new computer and you’re ready to start using it. But first, you need to install an operating system. Windows is a popular choice for many users, and in this guide, we’ll walk you through the process of installing Windows on your new computer.
Step 1: Gather the necessary resources
Before you begin, make sure you have the following:
- A valid Windows installation disc or USB drive
- A product key for the Windows version you want to install
- A blank USB drive (if you’re using a USB installation)
Step 2: Configure your computer’s BIOS settings
To install Windows, you need to configure your computer’s BIOS settings to boot from the installation media. Here’s how:
- Restart your computer and enter the BIOS by pressing the designated key (usually Del, F2, or F10) during startup.
- Navigate to the “Boot” or “Boot Options” section.
- Set the boot priority to the installation media (CD/DVD drive or USB drive) as the first boot option.
- Save the changes and exit the BIOS.
Step 3: Start the installation process
Now that your computer is set up to boot from the installation media, you can begin the installation process:
- Insert the Windows installation disc or connect the USB drive to your computer.
- Restart your computer.
- Follow the on-screen prompts to select your language, time zone, and keyboard layout.
- Click “Install Now” to start the installation.
Step 4: Enter your product key
During the installation process, you’ll be prompted to enter your product key. Enter the key correctly to proceed with the installation. If you don’t have a product key, you can choose to install Windows without a key, but some features may be limited.
Step 5: Choose your installation type
Next, you’ll need to choose the type of installation you want:
- “Upgrade”: If you’re upgrading from a previous version of Windows, select this option to keep your files and settings.
- “Custom”: If you’re installing Windows on a new computer or replacing the existing operating system, select this option to perform a clean installation.
Step 6: Select the installation location
If you chose the “Custom” installation type, you’ll need to select the installation location. Choose the hard drive or partition where you want to install Windows and click “Next” to continue.
Step 7: Wait for the installation to complete
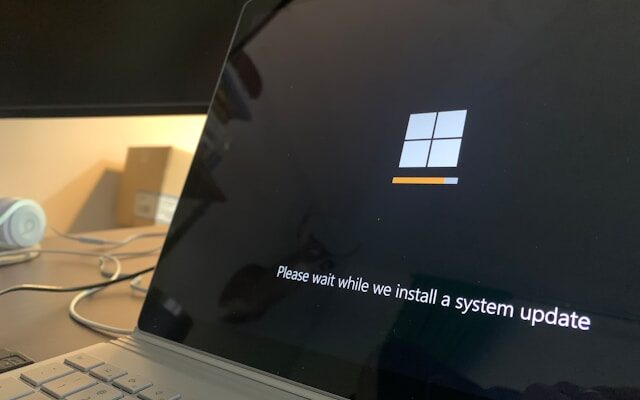
Once you’ve selected the installation location, Windows will begin the installation process. This may take some time, so be patient and wait for the installation to complete.
Step 8: Set up Windows
After the installation is finished, your computer will restart, and you’ll be prompted to set up Windows:
- Select your region and language preferences.
- Create a user account and password.
- Choose your privacy settings.
- Customize your computer’s settings, such as theme and desktop background.
Step 9: Install device drivers and updates
Once you’ve set up Windows, it’s important to install the necessary device drivers and updates for your computer. This ensures that your hardware functions properly and that your system is up to date with the latest security patches.
Conclusion
Installing Windows on a new computer may seem daunting at first, but by following these step-by-step instructions, you’ll have your new operating system up and running in no time. Remember to gather all the necessary resources, configure your BIOS settings, and carefully follow the installation process. Soon enough, you’ll be enjoying your new computer with Windows installed!


